
Oh my BADness, it’s Thursday already! This week is going by much faster than I need it too. Of course, it didn’t help that I slept until close to 10:00 a.m. for a couple of days. I guess I’ve caught up – I was awake at 6:00 a.m., and have gotten so much more accomplished this morning than I have all week. I still have some things to do for Mallory and I do believe she gets home on Saturday. Hmmmm, so much for procrastinating any longer!
Well hecker doodles, I just scanned my old posts for a picture from CHA that I had already shown you, and guess what? I didn’t post it! Well, bless my little heart. Let me go find it, cause this post won’t mean a thing without it. Enjoy some  . I’ll be back in a flash!
How was your chocolate? Told ya I’d be back!
While browsing in the Product Performers Booth at CHA, I met Judi Hodgkin, owner of Scrapperydashery and designer of this fabulous paper and card design. The paper is double-sided and coordinates with Ranger Adirondack Inks.
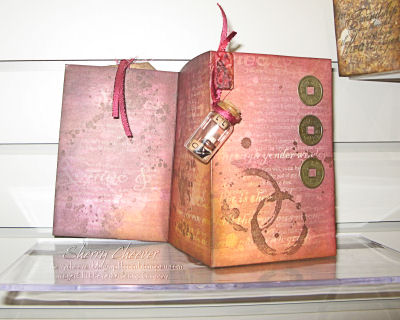
I loved the layout of this card, and knew that I would eventually make mine own.
After getting the dogs out and my coffee cup in hand this morning, I turned on my computer. Geeze were there a lot of emails last night. The next thing I did was check in on the Splitcoast Ways to Use it Challenge today. Much to my delight, it was to use designer paper for everything on the card. If we didn’t use designer paper, we had to make out own. Here was my chance to make the card I’ve been so wanting to make – WOO HOO! Little did I know, that it would get so detailed and involved, take me all morning and give me ink-stained fingers, but I must say – I did it and think the effort was well worth it!

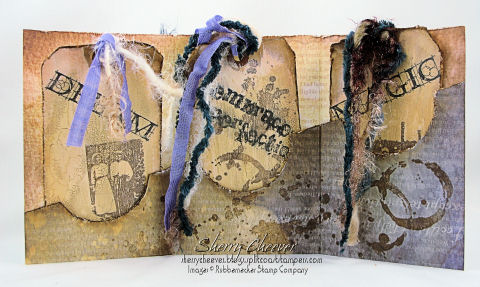
To start with, I took a 12×12 sheet of paper that Judi gave me at CHA, and scored it in the middle at 6″. I made two more scores at 4″ each to make the tri-fold. Once I had the general design for the card, I cut the inside panel at an angle and using a 2″ circle punch, notched out the flaps. My next step was to distress all the inner edges and give them a quick sponge with Vintage Photo Distress Ink. I started stamping all sides of the paper then, using the Tim Holtz Spills and Splatters collection. Now get this! I was stamping the sentiment on the front of the card, looked down and noticed that the seal was up.
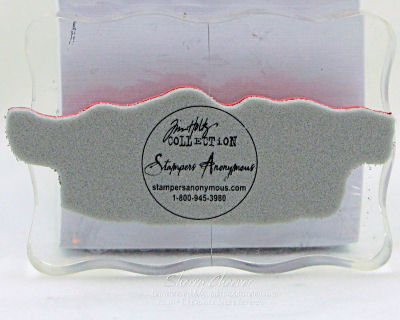
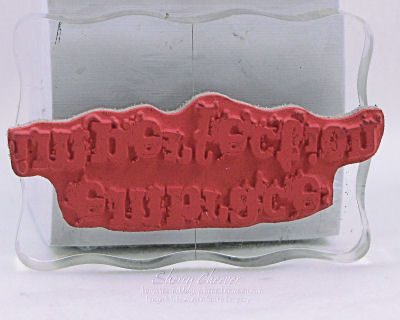
I stamped the sentiment and I’ll be darned if it wasn’t upside down. (See this picture of the stamp just flipped right to left)
Well, my heart just sunk, but I wasn’t about to waste another sheet of this fabulous paper, re-score, distress, etc., all over again. My thought, “Well, it says embrace imperfection – how more imperfect can you get.” I left it!
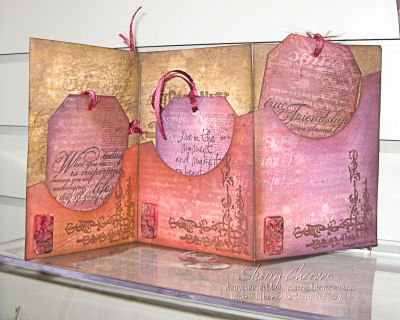
My next step was to make the inner tags. I laid out three vanilla tags side-by-side, and worked each step on each of them as I went.
I’ve worked with the Ranger Paint Daubers during a demo, but don’t actually have any in hand here at home. I do however, have tons of little bottles of acrylic paint and thought – hey they have to work the same way. I chose an Antique White paint, and quickly painted sections of the tags. The next step was to paint on Old Paper Distress Ink. I left this to start drying on its own, and once the edges started to dry, I used my heat gun to speed up the process. I can be very impatient when I’m stamping – want to keep moving. Once I had all the paint dry, taking pads to tag, I randomly worked Vintage Photo and Milled Lavender Distress Inks across the tags. Using a paper towel I wiped away all the excess and then misted the towel with water and picked up some more ink in different areas. Here are close-ups of the tags.
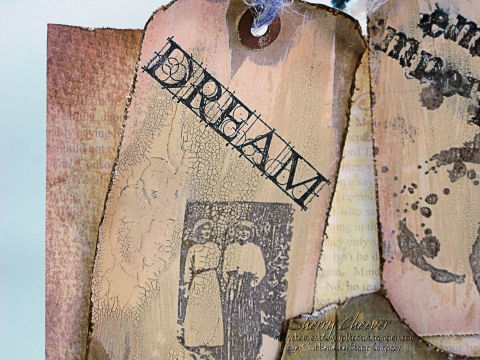

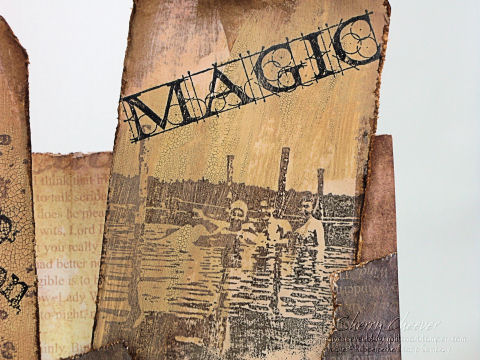
The images were all stamped in Walnut Stain and the sentiments stamped in Black Soot.
To finish off the front of the card, I had a small acrylic tag that I also picked up at CHA!
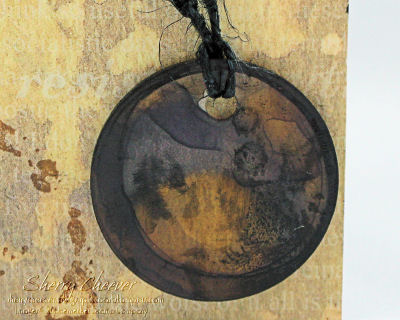
I worked alcohol ink on the back of the tag, let it dry, and then stamped a section of the Spills image in Black Soot. The Grunge Board hinge in the top left corner was inked in Vintage Photo, highlighted with Walnut Stain and because it was a little too dark, I sponged in some Peeled Paint hoping for an aged look. The jewels dangling from the hinge are pieces of some old earrings that my mother gave me. I had two pieces, but one broke while I was trying to tie them.
Here’s a photo of all the products used to make the card.
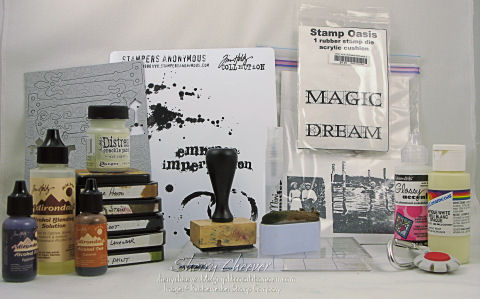
Stamps: Old Photo Images – unknown source, and Stampers Anonymous Tim Holtz Spills and Splatters Collection from Rubbernecker Stamp Company
Paper: Oscar Wilde Temptation from Scrapperdashery; Vanilla Tags from Rubbernecker Stamp Company
Ink: Ranger Tim Holtz Vintage Photo, Walnut Stain, Black Soot, Milled Lavender, and Peeled Paint Distress Inks
Accessories: Ranger Tim Holtz Old Paper Distress Crackle, Alcohol Blending Solution and Applicator, Eggplant and Caramel Alcohol Inks, Distress Tool; Ranger Mini Mister; Tim Holtz Idea-ology Elements Grunge Board; Delta Ceramcoat Antique White Acrylic Paint; Tsukineko Sponge Dauber; Marvy Uchida 2″ Circle Punch; Old Jewelry; Acrylic Tag; Brads; Black Hemp Twine
 – I hope everyone has a great day!


