
Happy Thursday! I’ve had a few ideas running around in my head (yes it hurts) for the last few days. All of them revolve around notebooks. I know, I know! But all of a sudden I’m finding that when I need something to jot a note on, there is never anything close at hand. I’ve recently organized the desk area in the family room, moving the desktop computer to the actual built-in desk and eliminating the computer hutch. This has given us some much needed space to walk around the breakfast bar, but it has also caused confusion in other parts of the house.
I’ve set myself up in my little sitting room, with laptop on a TV tray and a table next to me. However, that table has become a major catch all for all my junk. . . . Coffee cups, remotes, calendars, pencils, pens, papers and never can I find a piece of scratch paper to jot a simple note on. I have solved that problem!
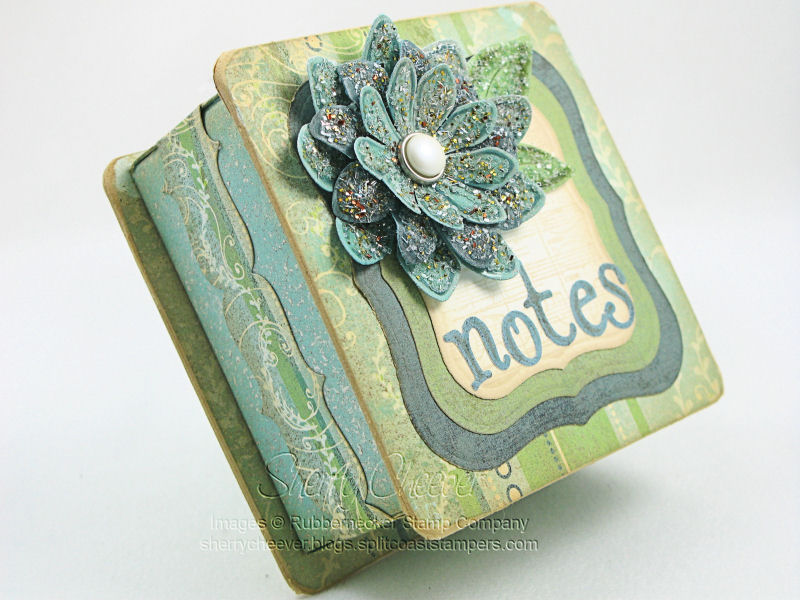
I made myself a little box to hold post-it notes! I followed the instructions for the origami box in this week’s Try a New Technique Challenge on SCS, and then made a bottom and top out of coasters.
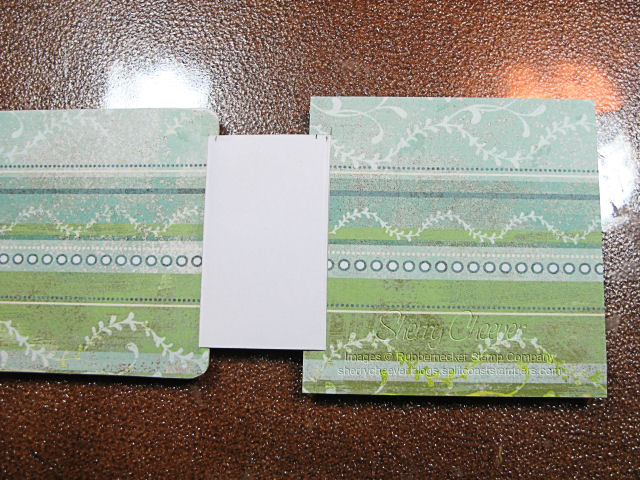
Instead of using a 12×12 sheet of paper as specified in the instructions, I used a 10×10 instead. This gave me the right size so that the coasters I used for the top and bottom would hang over the edges of the box. In order to cover the coasters and make a hinge for the lid, I decided to hide the hinge layer under the designer paper. In order to do this, I needed to cut a slit in the paper used for the cover and then slip the hinge piece through so that I could glue it down.
It was a little more work than what I had anticipated, but I’m very happy with the results.
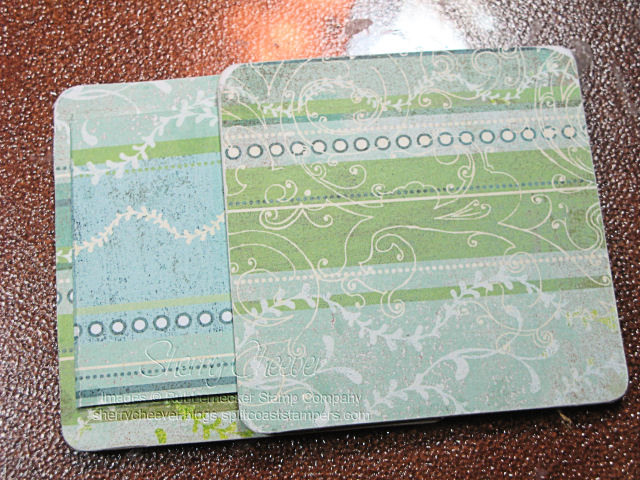
I would easily affix the bottom of the box to the bottom coaster, tape the hinge to the back of the box and then have my lid just flip open.
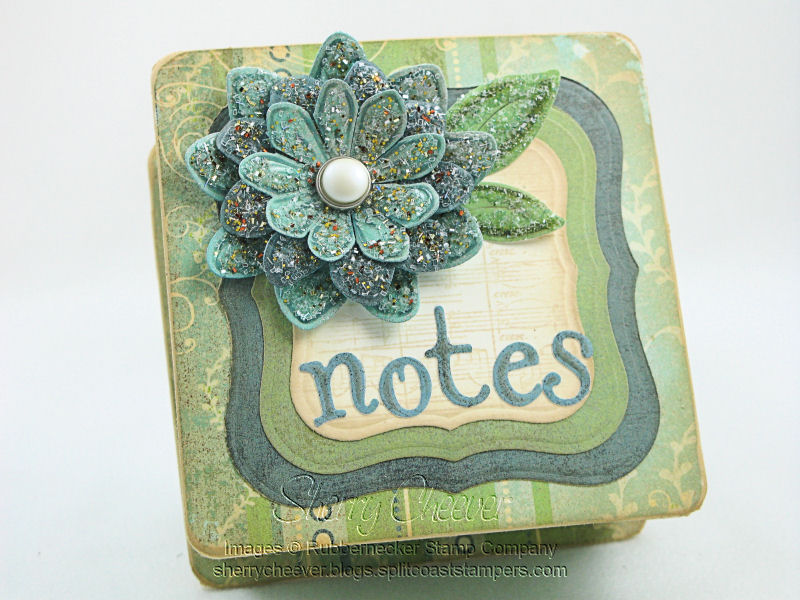
To decorate the top of the box, I finally settled on the Spellbinders Daisy Delight Shapeabilities. I die cut and embossed the shapes, sponging the embossed areas and then covered the whole darn thing with Ranger Glossy Accents and different types of glitter. To have something to put the daisy and my little word notes (made from Spellbinders Mystic Alphabet), I decided to cut layers using the Spellbinders Labels One Nestabilities.
- Stamps: Stamp Oasis Graphic Collection – Music Background SKU:543 SO from Rubbernecker Stamp Company
- Paper: BasicGrey Two Scoops
- Ink: Ranger Broken China, Antique Linen and Peeled Paint Distress
- Accessories: Spellbinders Labels One Nestabilities, Daisy Delight Shapeabilities, and Mystic Alphabet; Ranger Glossy and Matte Accents; Tsukineko Sponge Dauber; Pearl Brad; Glitter
One project down and one to go! I’ve been thinking about this last one since I made the notebooks for family at Christmas.
I hope you enjoy the adventures that this day brings . . . I know I will!


Wow! This is fantastic, Sherry! I love all the sparkle and that gorgeous paper.
Oh I LOVE this! The colors are so pretty and that flower is awesome! I check out your stuff often and really like everything you make but I don’t comment often enough, sorry 🙁 But today I just had to! Great box 🙂
Sherry, I just love this and I love the fact that you thought of a beautiful way to store something useful.
Wendy
What a super cool little box, Sherry…love the papers and the stack of fabulous sparklie flowers!!! Absolutely beautious!!!
WOW!!
What a genious idea!!
And so simple too.. You’ve done it again.. ;P
Greetings from Daniel
{ Norway }
How lovely. I just had to leave a comment to tell you I have starred this on my google reader so that I remember to make one of these. Such a good idea!
Sherry you are amazing!
Sandra
Ok….Now I need to figure out how to make one of these little boxes….I’ll just add it to my list of things I need to do
very cool, like the idea of the coaster top and bottom, pretty paper and lovely flower!
That’s a pretty fancy box for post-it notes. But it’s just gorgeous! Thanks for the tutorial!
I’ll always be gratefull to you for introducing me to Rubbernecker — but you continue to surprise and amaze me with your projects. Thank you so much for sharing your talent and creativity.
Sherry, what a great idea to use coasters on your box. I love the daisies. I have looked at those dies many times, but it’s so hard to tell what they really look like when used – now I can see! Guess they’ll be on my wish list. Thanks, gf.
Gorgeous Sherry, absolutely gorgeous!
Gorgeous box Sherry!! and I love you modified it for the coasters!!
love this project I have made a small cover for the post it but this is better love all the glitter great idea as always
hugs
Norine
Wow what a fantastic idea, I have been making these kind of boxes for a while but wouldn’t have thought of adding the coasters. Inspired!
Your finished box is beautiful, I think I NEED to get some of those daisy dies, are they available in the UK yet?
Thanks for a great idea
Billie 🙂
Okay this is just totally fantastic! How clever are you???? I just finished one yesterday – but this coaster idea is great. I’ll be making another I’m sure!
Love these colors and spark-lay flowers, Sherry!
Wooo-eeee! This is down right gorgeous!!!! Love it!!!
I like your idea and your finished project. Gorgeous and practical!
Beautiful Sherry, love the colors & the flowers!!
Thanks for a wonderful twist on this technique. I am going to give this a try! I have coasters just waiting to be used!