
Good morning! I hope your weekend has been a good one so far and you’re keeping warm . . . it’s brrrrr cold here! We went the theater yesterday and I actually put on my long johns and decked out in lots of light layers to keep warm.
Today is a special blog post. Spellbinders® is starting a new promotion today and I’m the first lucky designer to be in the spotlight. I was asked to create a holiday project using M-Bossabilities™ Double-Sided Embossing Folders and answer a few questions about myself, which you will find the answers to on the Spellbinders blog today. Additionally, as part of the promotion, Spellbinders will be giving away all of the die templates that I’ve used to create my project!
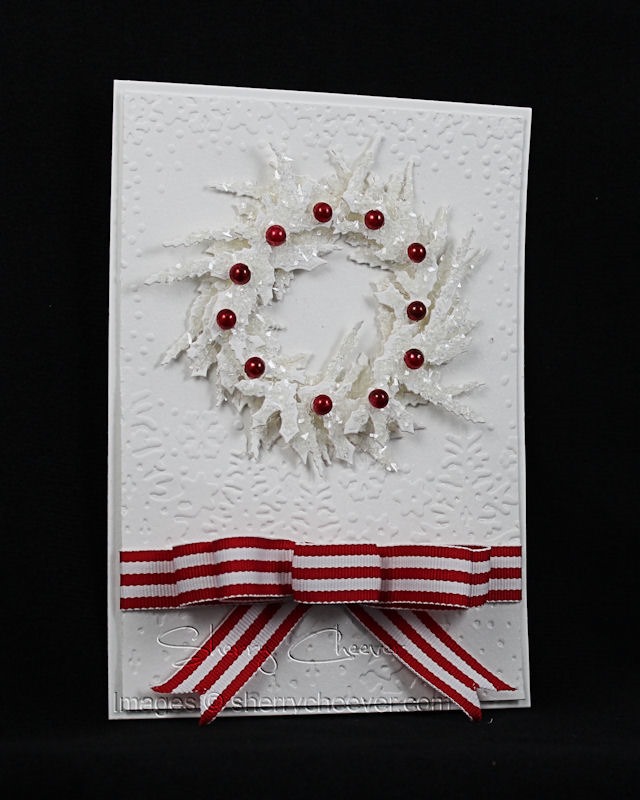
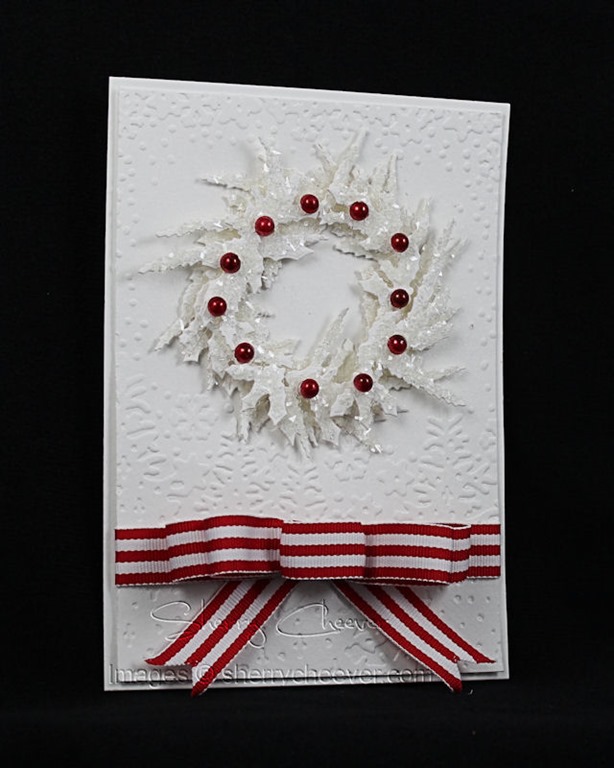
For my project, I picked the Winter Wonders M-Bossabilities, Build A Wreath Shapeabilities®, and 5×7 Matting Basics B Nestabilities® Card Creator. (Before I start with all the particulars, I must apologize for not having a video tutorial for you. All my video equipment is set up in the basement and much to my dismay, I am having some electrical problems in the basement studio. I only have overhead lights and none of the outlets work since the sump pump fiasco . . . so until I have an electrician in we are working with step out photos.)
The entire card was created using 140 lb. cold press watercolor paper. I cut a piece of watercolor paper slightly larger than my M-Bossabilities and misted it with water. I’ve found that misting the paper with water opens the fibers and gives a deeper and crisper embossed image.
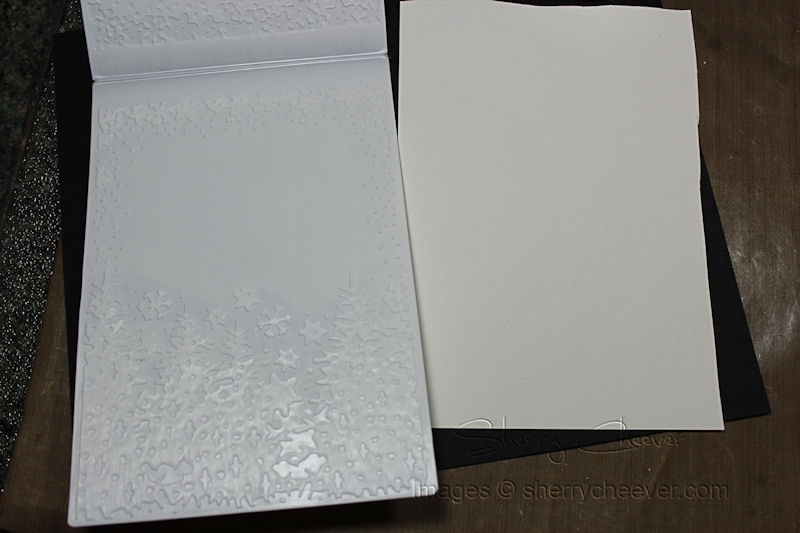
After the sandwich (base plate, M-Bossabilities folder with paper, Grand Calibur® Junior Raspberry Spacer Plate) was passed through the Grand Calibur, the paper was misted with Tsukineko Sparkle Sheer Shimmer Spritz. Unfortunately the photos did not pick up the beautiful shimmer left on the paper.
The base of the card was die cut/embossed with die template #7 from the 5×7 Matting Basics B. The watercolor paper was scored in half and then placed just off the edge of the die template. Because the paper is so thick, at times there is a small area on the back at the card opening that will need to be trimmed with a mat knife. You can easily follow the edge of the front flap and cut through to the back.
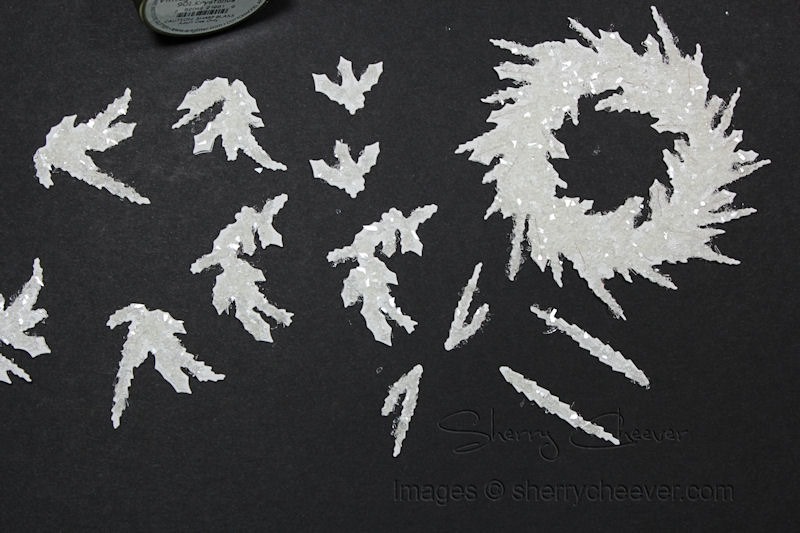
For the wreath, one complete set and another set of just the additional branches were die cut/embossed.

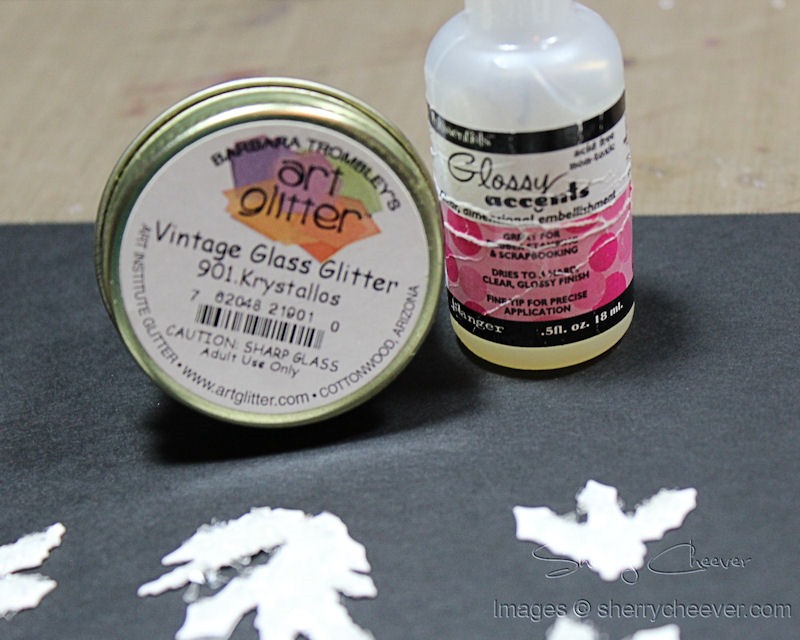
Each individual piece of the wreath was covered with Glossy Accents and then sprinkled with Vintage Glass Glitter. When the Glossy Accents dried (which doesn’t take very long), the excess glitter was shaken/tapped off and returned to the jar for future use.

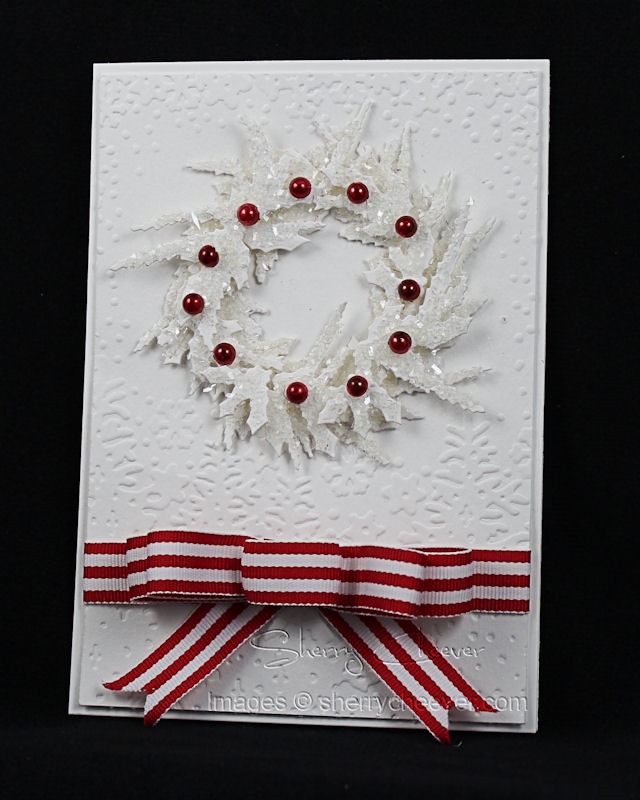
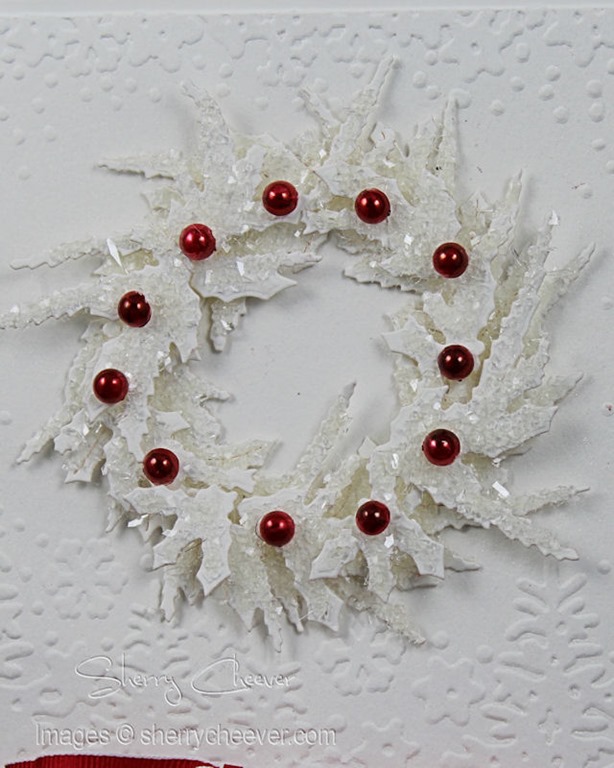
The wreath was assembled by layering the additional branches and gluing down with hot glue. With all the glitter, I have found that hot glue works the best. White adhesive pearls were colored with Cardinal Copic Marker and then adhered to the wreath.

Love all the glimmery/shimmery layers of the wreath!
Finish the front off with a matching red ribbon.
Don’t forget to stop by the Spellbinders Blog, enter the contest for your chance to win the dies used in my project today, and check out what inspires me!
Thanks for stopping by and joining me today!

Project Supplies:
|


|


