
Good morning! I hope y’all have had a good week so far and have stayed out of trouble. I also hope that you’re ready for another Rubbernecker WACKY WEDNESDAY Challenge. This week Shelly is the hostess and has challenged the Red-Hot Mommas and you to make a project using your favorite technique. Check it out on the Rubbernecker Blog and come play along with us!
Now I have to admit that I didn’t do my favorite technique! I have so many (stitching, water coloring, distressing, blah, blah, blah) and I use them all frequently. What I’ve done is try a new technique for me – Melt Art! I LOVE this technique and totally got lost last night in my project. I got so lost, I missed the first 30 minutes of American Idol.
I’m a huge fan of Suze Weinberg and never miss one of her blog posts. I’ve been wanting to try the beeswax for so long and a few weeks ago I finally ordered her Hot Wax Stylus Tool. Hopefully I’ll be able to get into her class at CHA! I requested it when we registered . . . .
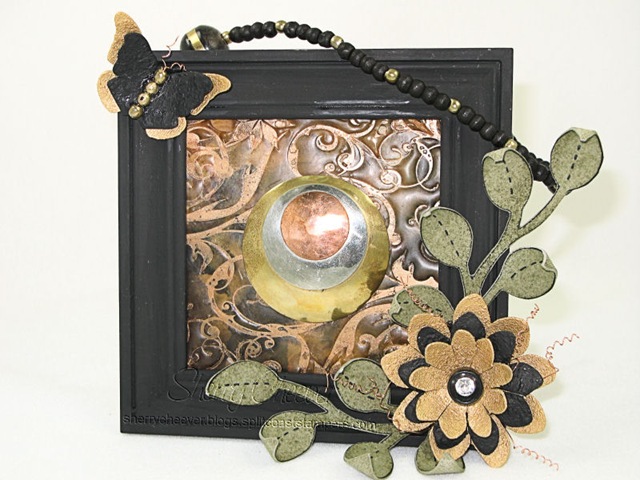
Please keep in mind, that this is my first attempt at Melt Art . . . AND . . . this is my Mother’s Day present for my mom. I made it to match the colors of her home: gold, tans and black. I posted some pictures way back when I first started blogging which you can find here.
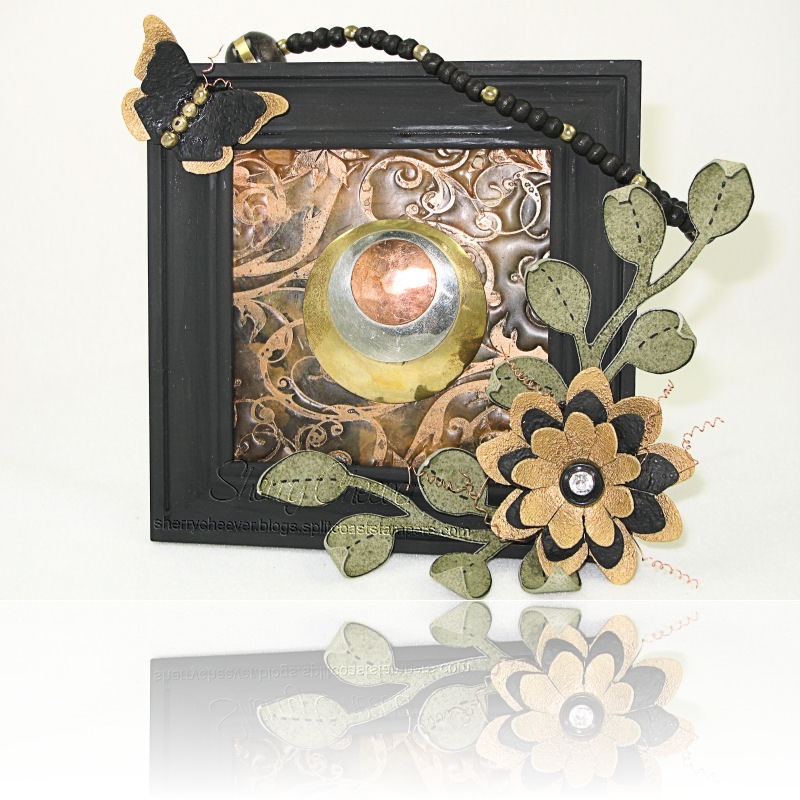
I started this project with an unfinished frame from the Dollar Spot at Target and a 4”x4” piece of illustration board. I started dropping various colors of alcohol ink on the illustration board and then gave it a blast of canned air. Once the illustration board was dry, I started layering melted beeswax. I truly can’t remember how many layers because I kept messing up and adding more. I do know that I fused each layer with my heat gun. When I finally had the beeswax to a workable form and not gaps is when I went to work with the texture. I dusted the Rubbernecker Flourish Background with Bronze Perfect Pears and then stamped into the warm wax. I LOVE how the image pushed the wax up and around and the image left the perfect pearls outline! The center medallion is part of an old necklace that my mother used to wear. Oh yeah . . . I used one of the very same earrings on another piece not long ago. The hanger for the frame is actually some of the beads from the necklace. The butterfly and flowers were die cut from Grunge Paper and then painted with Ranger Black and Gold Acrylic Paint Dabbers. The leaves were stamped on Grunge Board, inked and then cut out. To hold the flower together, I used some copper wire, wrapping it through a “truly” vintage button and then wiring each layer of the flower together. I left the ends long so that I could add some curls here and there. The beads on the butterfly are beads from the necklace.
- Stamps: Flourish Background from Rubbernecker Stamps; Wendy Vecchi Studio 490 Ticket to Art from Stampers Anonymous
- Ink: Ranger Archival Jet Black, Old Paper Distress, and Latte, Rust, Ginger, Gold, Black, Caramel and Hazelnut Alcohol Inks
- Paper: Illustration Board
- Accessories: Spellbinders Butterflies 2 and Daisy Heads Shapeabilities; Ranger Melting Pot, Glossy Accents; Bronze Perfect Pearls, Acrylic Paint Dabbers; idea-ology Grunge Paper and Grunge Board; Wire; Vintage Button; Old Necklace; Venture Foam Tape; Canned Air; Heat Gun; Brush
Thanks for stopping by and here’s hoping y’all have a great day! Don’t forget to check out the Wacky Wednesday challenge and play along with us.


