Good morning and welcome to Day 7 of the Spellbinders™ Sneak Peek and Giveaway! I hope you’ve enjoyed the sneak peek so far and you’ve found some wonderful inspiration over the last 6 days. I know I sure have!
I had such fun working on my projects for the Sneak Peek and thoroughly enjoyed stepping outside my box to work with mixed media on altered projects. For both of my projects I used beeswax . . . way too much fun.
Project Supply List:
- S5-178 Arched Windows One
EL-027 Numbers and Letters M-Bossabilities
LF-132 Grand Rectangles
Grand Calibur
All new products shown in the Sneak Peek can be found in the “What’s New” section of the Spellbinders Online Store!
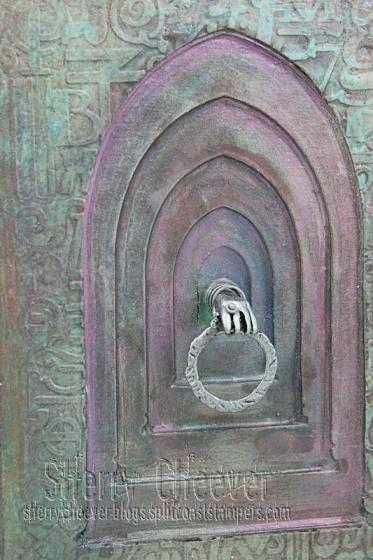
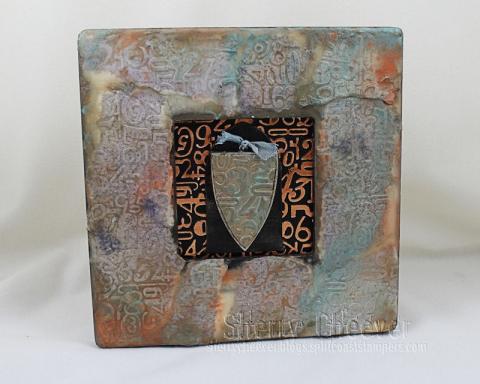
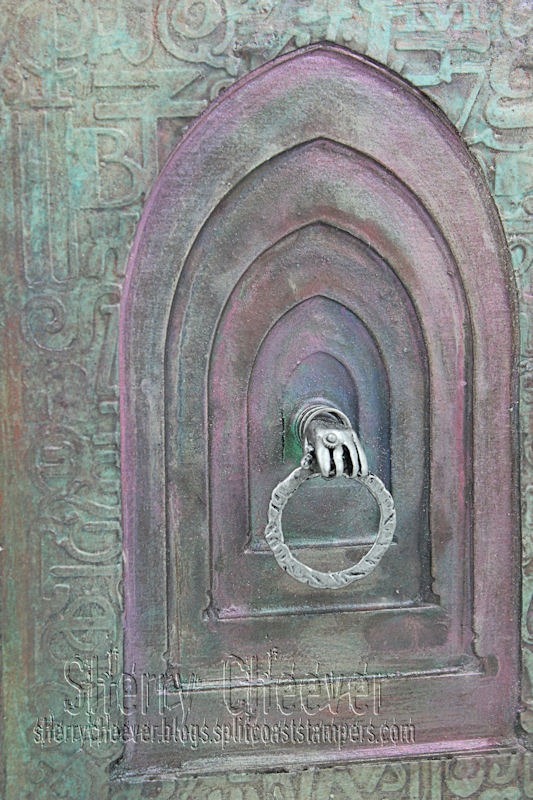
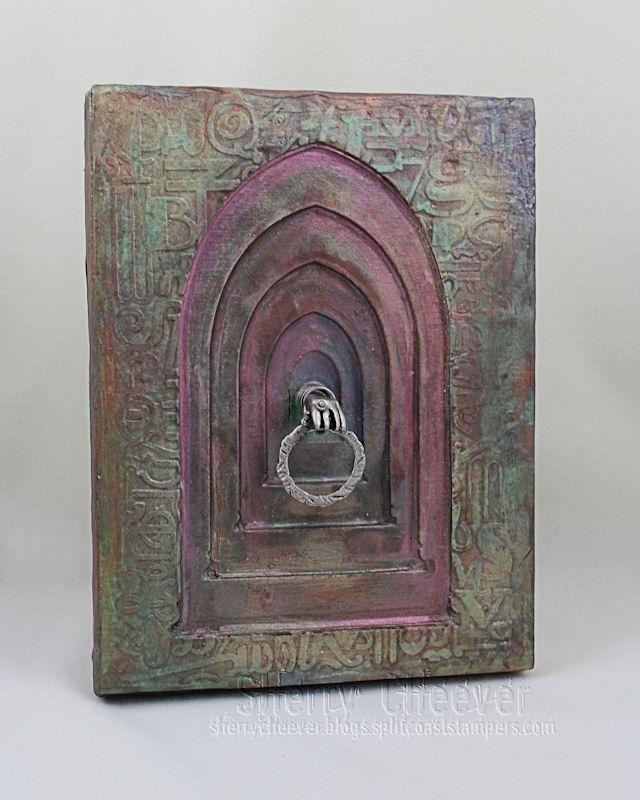
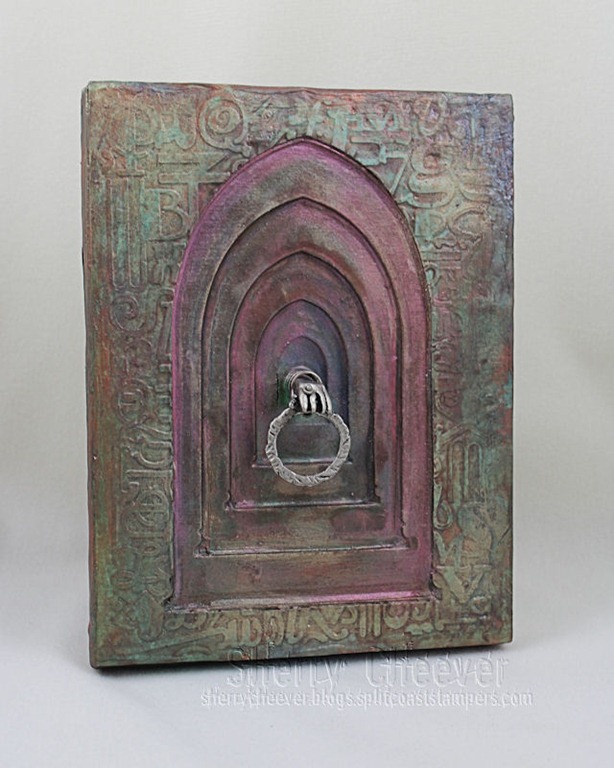
My first project is constructed completely from chipboard and covered in beeswax and Perfect Pearls.
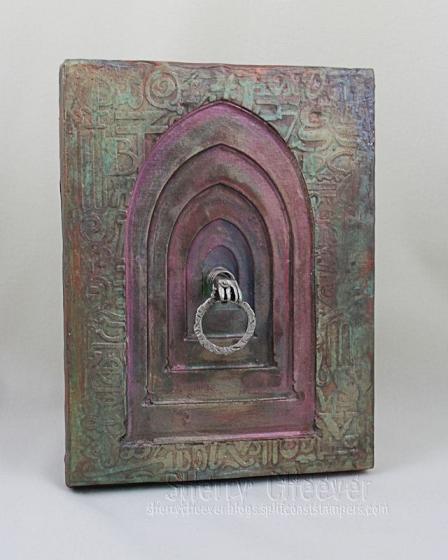
During a shopping trip at Michael’s, I found that fabulous dangle hand charm from Industrial Chic by Susan Lenart Kazmar.
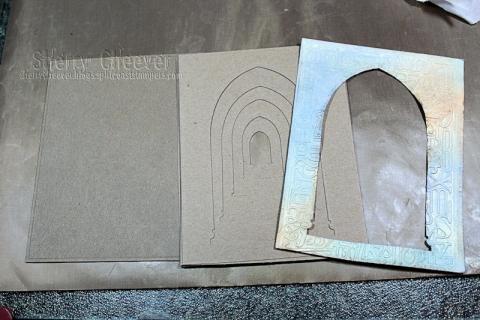
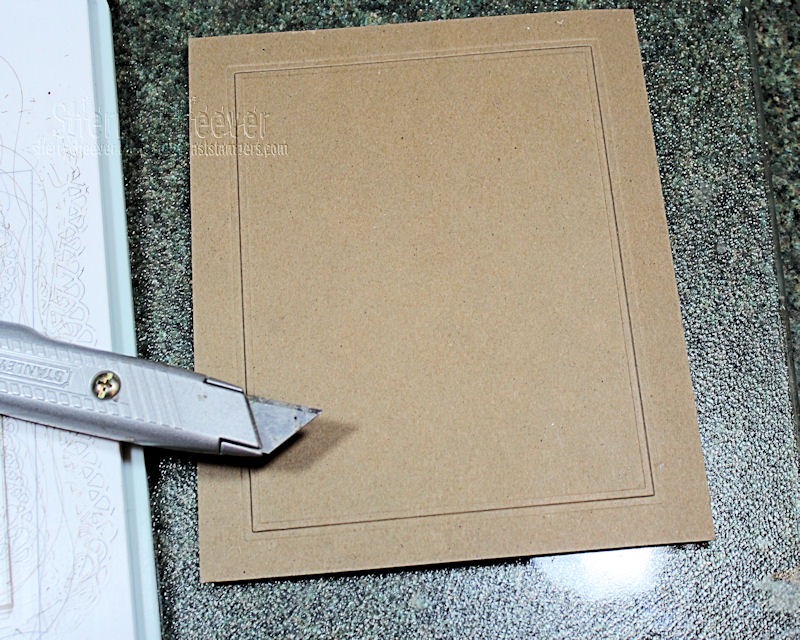
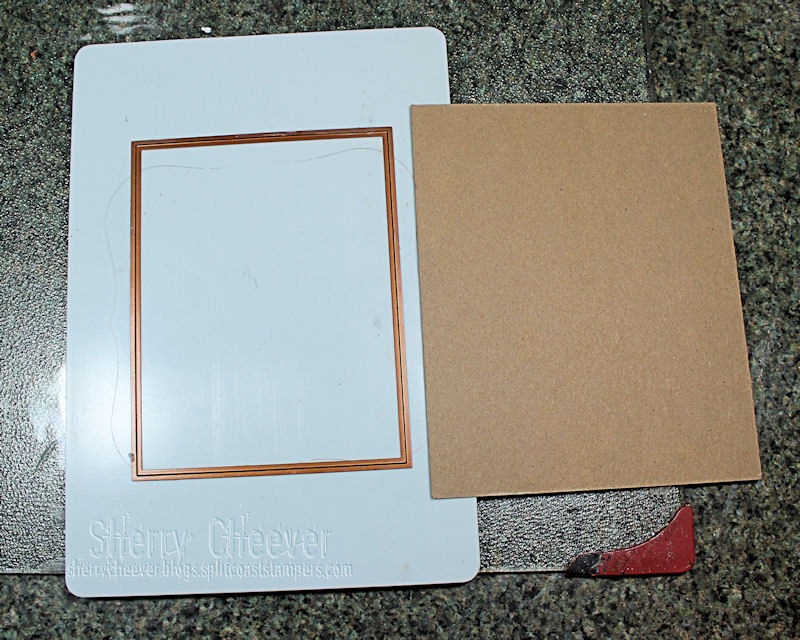
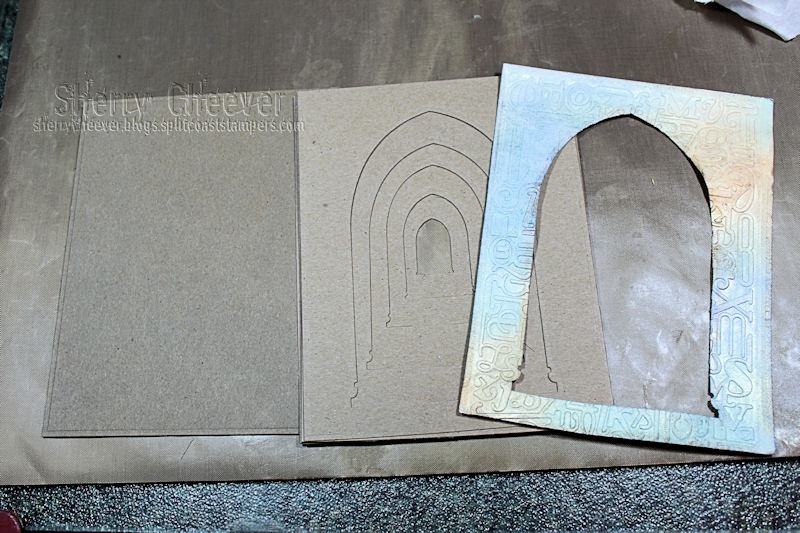
My project was created using .22 thin chipboard – three pieces die cut and glued together for each recessed layer. For the purposes of the tutorial, I will only be using 1 piece. If you wish to try your hand at this project, to get the depth I created, you will need to die cut 3 individual pieces and glue them together to make one layer. Spellbinders die templates very easily cut .22 thin chipboard; however, medium weight and thicker requires a little more effort. I say this because the backing to the piece is actually medium weight chipboard that I die cut with LF-132 Grand Rectangles Nestabilities®.
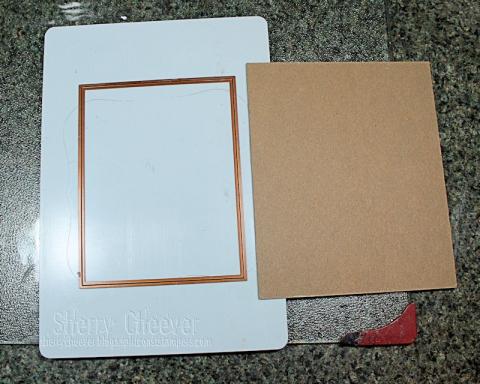
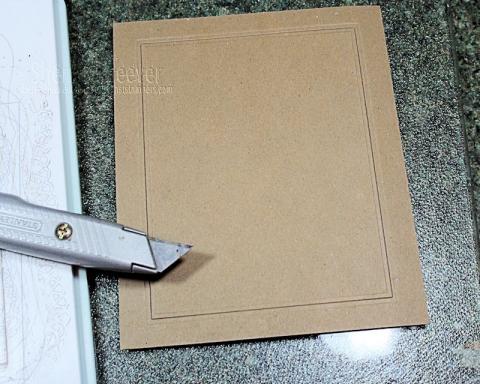
As you can see, the die does not cut all the way through the medium weight chipboard; however, you do get a very detailed cut that you can complete with a simple mat knife or cutting blade.
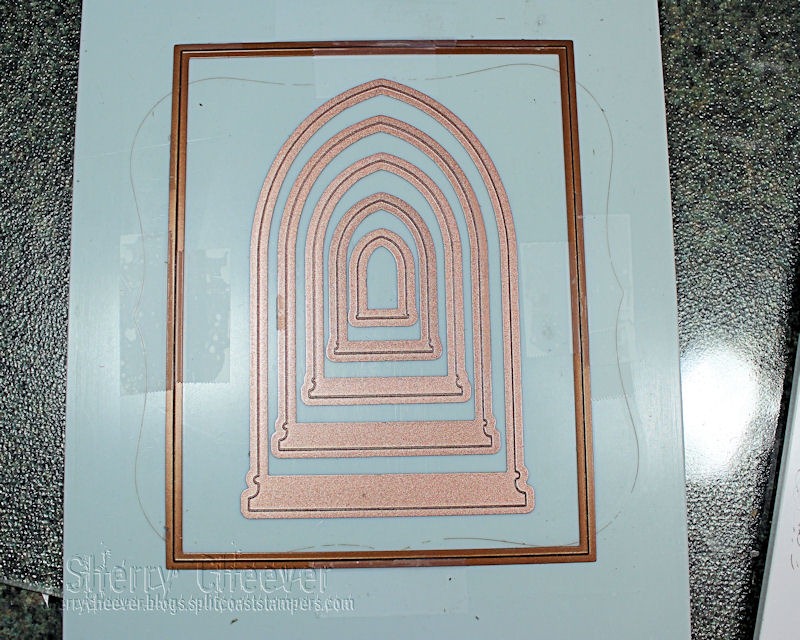
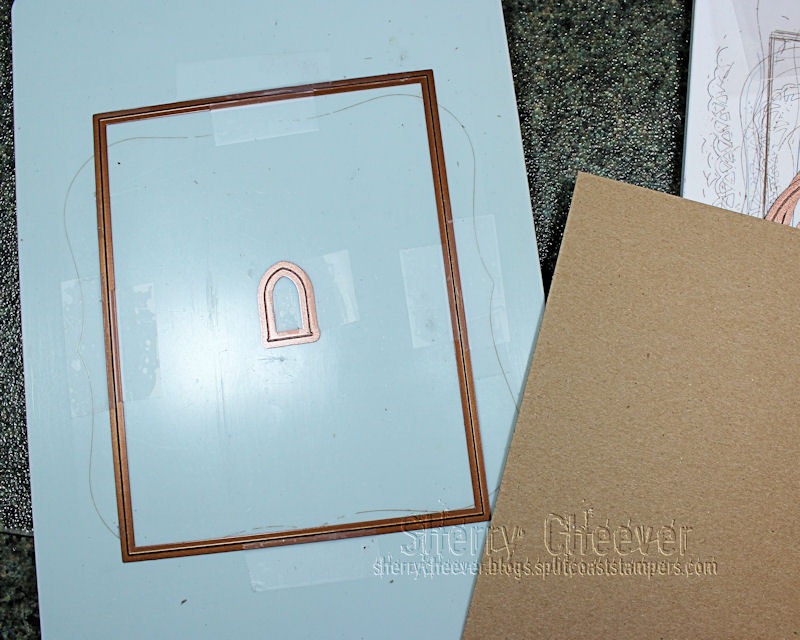
To align the dies for the different layers, the Grand Rectangle was taped in place. I recommend taping all four sides, inside and outside, to keep the die from slipping with repetitive cuts. All five dies from S5-178 Arched Windows One were placed inside the Grand Rectangle, centering them as you want.
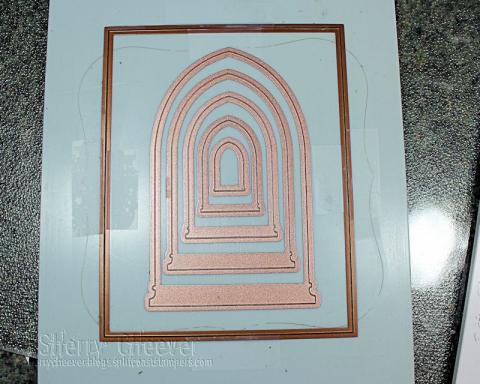
Once the placement of the smallest die has been determined, tape the die in place as you did the Grand Rectangle.

You can now die cut the thin chipboard. Remember that I’m only showing your one piece of chipboard. For my project, I die cut the same die arrangement three separate times. All three pieces were then glued together to form one layer.
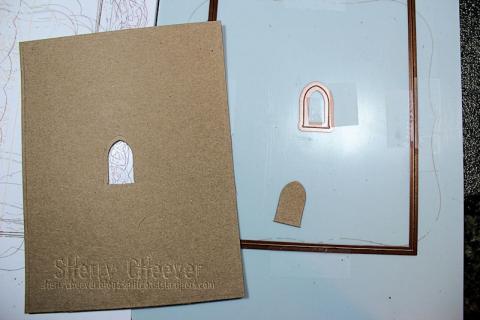
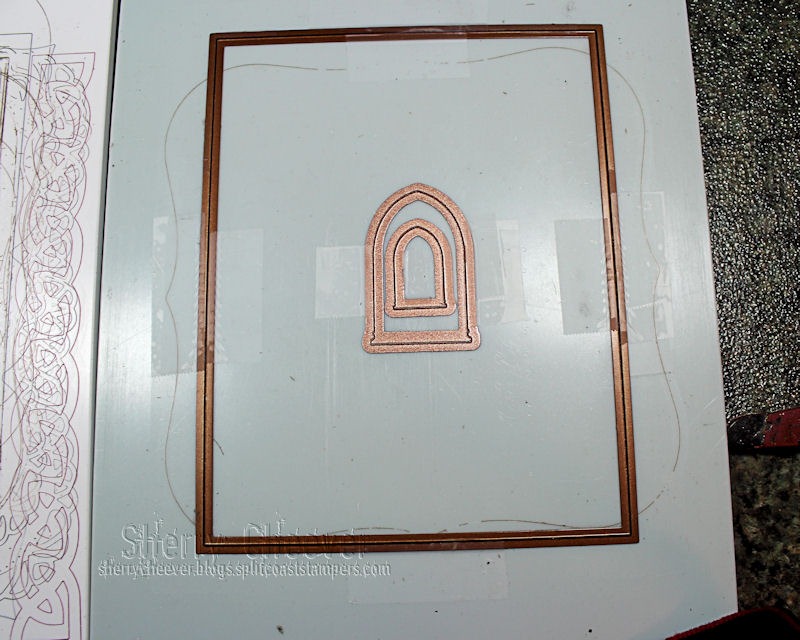
The next larger die was placed around the smallest, for the next layer to be die cut.
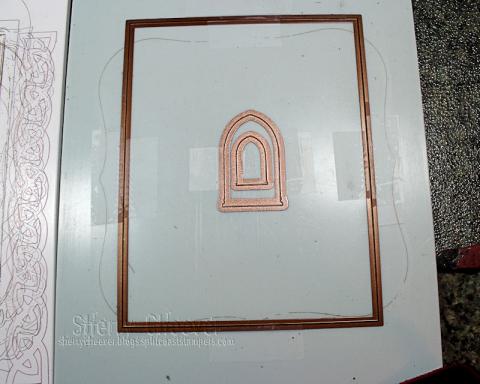
You will continue in the same manner as described above until you have cut all the different layers.

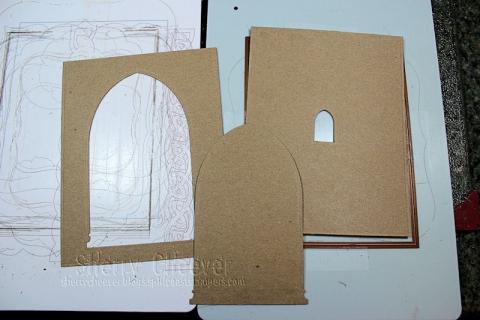
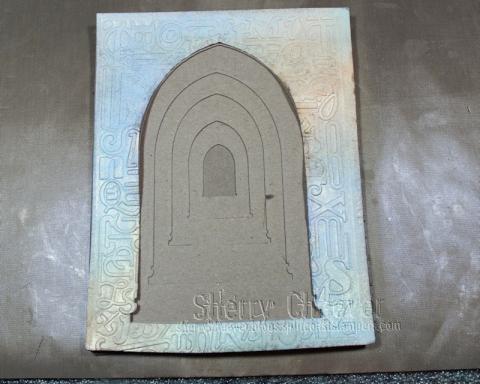
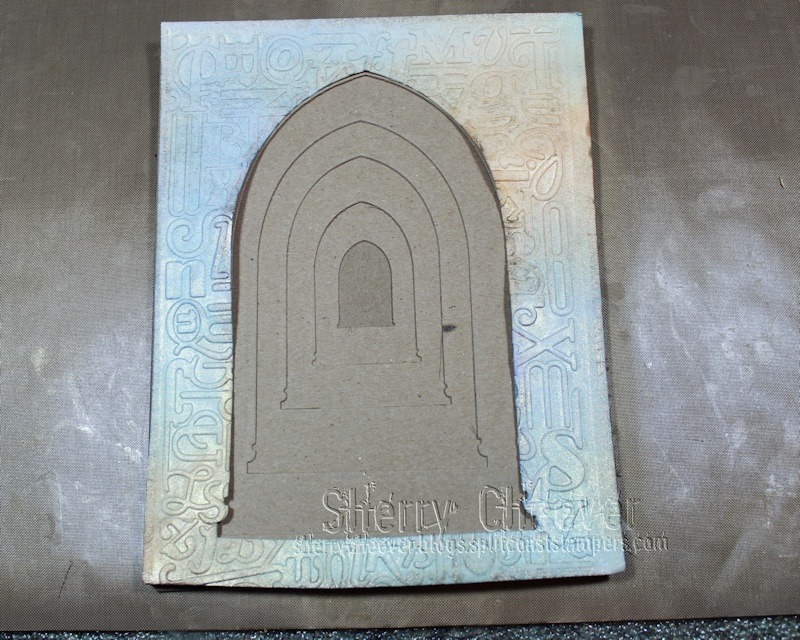
Here you can see the difference from the largest to the smallest die template. I also saved all the Arched Window die cuts to use on another project.
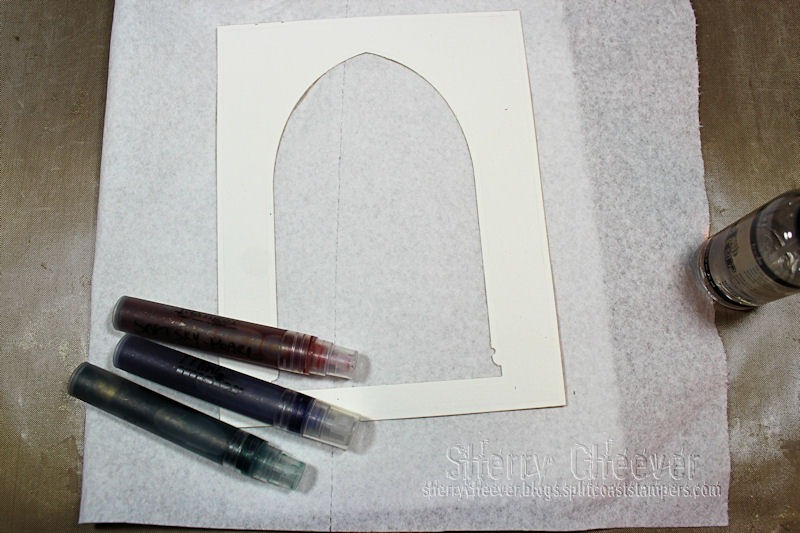
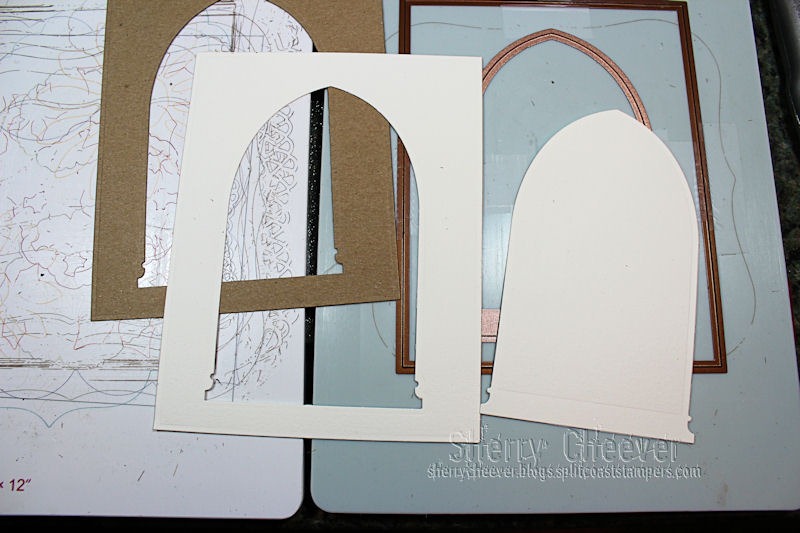
While the largest Arched Window die is still placed within the Grand Rectangle, I die cut a piece of watercolor paper to be used as the top layer of the project.

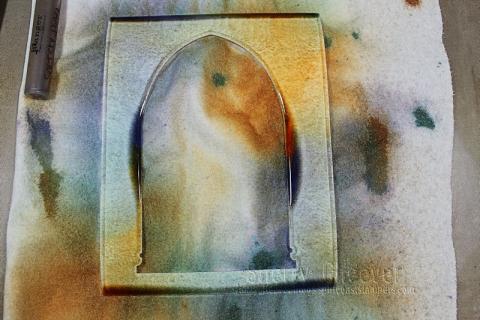
The die cut watercolor paper was then misted with water to open the fibers of the watercolor paper . . .
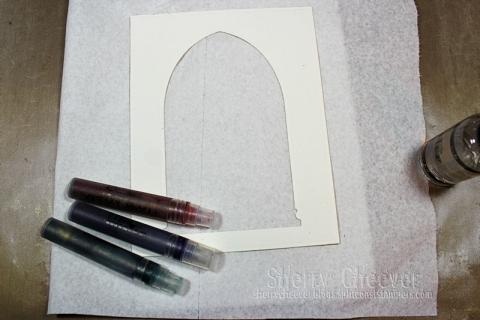
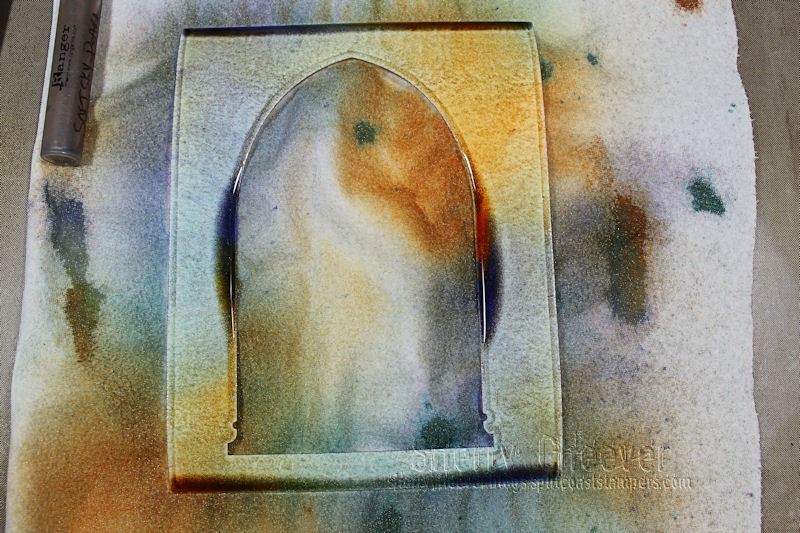
and then misted with a combination of Perfect Pearl sprays that I had previously mixed up. You can use any type of ink that you want to color the paper with.
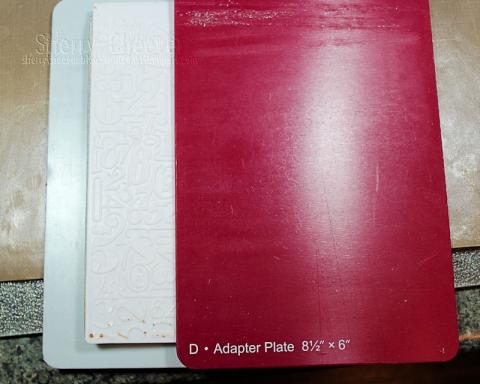
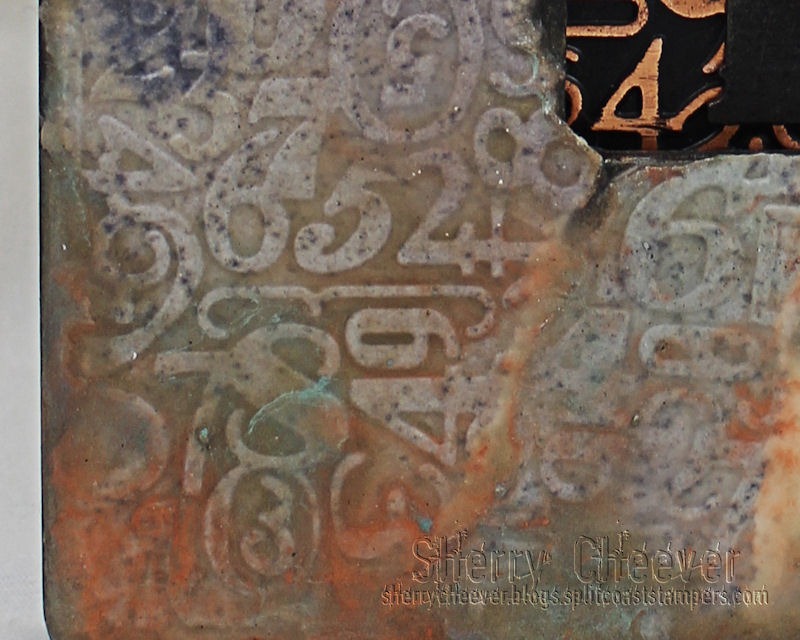
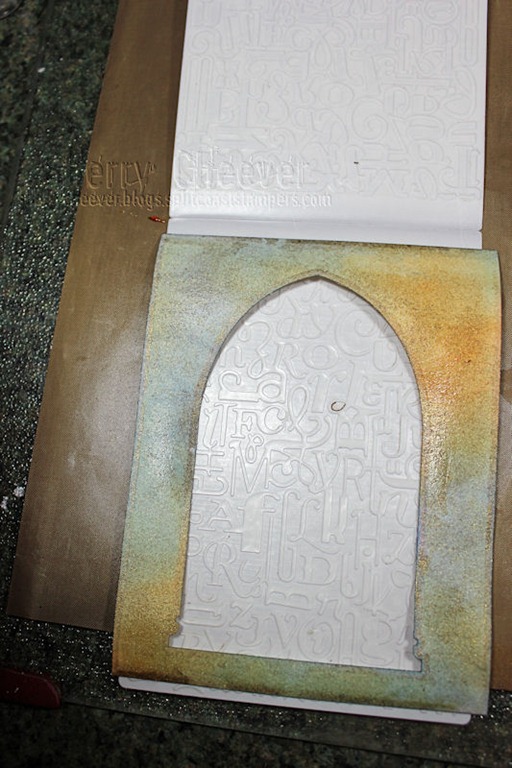
I like to use mists because while the watercolor paper is still damp, a deeper embossing is achieved. Here I’ve placed the still damp watercolor paper in the EL-027 Numbers and Letters M-Bossabilities.

The sandwich for using M-Bossabilities is the Base Plate, M-Bossabilities with paper inserted, and then the Adapter Plate.
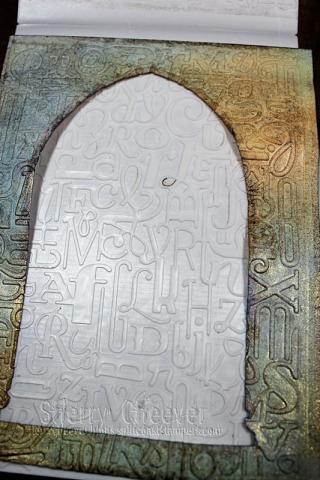
This is the watercolor paper once it has been embossed.
Here are all the different layers for the project. Each layer, except the watercolor paper, can now be glued together
To adhere the watercolor paper to the chipboard, I layered down three or 4 layers of beeswax before applying the watercolor paper.
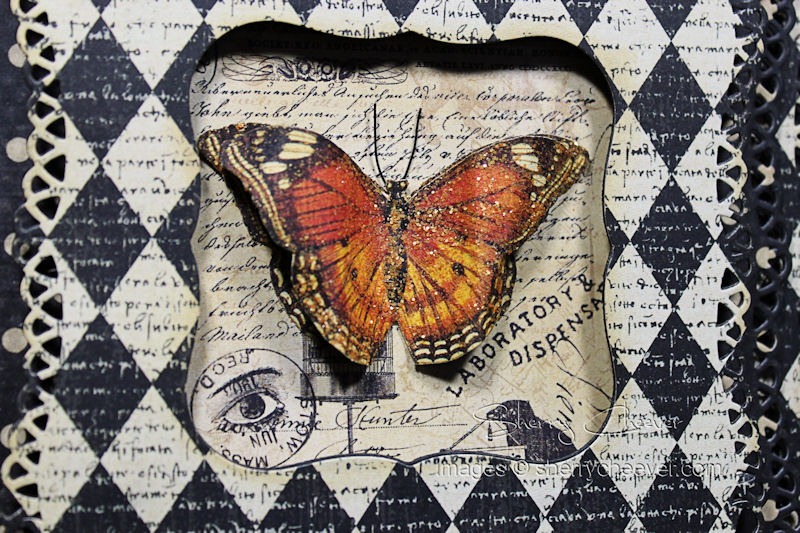
The remainder of the project was completed by adding layers of beeswax and different colors of Perfect Pearls.

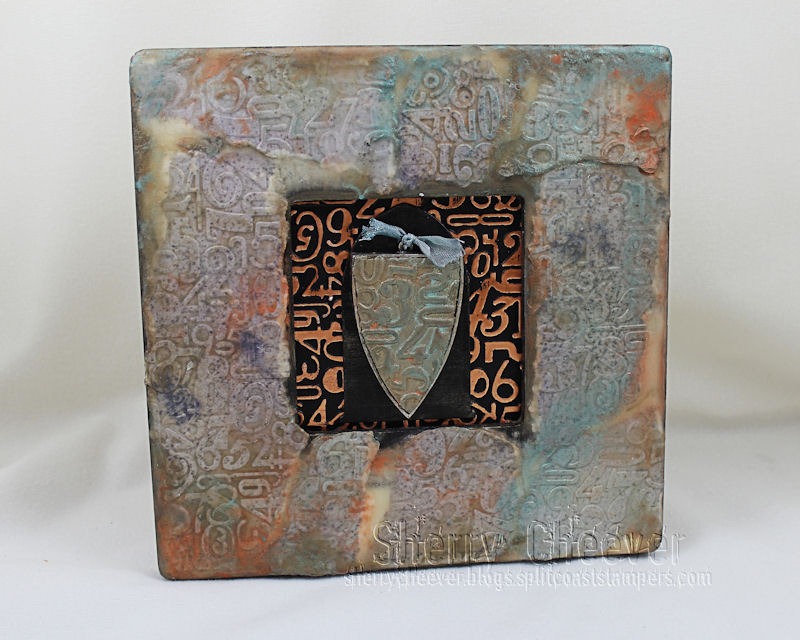
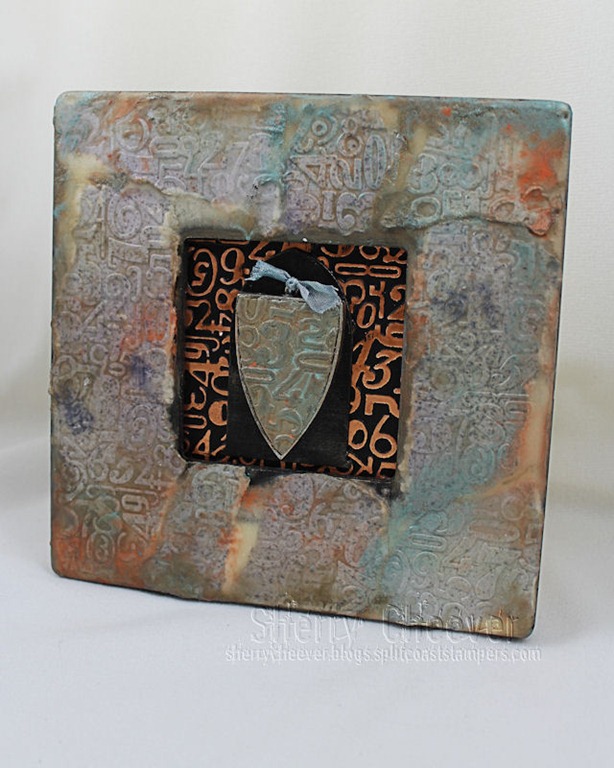
For my second project, I altered a $ frame from Michaels with beeswax. I’ll give you more details on this project in a few days.
Official Giveaway Rules can be found HERE.
Enter the Giveaway HERE!
No entries will be accepted at this email address.
Thanks for stopping by today and don’t forget to visit Candy Rosenberg’s blog today for another chance to win and more inspiration.


