Good morning!  Hope everyone is staying warm and you’re not buried under feet of snow.  We’ve had our first major snowstorm for the year and it’s been bitterly cold . . . let’s hope it warms up for all of us soon!

During the last month, I’ve been working on some favors for my sorority province meeting . . .  wish I had gotten a picture of the completed box.  I die cut and made some fabric flowers that were attached to the front of a take-out box which we put a few treats in.

I’ve also taken the time to organize and clean my work space.  I’m so glad I did . . . I finally feel that I have a room that suits me and that I actually like working in.  (If you follow me on Facebook, you can see all the photos there!)

I have a few projects in the beginning stages for Ken Oliver using his new products.  Love his new Color Burst!  These will be hopefully finished over the upcoming weekend and I’ll have a few things to share next week.

The last few days I’ve been working on a project for Quietfire Design.

ArtisanFrameRTscs

I used lots of old product that I’ve had in my stash for some time:  An old Darcie’s Offset Square Shadowbox Frame, GrungePaper, Tattered Floral die (I know . . . don’t faint).  I also used some new Graphic 45 paper I picked up at CHA, Artisan Style, and a Quietfire stamp.  Please hop over to the Quietfire Creations Blog, check out all the details and more photos.  I would love it if you could leave me a comment over there and let Suzanne know you visited!

Thanks for stopping by today!

SHERRY SIGNATURE


Project Supplies:

Good Monday morning!  Well, Mallory has gone back to school and my projects for Graphic45 are finally done and ready for priority mail.  The projects took a little longer than I anticipated, but I wanted to spend as much time with my girls as I could.

Now that my Graphic 45 projects are done and in the mail, I thought I would share them with you.  Since you’ve already had a sneak peek of the Chunky Tag, I’m going to start with that one.

The flowers are made from GrungePaper covered with G45 Botannicabella paper as is the 2×4 that I used as my Chunky Tag.   The feet are wood drawer pulls and the top is a metal one.

Let’s start with the butterfly side of the 2×4.  The center of the flower is a new metal embellishments from Graphic45, Metal Buttons.  The butterfly and background papers are affixed to Studio 490 Art Parts, ATC Art.

ChunkyTagButterflySide

This side of the tag has the same type of flower, but I added a new Studio 490 Art Part , Pocket Watches, and filled it with little bits and pieces.

ChunkyTagPocketWatchSide

One side and . . .

ChunkyTagFlowerSide

the other side.

I guess that’s about all I have for you today.  Oh except . . . you’re gonna love this Friday’s blog hop with The E-Team.  We’ve got some special guests joining us for one fun and very inspiring hop!

Thanks for stopping by and remember . . . life is short, embrace the adventures that come your way today!

SHERRY SIGNATURE

Product Used:

Smiley from millan.net Good Monday morning!  How was your weekend?  I for one sat on my butt watching Daytona Smiley from millan.net for two straight days.  If you watched, what did you think?  After the Nationwide race I just knew the 500 was going to be boring . . .boy was I wrong!  What a fabulous race and even better finish.  I was disappointed my guys, Mark and Tony, went from up front to who knows where, but very glad that a 20 year old Rookie won.

In between races I did some laundry (Mr. Stodgy is going back to work today) and also worked on a project for this week’s Make Art #3 Challenge in the Everything Wendy Vecchi Yahoo Group.   The challenge this week is to make a wall hanging that has a heart and a piece of chunky jewelry.  All of these challenges are being taken from Wendy’s books, Make Art Studio 490 Style, but to be honest with you, I never look at the books.  First, I always miss the initial post about the challenge with the book and page number, so I look it up in the database which doesn’t give you that information.  This is probably a plus because then I’m not drawing upon Wendy’s work for my inspiration.  Sorry Wendy, but I’d rather not blatantly copy, if you know what I mean!

This is what I used as my inspiration.

MakingArt3InspirationPiece

I purchased this heart last year and I’ve been looking at it every day wondering how I could make my own.   Here’s my first attempt at it.

MakingArt3

The heart shapes are from some chipboard book that I found the stash closet.  I can’t remember where I got it and even who made it.  I cut the inside heart down and then covered them both with Graphic 45 Le Cirque papers.   The flowers are made with GrungePaper that was covered with the same papers, and then die cut with the Tattered Florals die.  Of course, I had to use my favorite leaf stamp (Studio 490 Ticket to Art) that I stamped on GrungePaper, cut out and inked with Peeled Paint.

The words, take heart, are Maya Road mini chipboard alphabets that instead of inking up distress ink, I misted them with Red Pepper Color Wash.  Boy was that fast and easy!

Since I had the heart part of the challenge met, I needed some junky jewelry.  Thank goodness for all the junk jewelry my family has sent me.  The middle of the biggest flower is the end of an old earring.  It had a dangle part that I pulled off, to save for something else.

Here’s a picture of the full hanging just so you can see the hanger.

MakingArt3FullHanging

I used cloth covered florist wire.  It started out green but was just too bright for the project.  Vintage Photo Distress Stain to the rescue!  Oh my BADness . . . between the new Distress Stains and the Color Washes I’m gonna be in heaven.  I’ve already decided that I must have all the colors . . . a girl has to be prepared!

That’s all for me today.  Thanks for stopping by and remember . . . life is short, embrace the day’s adventures!Smiley from millan.net

SHERRY SIGNATURE

Product Used:

The E-Team is so very excited to help Daisy celebrate eclectic Paperie’s 4th Anniversary!  I can hardly believe that it has been 4 years since she first opened eclectic Paperie. . . of course, I think I’ve been a customer since the get go!  I know that I was one of the very first featured eclectic Friends.  I went back through my blog and found my post (which was fabulous by the way . . . all about cupcakes . . . and because of system failures on the SCS server . . . I lost the whole damn post and had to recreate it).  Anyhoo, the post was June 10, 2007 . . . that was a while ago!

ePblogHopChunkyArt

eclectic Paperie is announcing something NEW today . . . eclectic Kits!  The debut eclectic Kit is all about Chunky Art . . . . Chunky Tags and Chunky ATCs.  Now you know I’m in my seventh heaven . . . . it’s wood, it’s chunky and it’s art!

The full kits are limited to 25 so after the first 25 are gone . . . their gone!  The good thing is the kits are available in a number of ways.

You can get the full Chunky Art eclectic Kit for $25.00:

eclectic Kit  Chunky Art Jan 2011

You can get Just the Wood, Please? eclectic Kit for $5.00:

eclectic Kit Chunky Art Wood

The best thing yet, is that eclectic Paperie will be giving away two (2) $25 Gift Certificates to two (2) lucky winners during the Chunky Art Blog Hop.  All you need to do to win . . . is to leave comments!  Leave a comment on The E-Team’s blogs to be eligible . . . the winners will be drawn from comments left on all the blogs.

Daisy Sparks
Broni Holcombe
Latrice Murphy
Linda Duke
Linda Ledbetter
Micki Harper
Sherry Cheever
Starla Nelson

Now I couldn’t resist when I got my kit . . .  I knew that I had to make both a Chunky Tag AND a Chunky ATC!  Of course, I love making Chunky Tags and have only made one Chunky ATC before this one (you haven’t seen it yet . . . wait until after CHA starts then I can spill the beans on that one).

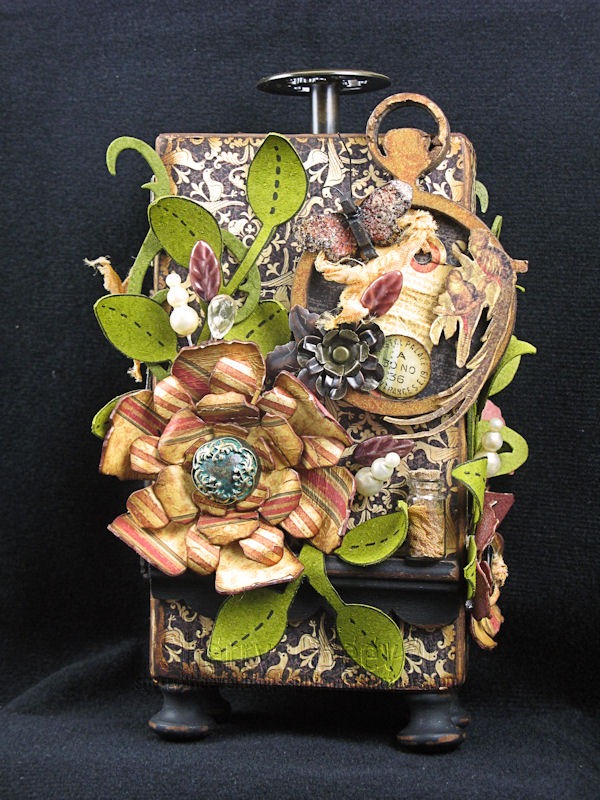
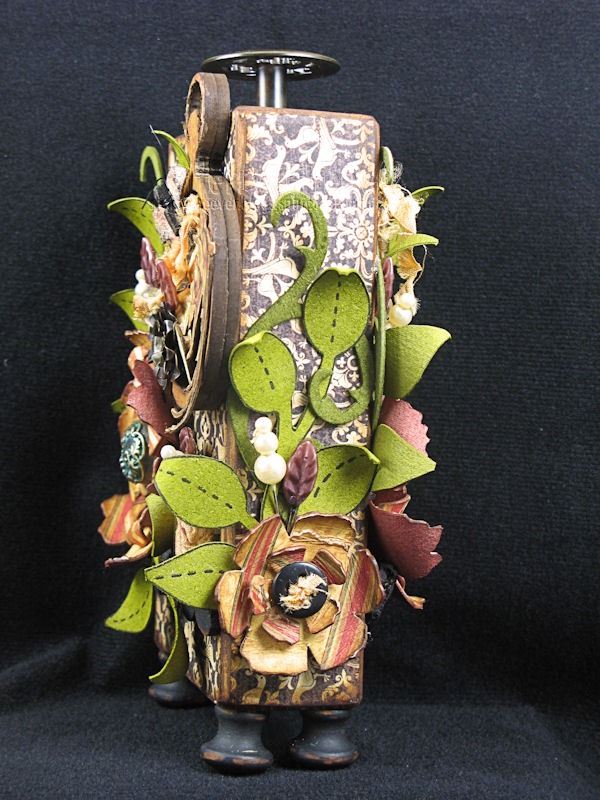
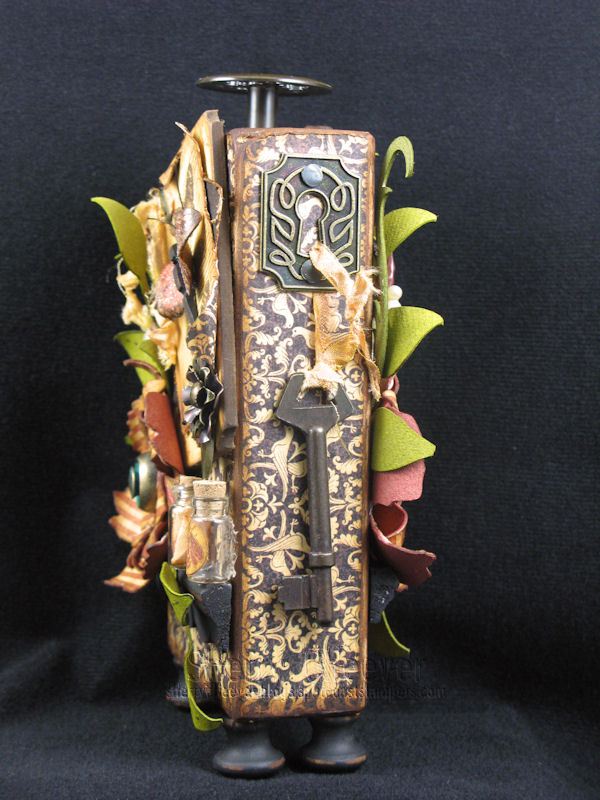
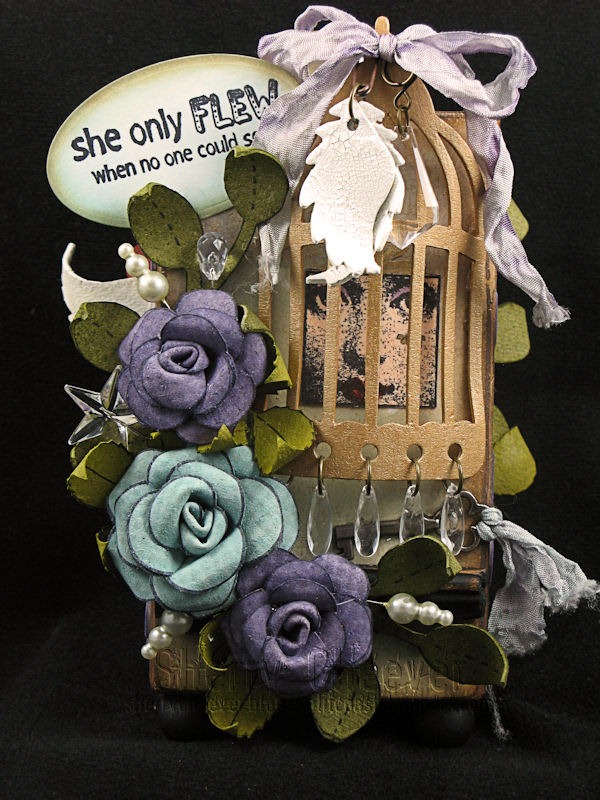
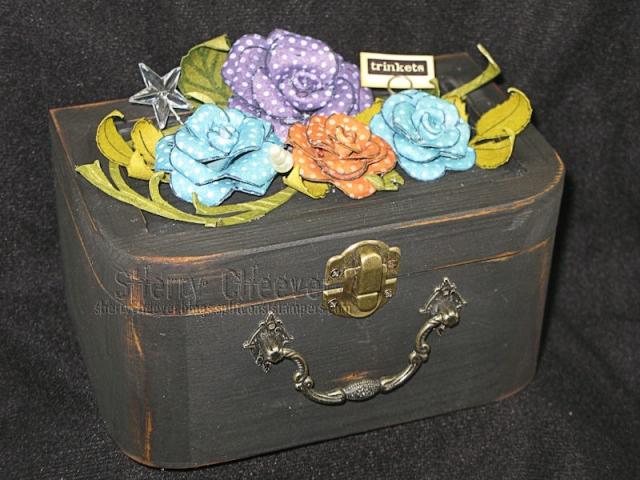
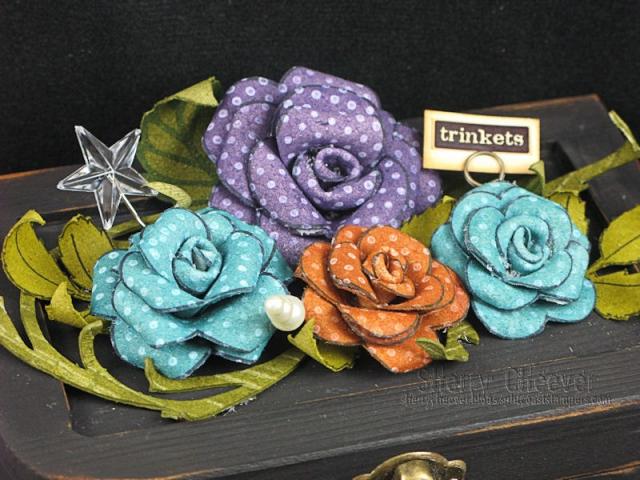
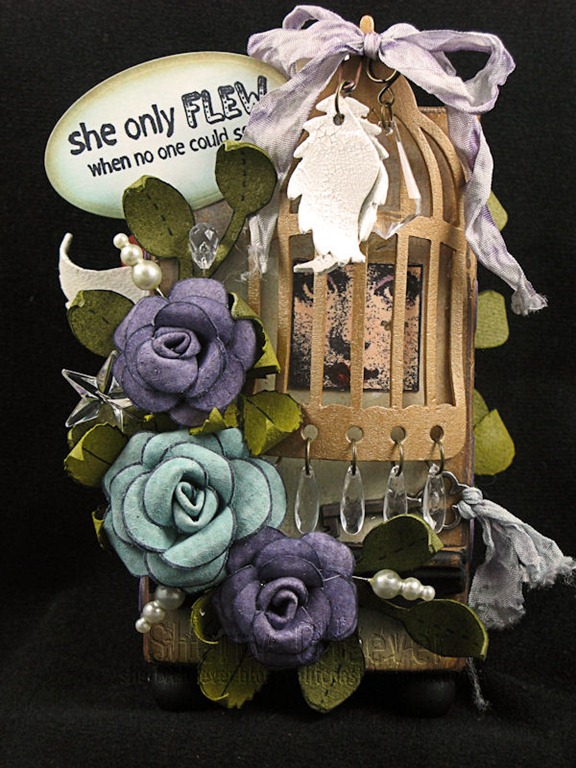
Let’s start with my Chunky Tag!  This first side is the project I’ve been wanting to make ever since I saw the cowgirl boots in my header.  I’ve also decided that I’m not going to go into great detail on each side.  I’ll hit the high points for you though.  It would make the post sooooooo long.  Plus look for all the little trinkets and embellishments  . . . there are many!

ChunkyTagDelight

The flowers (as are all the flowers on this piece) stamped in Snowcap Pigment with the weave background from Studio 490Forever Art.  The flowers are then inked in Dusty Concord and Tumbled Glass.  The heart is inked in Barn Red and the wings (both sides) are covered in Picket Fence Distress Crackle Paint and then swiped with Rock Candy Distress Stickles.

ChunkyTagFly

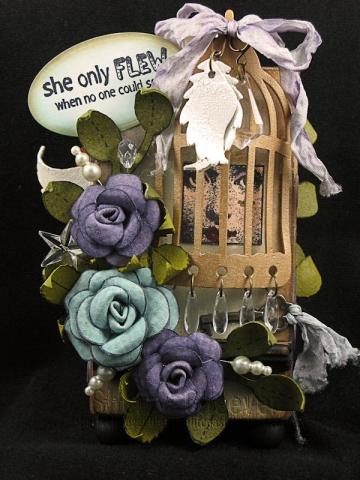
The birdcage side is of course, fast become a favorite of mine.  I  can’t think of a better BAD girl sentiment than “she only flew when no one could see.”  Think about it . . . think long, think hard . . .  it’s perfect!  By the way, the leaves are done in Peeled Paint and Crushed Olive.

ChunkyTagEmbrace

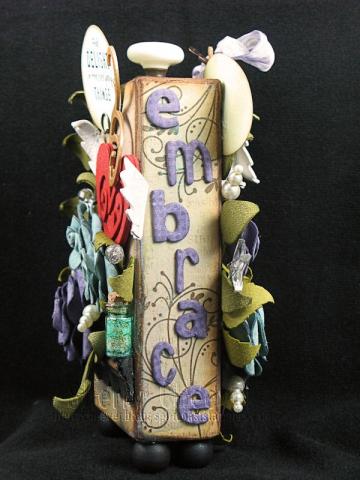
The sides read together is my year . . .

ChunkyTagJourney

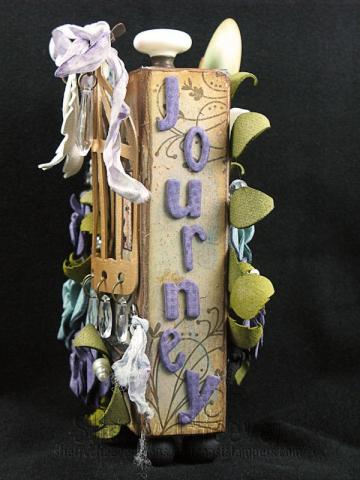
Embrace the Journey!

Were you able to see the hint of Turquoise Perfect Pearl Mist on the paper paper wrapped around the 2×4?  Can you tell that this is my own personal Chunky Tag that will sit in my studio for me to see every day?

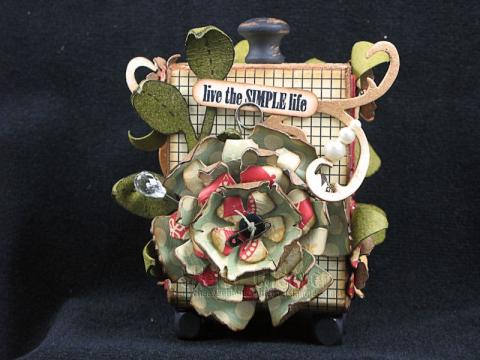
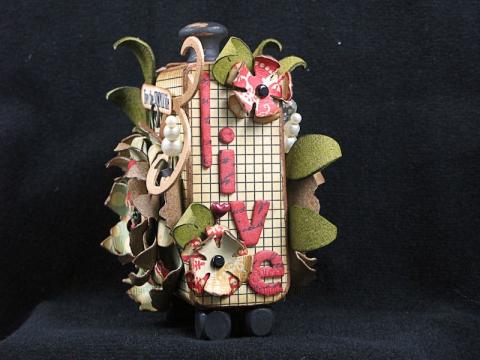
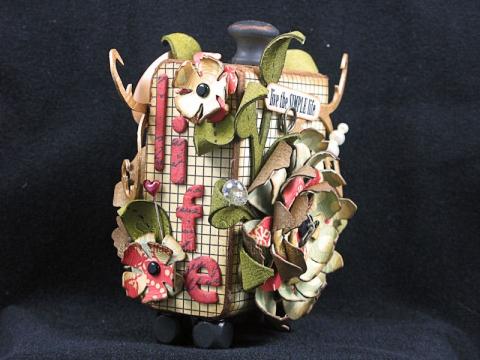
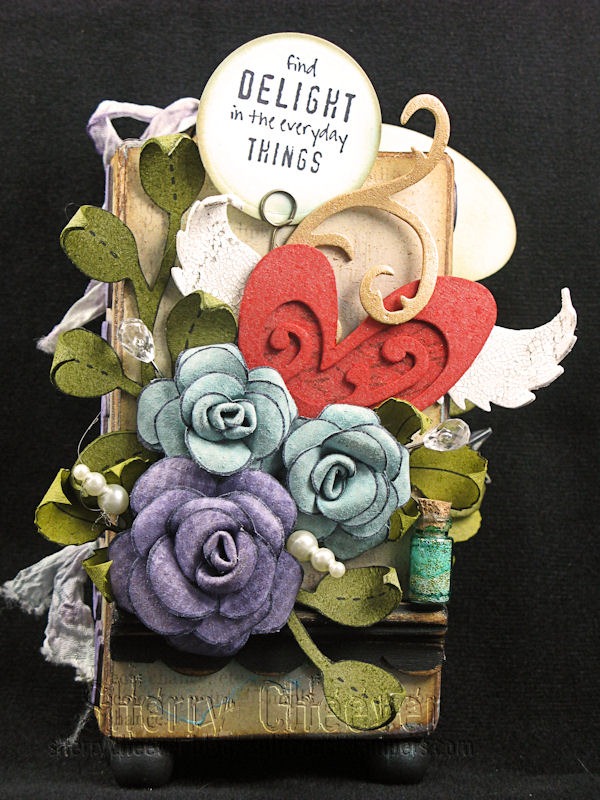
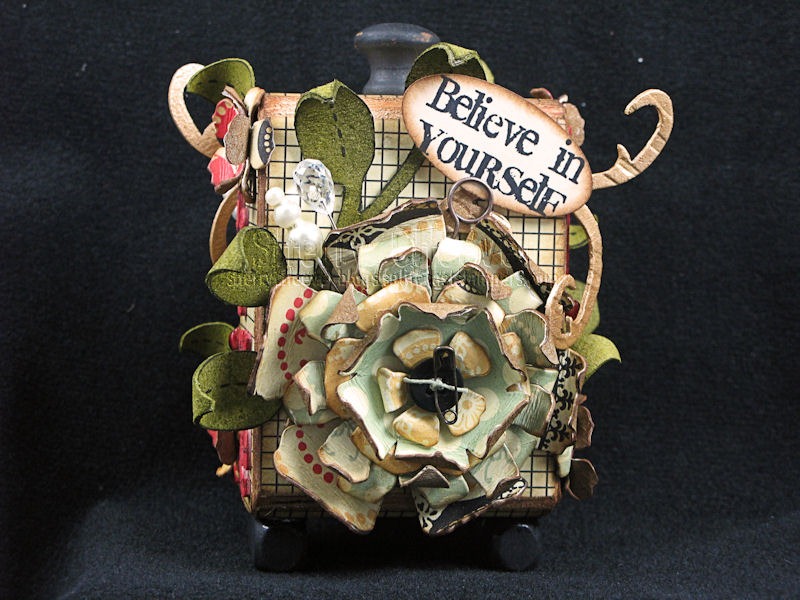
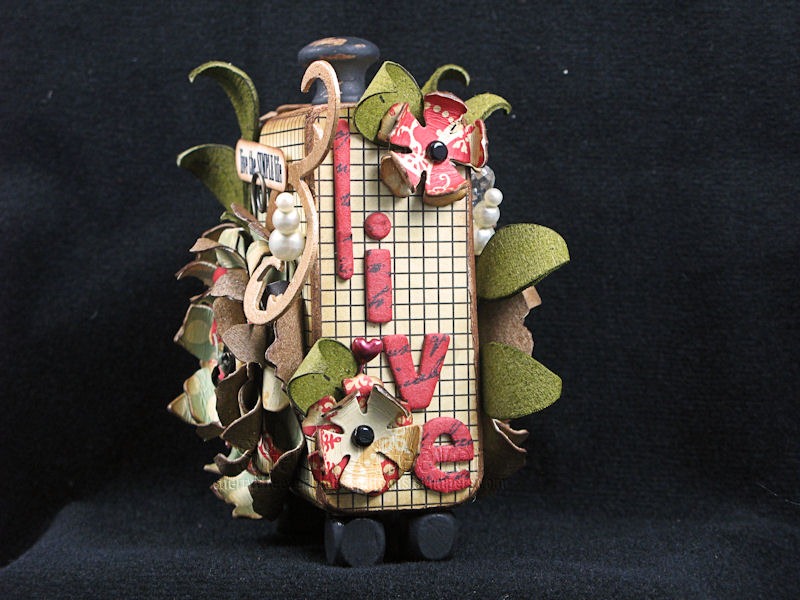
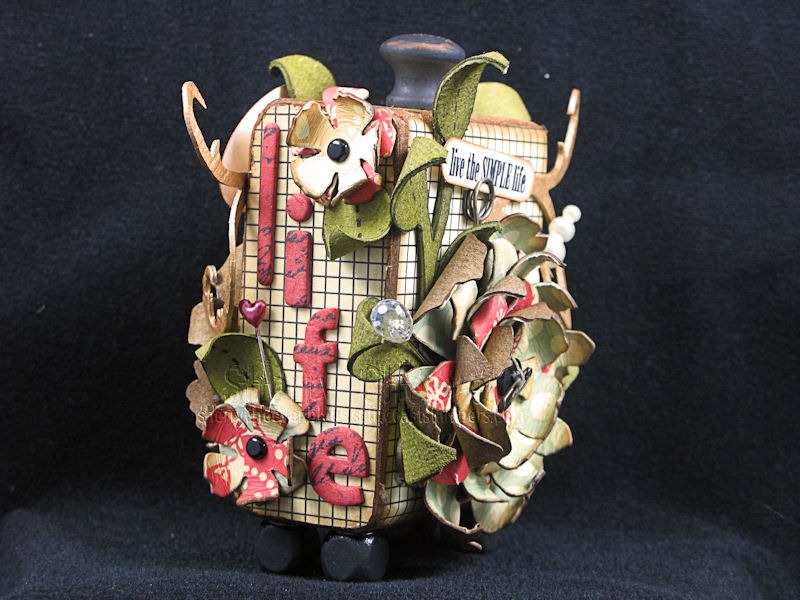
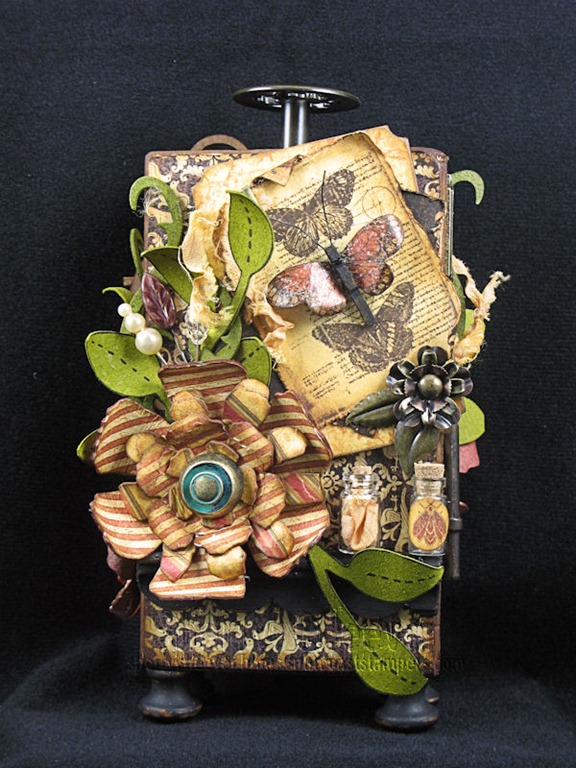
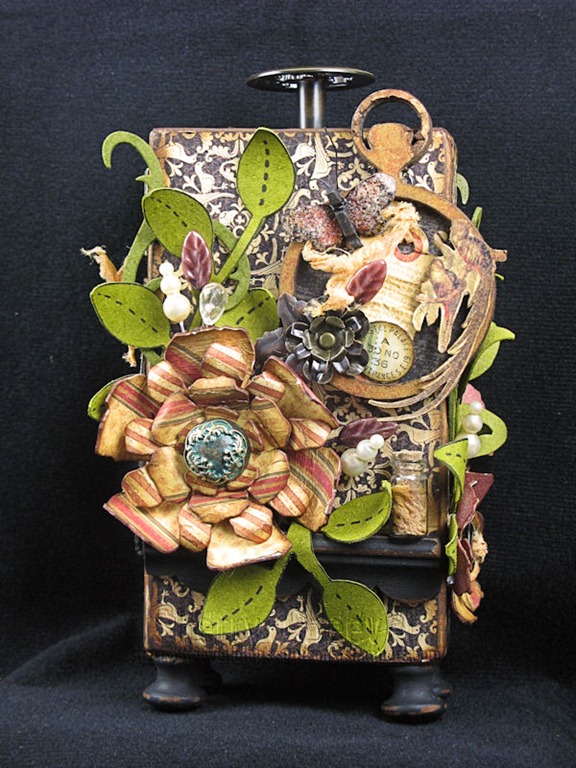
Now for the Chunky ATC!  What a fun size to work with.  I’ll tell you up front that the paper used is Cosmo Cricket Circa 1934 and the flowers were made by gluing the paper to GrungePaper and die cutting.

The first side is a simple reminder to myself.

ChunkyATCSimple

The other side . . . well hell, another reminder to myself.

ChunkyATCBelieve

And the sides . . . first one

ChunkyATCLive

and then the other

ChunkyATCLife

a take from the first side  . . . live the simple life!  One doesn’t need much more than that!

I do believe that’s all I have today!  All I can say is if you have any specific questions about the project, shoot me an email.  What I truly love about these chunky projects is that they are an expression of the individual artist and whatever you do, is never wrong!

I leave this for eclectic Paperie and Daisy.

Smiley from millan.net

Thanks for stopping by and remember . . . life is short . . . embrace the adventures that come your way today!

SHERRY SIGNATURE

Product used for the projects:

Happy weekend!  My Saturday sure has been lazy so far . . . . a little TV, some laundry, blah blah blah . . . .

You might notice that I’ve changed my blog up a little today.  Splitcoaststampers upgraded our software recently and the other day they uploaded some new templates for us.  Since it was the first day of the Holiday Hoppin’ event, I decided to wait a few days before I did anything.  This change will be a work in progress as I continue to do little bits here and there . . .  some you might not notice at all.

Remember when I told you that my mother and uncle had picked up some wood boxes for me at Hobby Lobby?  There were two different sizes of the same box, this is a pic of the larger one.  I’m showing you this because when I sat down to work on the smaller box, I forgot to take a picture before painting it.  DUH!

plainwoodbox

Anyhoo, I painted the entire box (inside and out) black, sanded some areas where I thought one might handle the box, and then highlighted those areas with Vintage Photo distress ink.

There is a place on the top of the box that might be used for tile, a photo, I guess whatever you want . . . I added roses.  Not just any roses, but GrungePaper roses!

BlackRoseBoxNovember20

I stamped out three different sizes of the rose, cut them out and before putting on any ink, I stamped Wendy’s polka dot background from Studio 490 Seriously Art on in Ranger Snowcap pigment ink.  Once the pigment ink was dry, then I covered the roses in Dusty Concord, Broken China and Rusty Hinge.  The leaves were covered in Peeled Paint and Crushed Olive.  Being as I am . . . . you’ll find some extra trinket pins and whatnots thrown into the mix.  Underneath the roses there is also a flourish made with the Tim  Holtz Elegant Flourishes Alterations die.

RoseBoxCloseUpNovember20

So that’s it for this Saturday.  Tomorrow I’m going to take a bow making class with my mother and sister.  If I end up with some amusing pictures and/or stories (you never know with this bunch), I’ll be sure to share.

Oh and for those of you wondering about my smoking . . . . STILL NOT!!  I’ve moved to Stage 2 in the patches (which I must admit this week has been hard with the step down) and I’m finishing up week 5.  However, I did have my visit with the pulmonary doctor and they have absolutely, unconditionally released me.  Since I’ve quit smoking and all my tests came back “good”, then they don’t want to see me unless I have some problems, etc.  How cool is that?  No COPD and no other lung disease . . . some scarring yes, but nothing earth shattering to be that concerned about.

Thanks for stopping by and remember . . . . life is short, enjoy the adventures that come your way!

SHERRY SIGNATURE

Product used for Rose Box:

© 2015 Suffusion theme by Sayontan Sinha