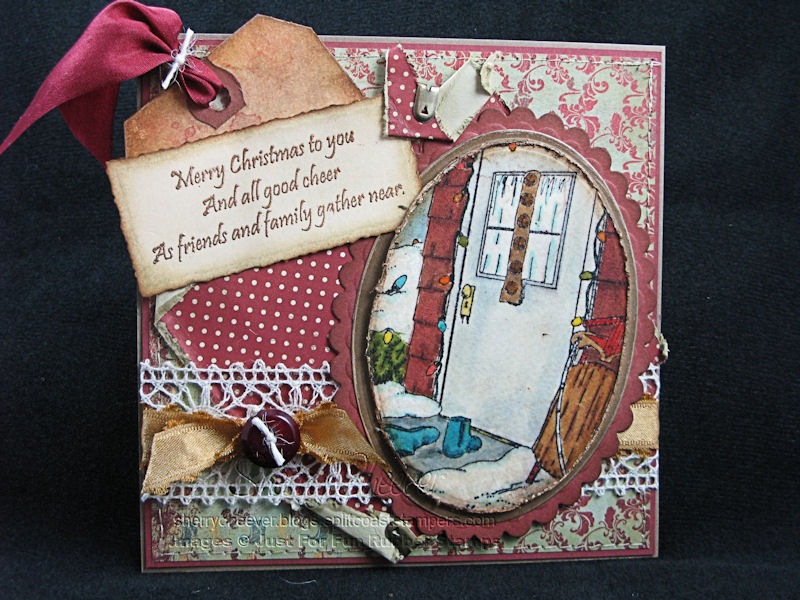
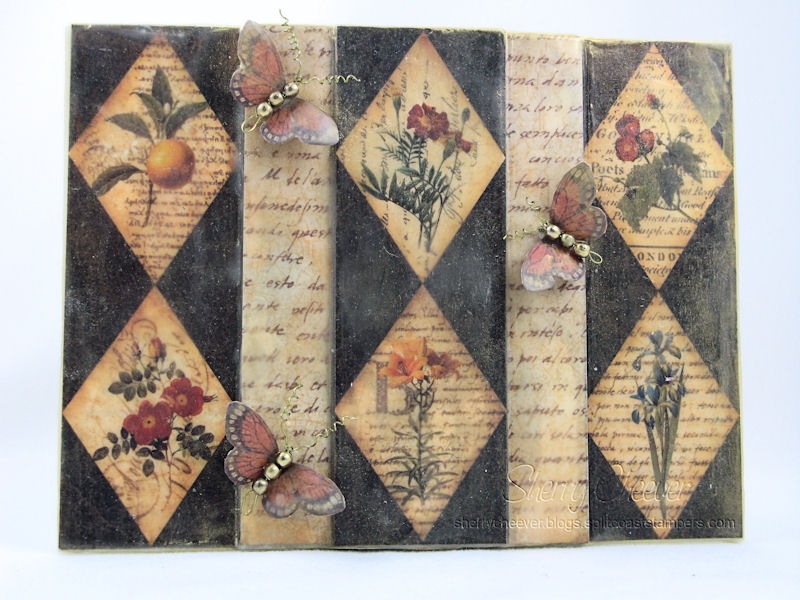
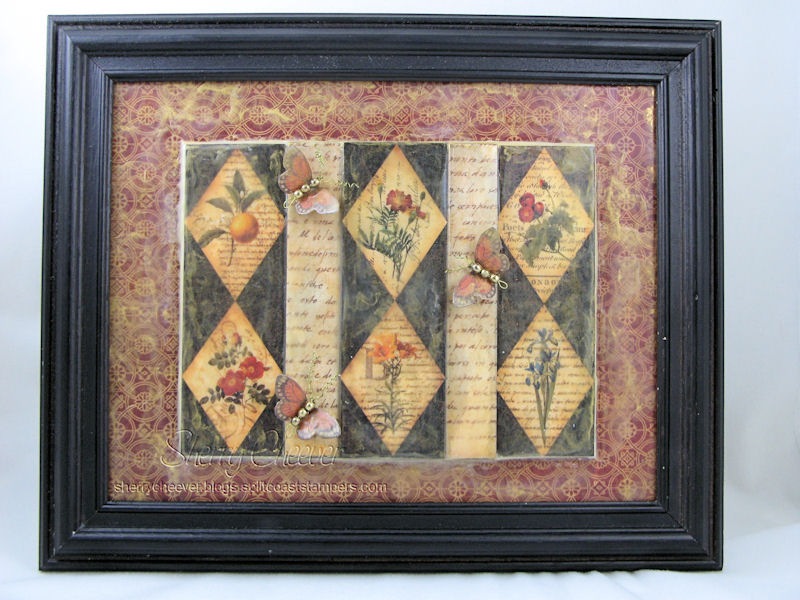
Good morning!  I thought today I would talk about my second project on the Spellbinders™ Sneak Peek and Giveaway!

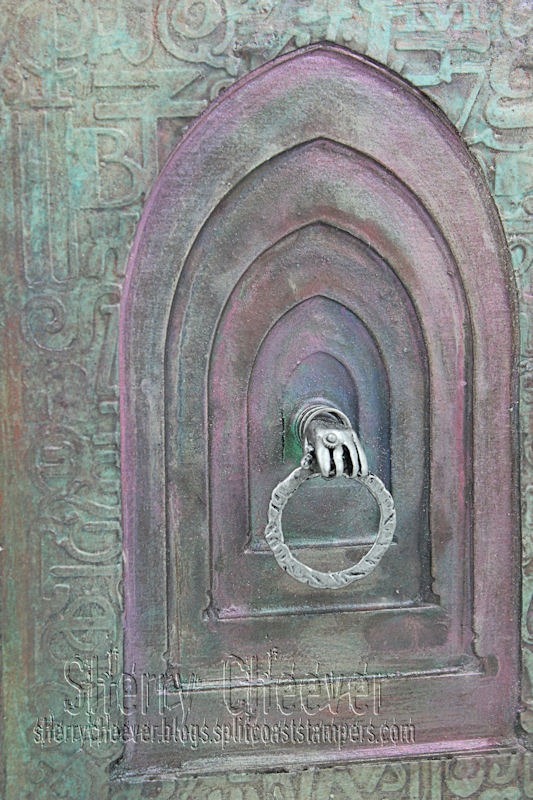
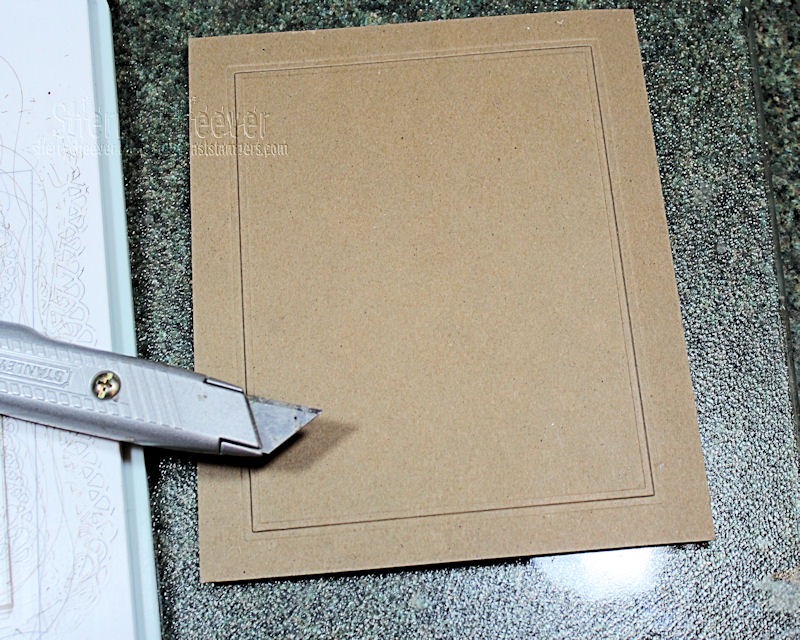
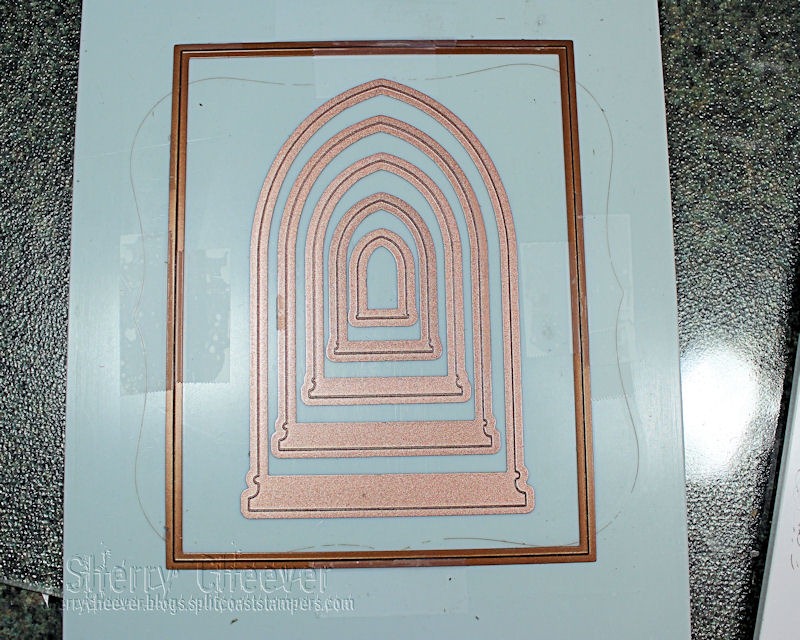
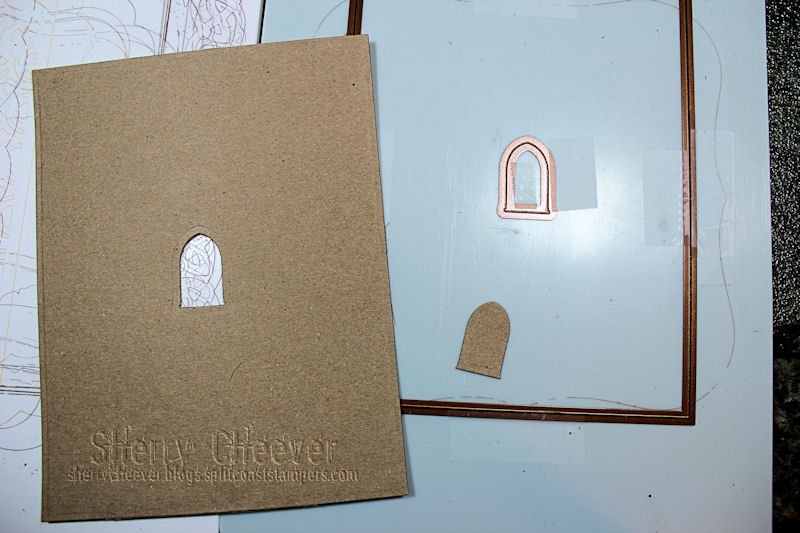
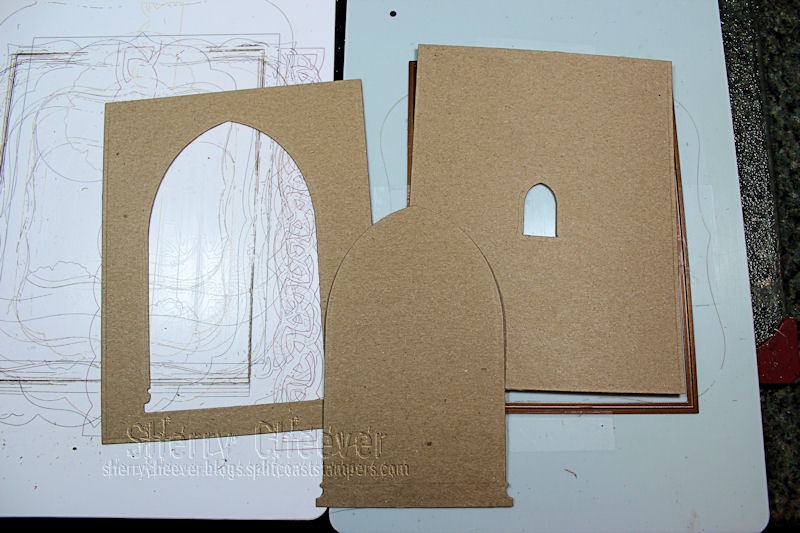
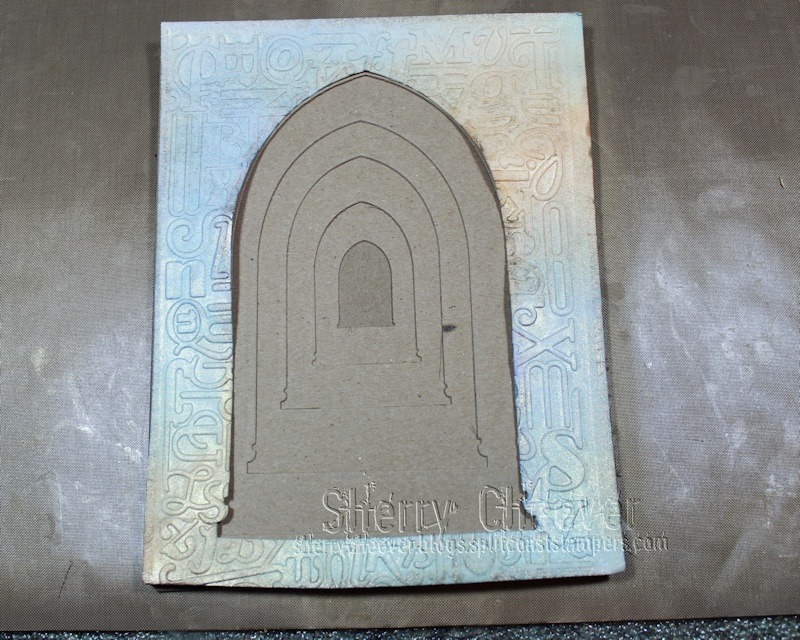
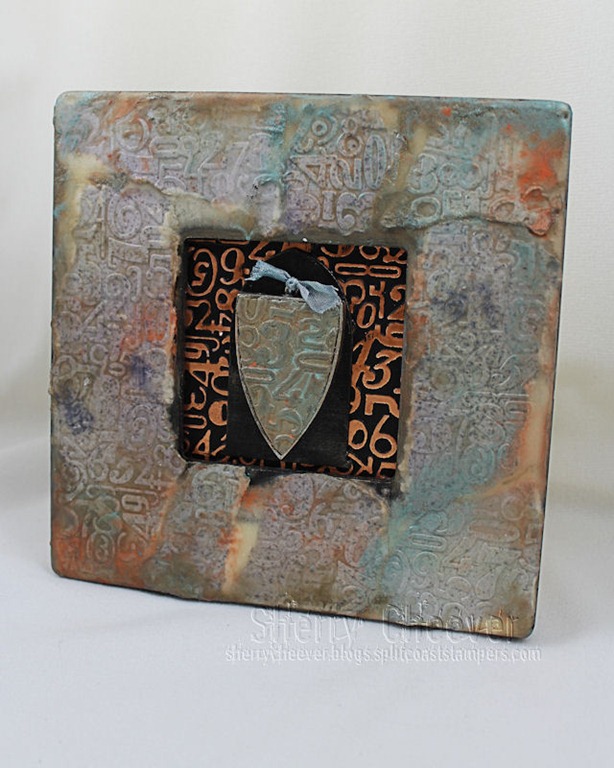
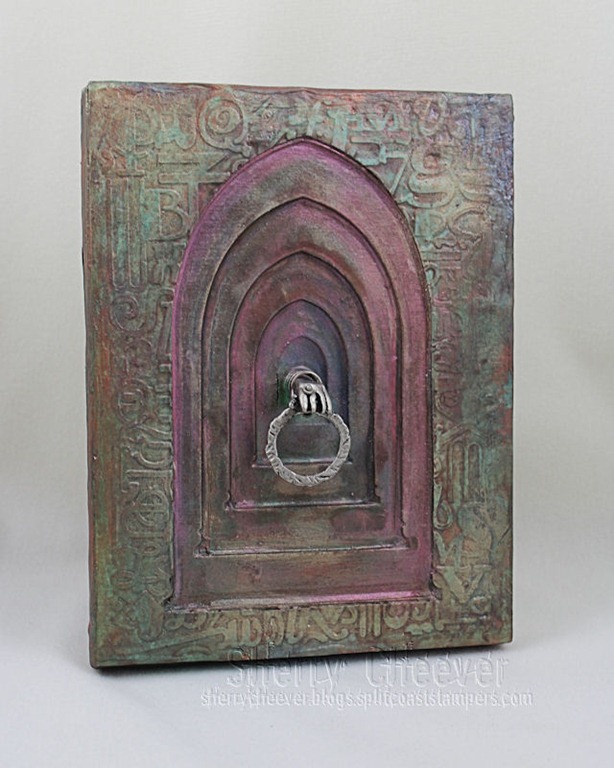
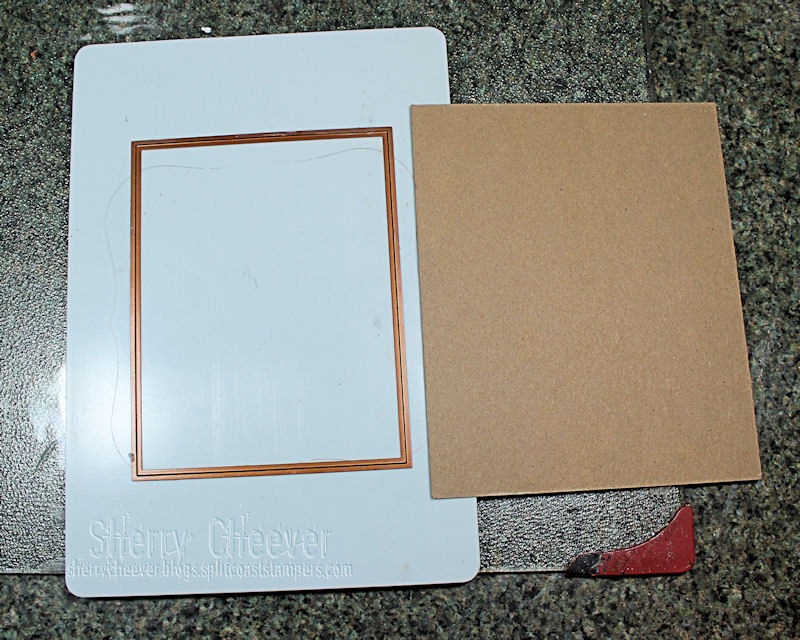
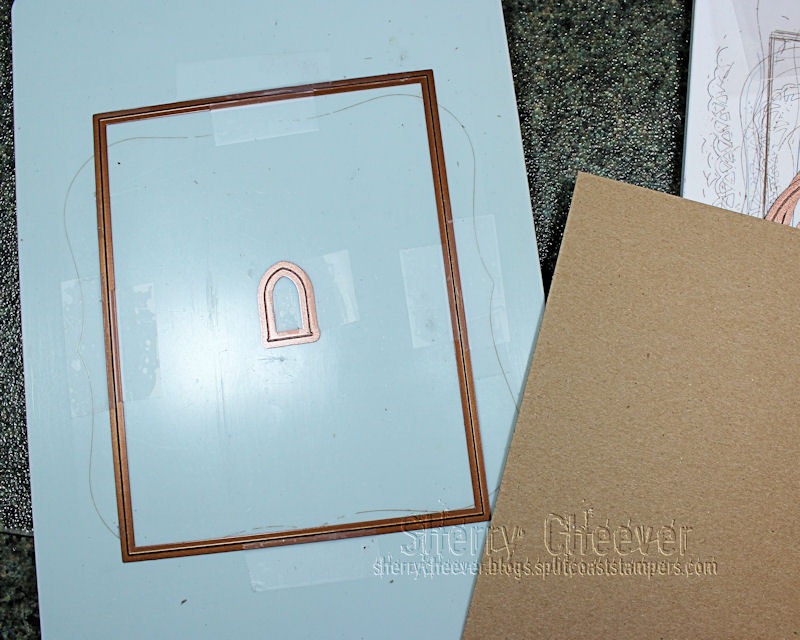
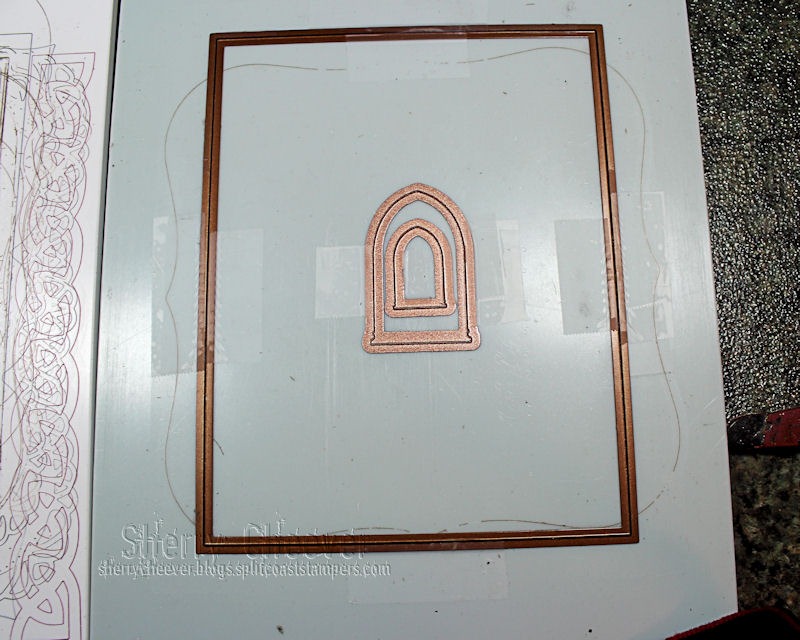
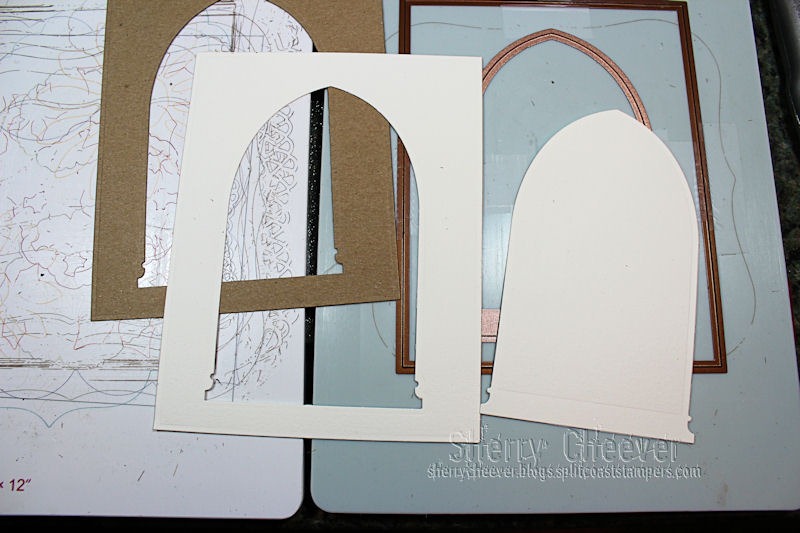
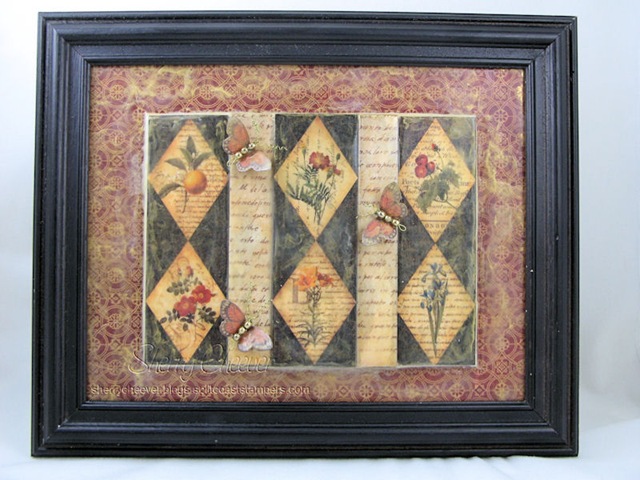
After my initial project (the layered arches) was done, I was boggled with what my second project should be with the assigned dies.  I had a ball working with the beeswax on the first project and thought why not carry it on over into the second.  The problem then was . . . what.  I finally settled on pulling out one of the $1 frames from Michael’s that I had down in my class surplus.

SCheeverBeeswaxFrame MYCOPY

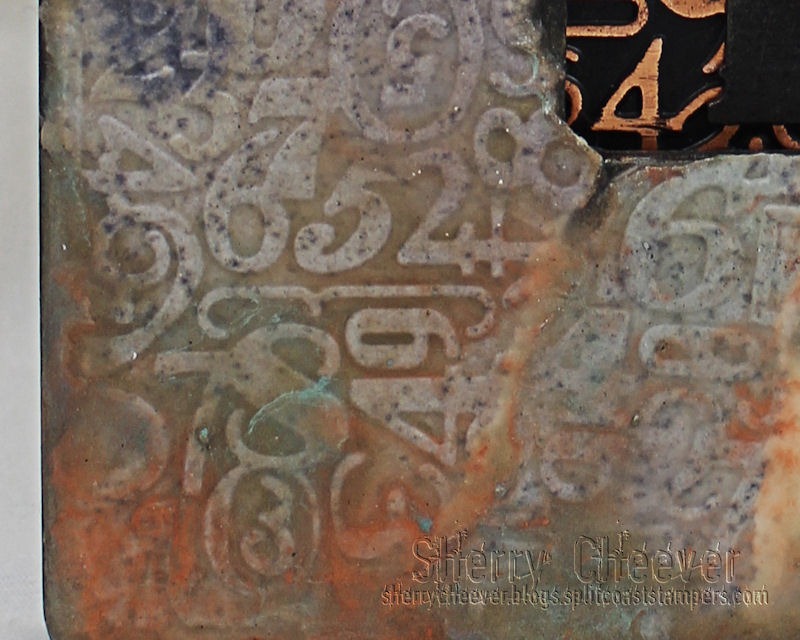
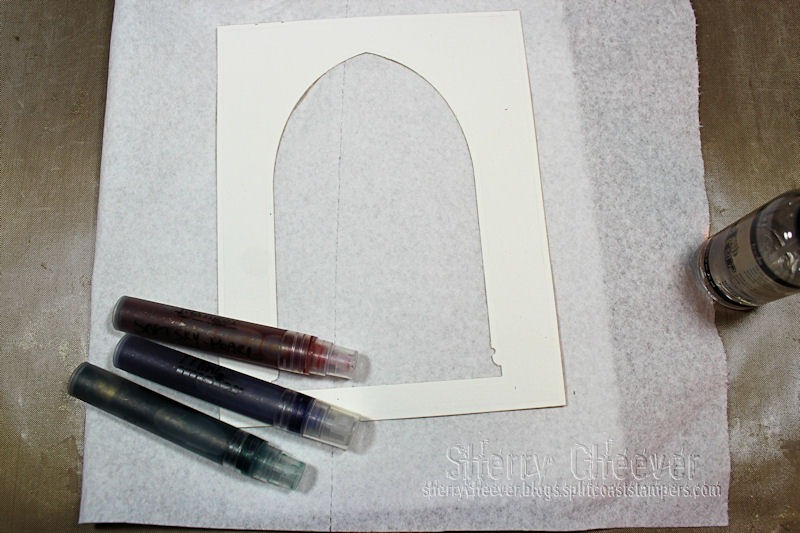
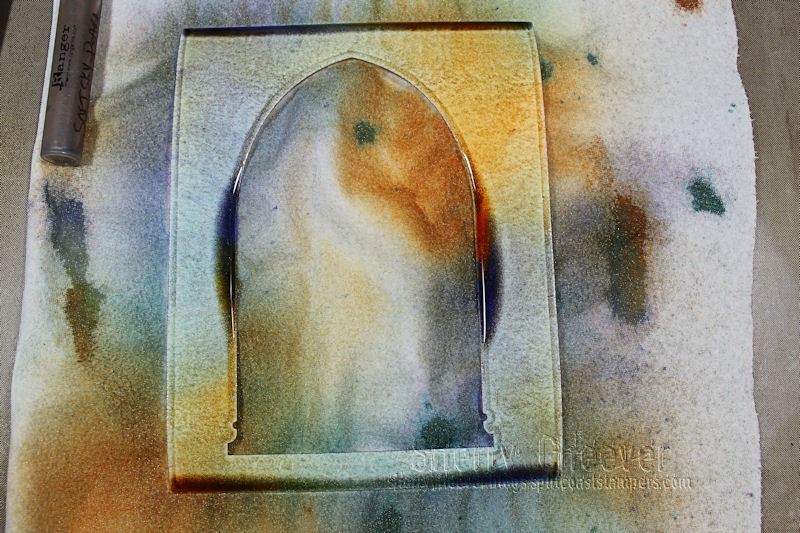
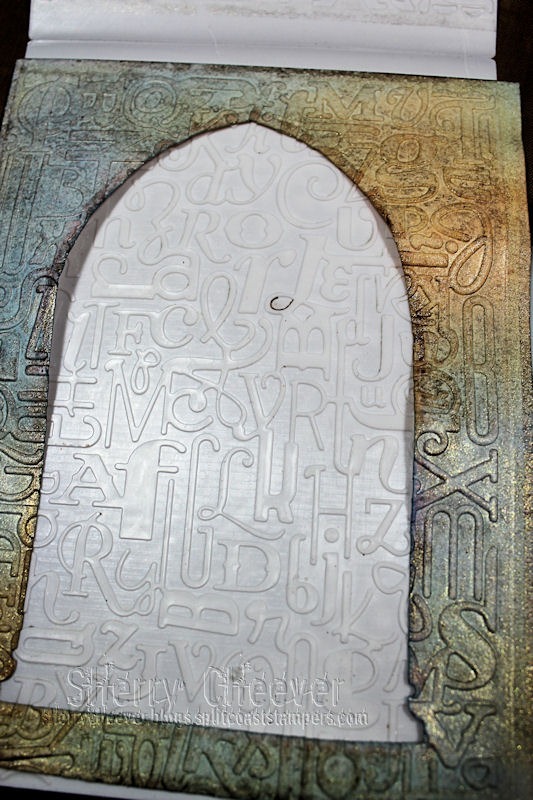
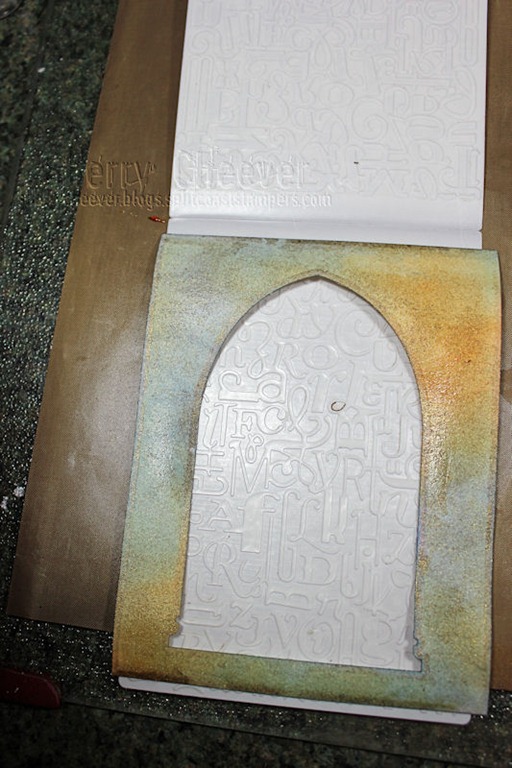
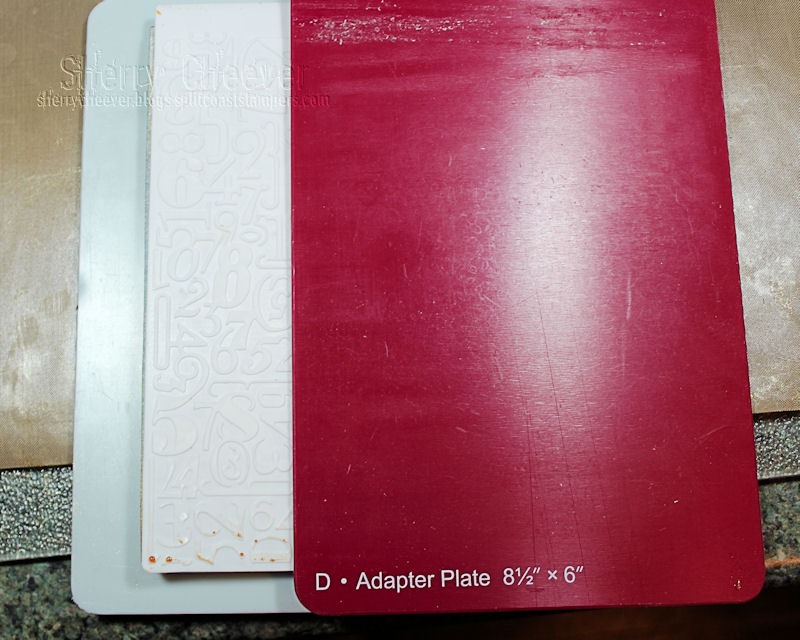
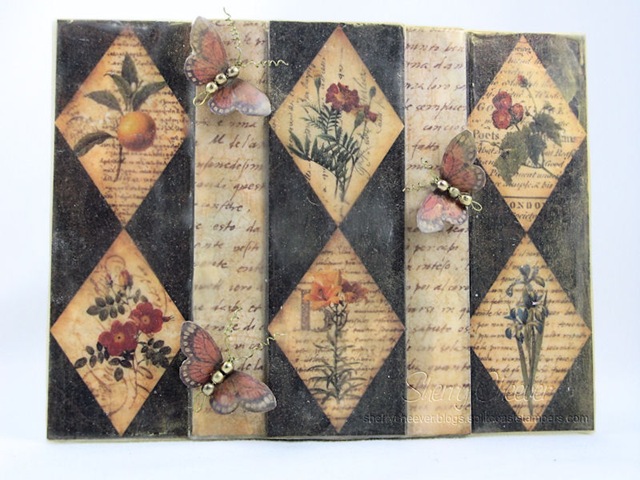
The first thing I did, was to add some color to 140 lb. watercolor paper by misting it with Heirloom Gold Perfect Pearls mixed with Dusty Concord, Spiced Marmalade and Tumbled Glass Distress Ink Refills.   While the paper was still damp, it was embossed with the new EL-027 Numbers and Letters M-Bossabilities Folder.  Of course, I used an entire sheet of the paper which needed to be torn and the individual pieces run through the Grand Calibur in the M-Bossabilities.

My goal was to make this project look more distressed than the first, but not dark . . . I wanted color!

Following the same steps used in the other project, several layers of beeswax was applied to the bare wood frame, to give the paper something to adhere too.  Now this is where everything went awry . . .

SCheeverBeeswaxFrameCLOSEUP EMBOSSING MY COPY

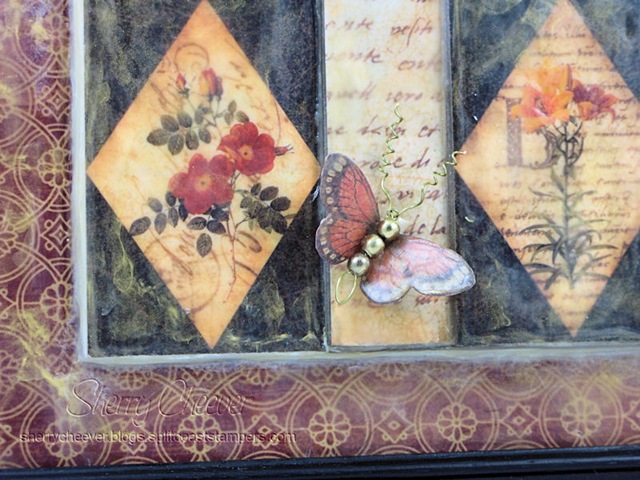
I started tearing the watercolor paper into strips and applying it to the frame with more layers of beeswax, adding different colors of Perfect Pearls as I went.    The more I messed with it, the more layers of wax I had, some of the paper wasn’t sticking, and the more I added the worse it got.

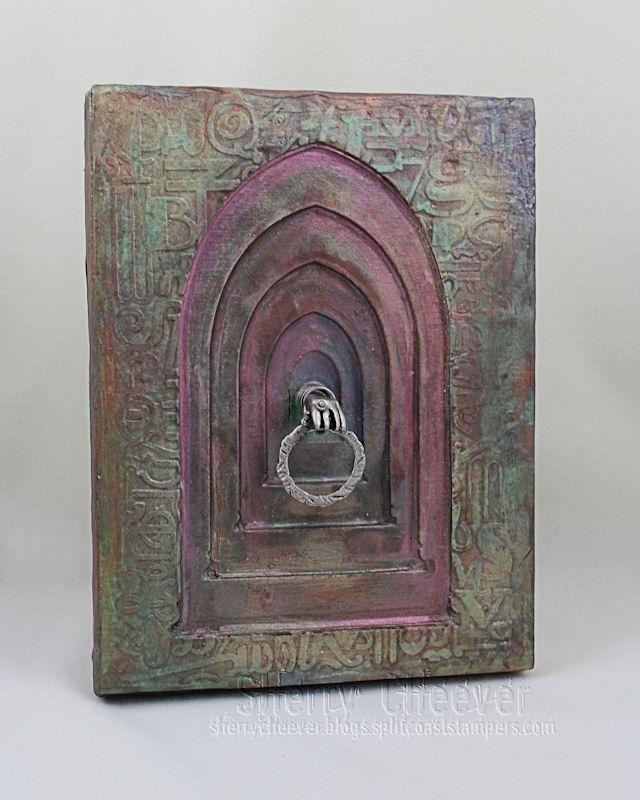
Finally, when I had all the paper down and I kept seeing the wax pooling in odd places, I finally game up and dropped a roll of paper towel onto the project.  It picked up just enough of the melted wax to leaving me the color of the paper and the added colors of the Perfect Pearls.  I stopped right there!

I kept worrying about the white wax that was showing and fretting over it was part of my problem.  Once I stopped and let the piece dry . . . well, I decided I liked the white and left it alone.

SCheeverBeeswaxFrameCLOSEUP MYCOPY

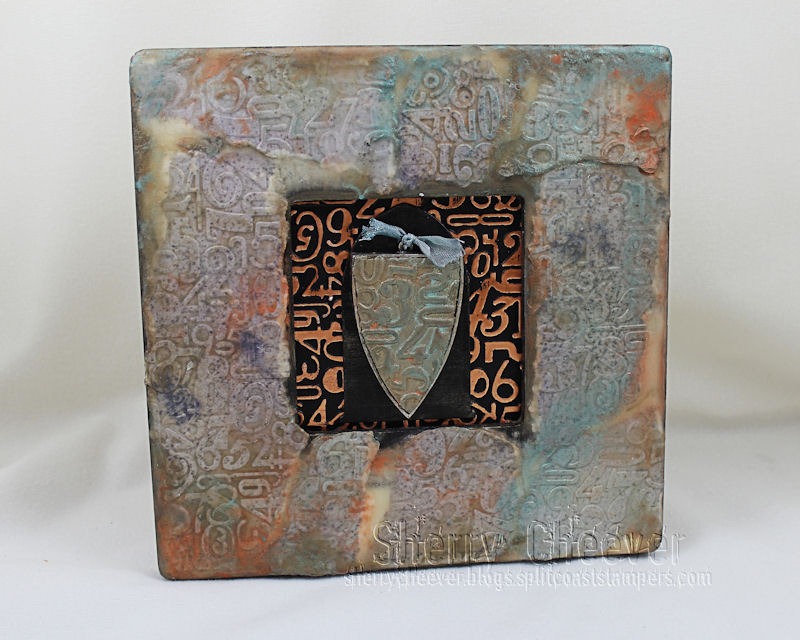
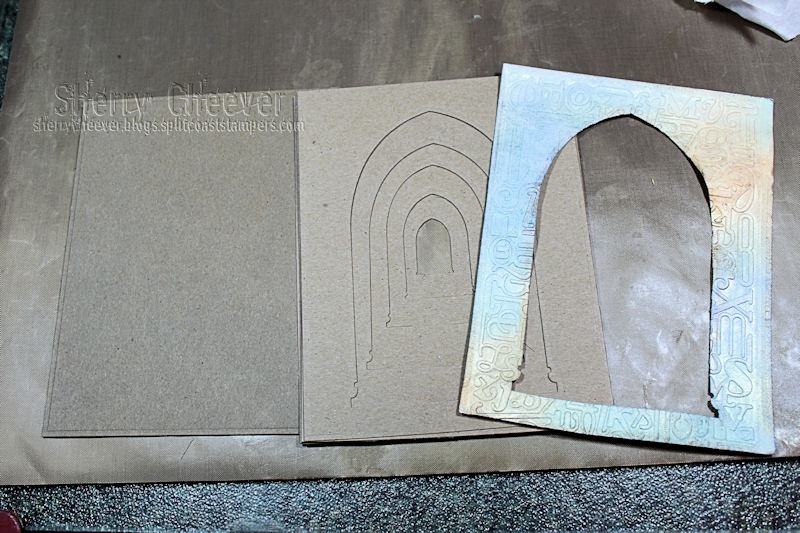
I used one the left over chipboard die cuts from the other piece as the background for the shield bezel and painted it black.  The bezel, which is open-backed and an old one I had here from the Art Mechanique line, was placed on the Numbers and Letters M-Bossabilities and then I poured melted beeswax into the bezel.  Once the wax was cooled and I could remove the bezel, Perfect Pearls were used to add some color.  Before I forget, the colors of Perfect Pearls used on the project were Mint, Heirloom Gold and Mandarin.

The background for the inside of the frame is Royal & Langnickel Copper Foil Engraving Board.  It was embossed with the Numbers and Letters M-Bossabilities and then sanded to reveal the copper foil underneath the black coating.

SCheeverBeeswaxFrame ANGLE MYCOPY

I think that’s all for right now!  I’ve got a few more CHA projects to share, but of course . . . you’ll have to wait until the show starts and the die templates are live on the Spellbinders site.

Thanks for stopping by . . . oh and maybe I’ll get that other flower tutorial done this weekend when I’ve got some “ME” time to head downstairs and work for a few minutes.

SHERRY SIGNATURE

Project Supplies:

Good morning and welcome to Day 7 of the Spellbinders™ Sneak Peek and Giveaway!  I hope you’ve enjoyed the sneak peek so far and you’ve found some wonderful inspiration over the last 6 days.  I know I sure have!

I had such fun working on my projects for the Sneak Peek and thoroughly enjoyed stepping outside my box to work with mixed media on altered projects.  For both of my projects I used beeswax  . . . way too much fun.

Project Supply List:

  • S5-178 Arched Windows One
    EL-027 Numbers and Letters M-Bossabilities
    LF-132 Grand Rectangles
    Grand Calibur

    All new products shown in the Sneak Peek can be found in the “What’s New” section of the Spellbinders Online Store!

My first project is constructed completely from chipboard and covered in beeswax and Perfect Pearls.

SCheeverGothicAltar MYCOPY

During a shopping trip at Michael’s, I found that fabulous dangle hand charm from Industrial Chic by Susan Lenart Kazmar.

SCheeverGothicAltar CLOSEUP CENTER MYCOPY

My project was created using .22 thin chipboard – three pieces die cut and glued together for each recessed layer.  For the purposes of the tutorial, I will only be using 1 piece.  If you wish to try your hand at this project, to get the depth I created, you will need to die cut 3 individual pieces and glue them together to make one layer.  Spellbinders die templates very easily cut .22 thin chipboard; however, medium weight and thicker requires a little more effort.  I say this because the backing to the piece is actually medium weight chipboard that I die cut with LF-132 Grand Rectangles Nestabilities®.

STEP1

As you can see, the die does not cut all the way through the medium weight chipboard; however, you do get a very detailed cut that you can complete with a simple mat knife or cutting blade.

STEP2

To align the dies for the different layers, the Grand Rectangle was taped in place.  I recommend taping all four sides, inside and outside, to keep the die from slipping with repetitive cuts.  All five dies from S5-178 Arched Windows One were placed inside the Grand Rectangle, centering them as you want.

STEP3

Once the placement of the smallest die has been determined, tape the die in place as you did the Grand Rectangle.

STEP4

You can now die cut the thin chipboard.  Remember that I’m only showing your one piece of chipboard.  For my project, I die cut the same die arrangement three separate times.  All three pieces were then glued together to form one layer.

STEP5

The next larger die was placed around the smallest, for the next layer to be die cut.

STEP6

You will continue in the same manner as described above until you have cut all the different layers.

STEP7

Here you can see the difference from the largest to the smallest die template.  I also saved all the Arched Window die cuts to use on another project.

STEP8

While the largest Arched Window die is still placed within the Grand Rectangle, I die cut a piece of watercolor paper to be used as the top layer of the project.

STEP9

The die cut watercolor paper was then misted with water to open the fibers of the watercolor paper  . . .

STEP10

and then misted with a combination of Perfect Pearl sprays that I had previously mixed up.  You can use any type of ink that you want to color the paper with.

STEP11

I like to use mists because while the watercolor paper is still damp, a deeper embossing is achieved.  Here I’ve placed the still damp watercolor paper in the EL-027 Numbers and Letters M-Bossabilities.

STEP12

The sandwich for using M-Bossabilities is the Base Plate, M-Bossabilities with paper inserted, and then the Adapter Plate.

STEP13

This is the watercolor paper once it has been embossed.

STEP14

Here are all the different layers for the project.  Each layer, except the watercolor paper, can now be glued together

STEP15

To adhere the watercolor paper to the chipboard, I layered down three or 4 layers of beeswax before applying the watercolor paper.

STEP16

The remainder of the project was completed by adding layers of beeswax and different colors of Perfect Pearls.

SCheeverGothicAltar MYCOPY

For my second project, I altered a $ frame from Michaels with beeswax.  I’ll give you more details on this project in a few days.

SCheeverBeeswaxFrame MYCOPY

Official Giveaway Rules can be found HERE.

Enter the Giveaway HERE!

Questions? [email protected]

No entries will be accepted at this email address.

Thanks for stopping by today and don’t forget to visit Candy Rosenberg’s blog today for another chance to win and more inspiration.

clip_image001

SHERRY SIGNATURE

Hey y’all!  I just now realized that is was Wednesday, so Smiley from millan.net. I thought I would have this post up earlier today, but we’ve been having some computer issues. I spent the morning working on the network and organizing the mess of wires upstairs. Thank goodness it is finally done and Mr. Stodgy will leave me alone about the Ethernet cord running along the kitchen floor, down the basement stairs, into my studio. Smiley from millan.net  You’d think he could see that the cord was there and would walk step over it . . . Smiley from millan.net

I remember when I was a child (well now, under 10 okay?) and we would have more snow than we get now.  I lived in the south end of Louisville at the foot of a hill.  All the streets started at the top of the hill and ran down to our street.  These hills were great for go-carts, bikes, skates and most importantly sleds.  You know I never remember school being cancelled for snow.  I just knew we had snow and we played outside all day making snow people and sledding.  I was always hoping to share those memories with my own children, but it seemed that the more the years went bye, the fewer snowfalls we’ve had.  I had a Flexible Flyer and couldn’t wait to purchase one for my girls (it’s hanging in the shed waiting for my grandchildren to come along one day).

When I saw the stamp I’ve used today, The Back Door by Just for Fun Rubber Stamps, I KNEW I had to have it.  This looks more like our own back door when my girls were little than when I was a little girls (we had a covered porch then).  I even painted the house that god awful red stain color that we have on our house now.   The backside even has the same type of siding!

TheBackDoorNov11

I colored the image with Ranger Distress Re-Inkers, die cut and embossed with Spellbinders™  Oval Nesties and then distressed the edges.  While I was putting this card together, the image seemed too bright for the paper and I wanted it to look more aged.  I grabbed my Hot Wax Stylus and some natural beeswax and applied a light layer over the image.  Now here’s the neat part . . .  even though I didn’t need to fuse the wax because I had used the stylus, I decided to take the heat gun to it anyway.  The watercolor paper soaked up the wax and now the image is duller but there is no shiny coat.  I LOVE it!  I make an additional background layer, I took a mini manila tag and worked with the Wrinkle Free Distress Technique.

  • Stamps:  H2298 The Back Door and D2615 All Good Cheer from Just For Fun Rubber Stamps
  • Paper:  Arches Watercolor; Mini Manila Tags; Memory Box Spiceberry; Cranberry Crisp and True Thyme
  • Ink:  Ranger Distress Embossing, Shabby Shutters, Pine Needles, Peeled Paint, Fired Brick, Aged Mahogany, Weathered Wood, Broken China, Old Paper, Vintage Photo, Walnut Stain, Faded Jeans, More Mustard, Spiced Marmalade; and Ranger Archival Black and Coffee
  • Accessories:  Spellbinders™ S5-015 Deckled Mega Rectangles – Large, S4-140 Petite Ovals – Small, S4-138 Petite Ovals – Large, and S4-141 Petite Scalloped Ovals – Small; Ranger Non-Stick Craft Mat, Mini Mister, Gold Adirondack Paint Dabber, White Inkssentials Gel Pen and Rock Candy Distress Stickles; Tim Holtz Tonic Distress Tool; 7 Gypsies Paper Fasteners; Tsukineko Sponge Daubers; May Arts Ribbon; Foam Mounting Tape; Sewing Machine; Vintage Button; Papertrey Rustic Cream Button Twine; Gold Spica Pen

Well that’s all folks!  I hope you’ve had a fabulous day and thanks for stopping by!

Smiley from millan.net Good Monday morning!  I hope you all had a fabulous weekend and got outside and enjoyed the weather.  It was great here in Southern Indiana, 70’s and cool at night.  Perfect weather to get out and enjoy walks with the little shitzes!Smiley from millan.net  When I wasn’t outside, I was buried deep in the recesses of the basement working away in my studio.  More playtime!  I could hardly stand it.  I’ve had some ideas running through my head for months now.  I was only waiting for a little time when I didn’t have pressing commitments and time limitations.Smiley from millan.net

Remember this beeswax frame I did for my mother as a Mother’s Day gift?  Ever since I worked on that piece, I’ve been wanting to do another one; and since I’m still on a learning curve, this weekend was perfect! 

One day at CHA all us girls were sitting at a table resting, and someone from the Graphic 45 Booth walked up to our table.  Because a couple of us had on their buttons, we each received a free packet of Graphic 45 paper.  I couldn’t have been more delighted since I had been longing for the Botanicabella Collection.  I knew deep down that I had a special project for this paper  . . . more beeswax art!

This is what I came up with on Saturday . . . a canvas that was covered with Garden Suite and beeswax.

redoBeesWaxPanel

There’s lots of dimension going on here.  I kept adding layers of cardboard to building up bases as I went, finally ending at the top with another diamond panel.  I lost count of how many layers of beeswax I ended up adding.  I sat the canvas up in my sitting room when I was done so that I could keep looking at it and decide if it was done or not.  At first I thought about adding a bow at the top that would hang down the back and let me hang it on the wall.  I also thought about adding some more panels below the canvas, but it was just too thick to punch with my crop-o-dile. 

This morning I went out to my spare cabinet in the garage and found the perfect idea for finishing the canvas . . . an 8×10 black frame!  I went back into the studio, picked a piece of coordinating Graphic 45 paper and when to work. 

Here is the finished project, ready hang in my sitting room!

redoBeesWaxFrame

Here’s a close-up so that you can see all the different tiers and panels.

redoCloseUpBeeWaxFrame

And don’t forget to look at that butterfly.  It was part of the paper that I trimmed out, covered with beeswax and then found some old gold beads to add as the body.  I recently purchased some gold wire that was perfect for the antennae. 

I know I need more practice with this technique and will keep working on projects as time allows!  This is such an addicting form of art.

So, that’s all I have for today!  I hope you have a great day and thanks for stopping by!

© 2015 Suffusion theme by Sayontan Sinha