Wow what a whirlwind the month of October was here at Walkin’ on the BAD Side!  There were birthday celebrations, family reunions, Broadway shows, and Art at the Edge!

Let’s talk about Ken Oliver’s Art at the Edge for a bit!  It was fabulous and good for my creative soul!  I not only got to spend some quality time with some old friends, but got to make some new friends as well.  I went for the purpose of giving the creative mojo a jump start and even though I’ve been home a week with no creative time at all . . . the mojo has been jumpstarted!  

Ken was an excellent host and we had so much fun exploring his hometown.  My gosh there’s so much to share about the weekend, but I think today I’ll start with the projects that we worked on over the weekend.

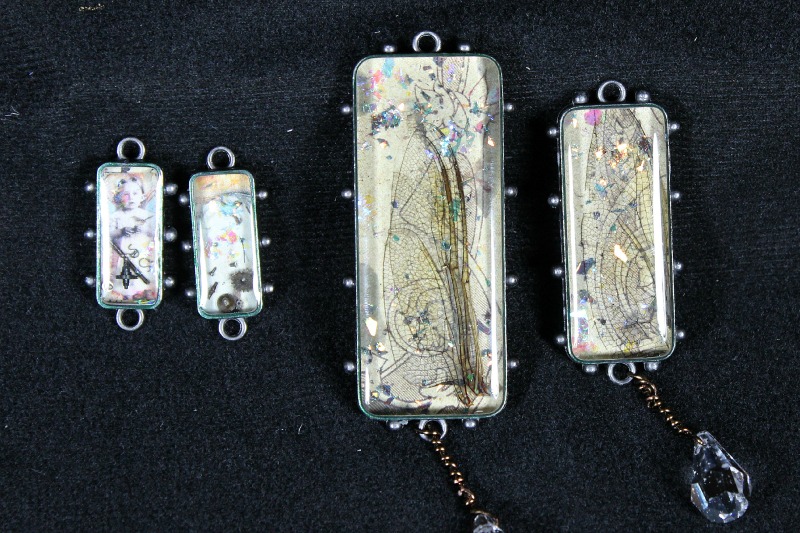
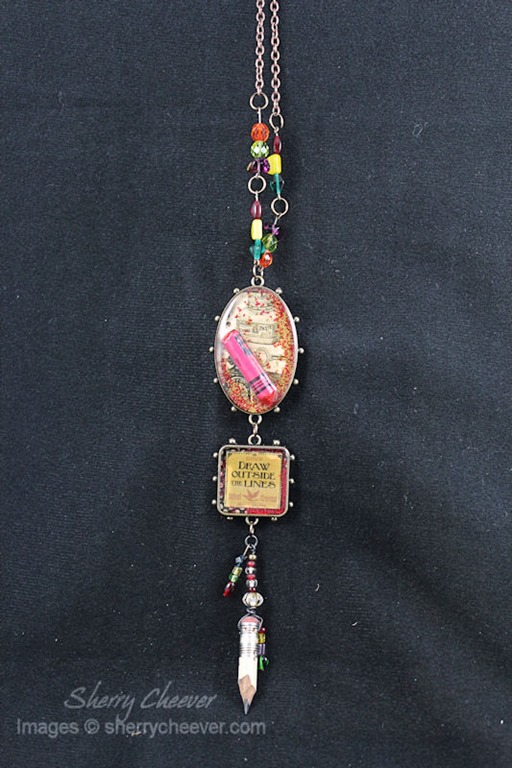
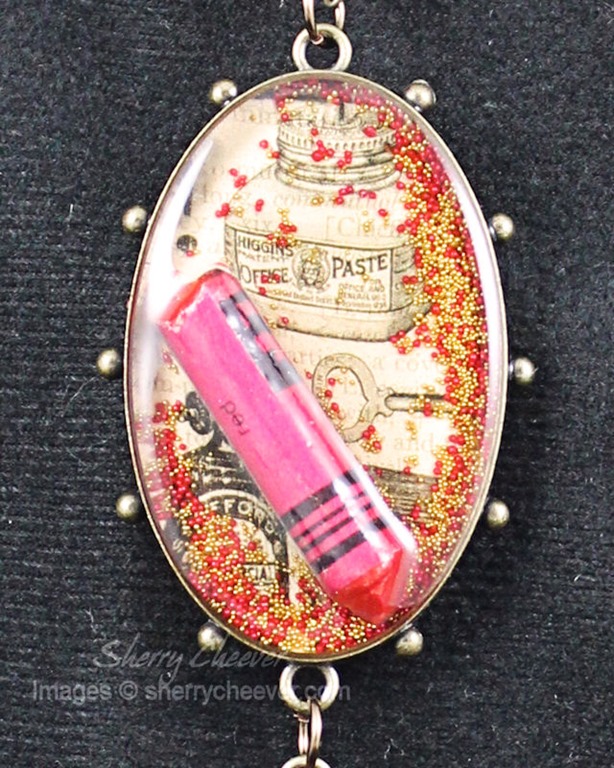
Friday night was Ice at the Edge!  A few months ago Ken posted a necklace he had made using dragonfly wings.  I LOVED it!  I told my nephew about it, showed him pictures and asked him if he found a dragonfly at work to save it for me.  He did!  So off I went to Ice at the Edge with my dragonfly tucked safely away in a plastic bag . . .


wingbezel


resinbezels

Saturday was Art at the Edge and we began early working with Prima products and lots of fun flowers and mist sprays.  

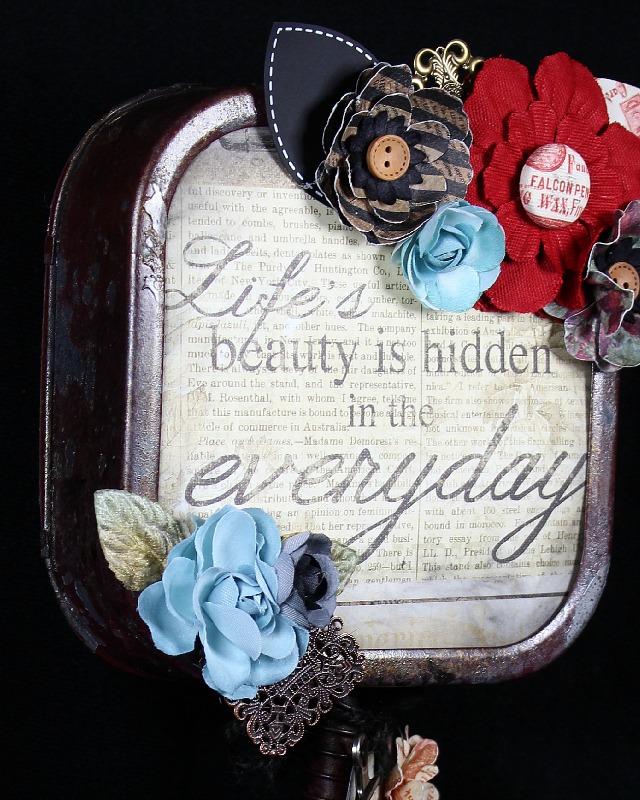
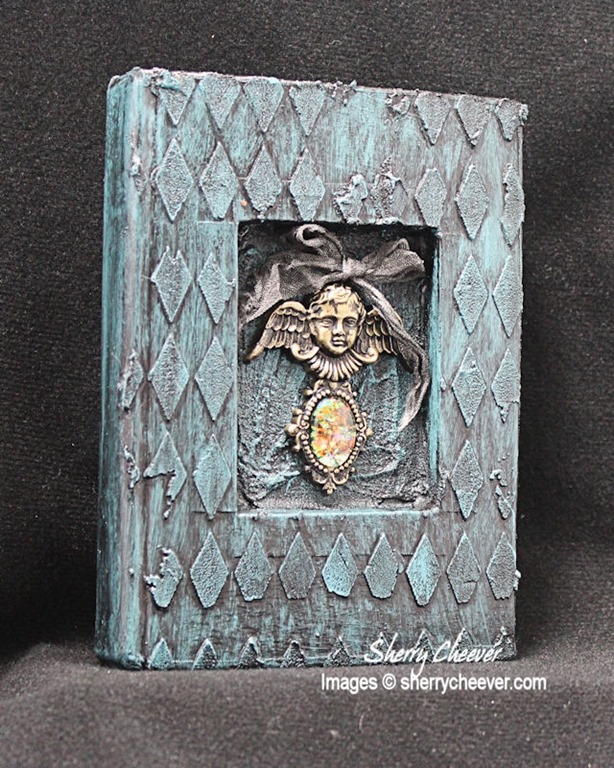
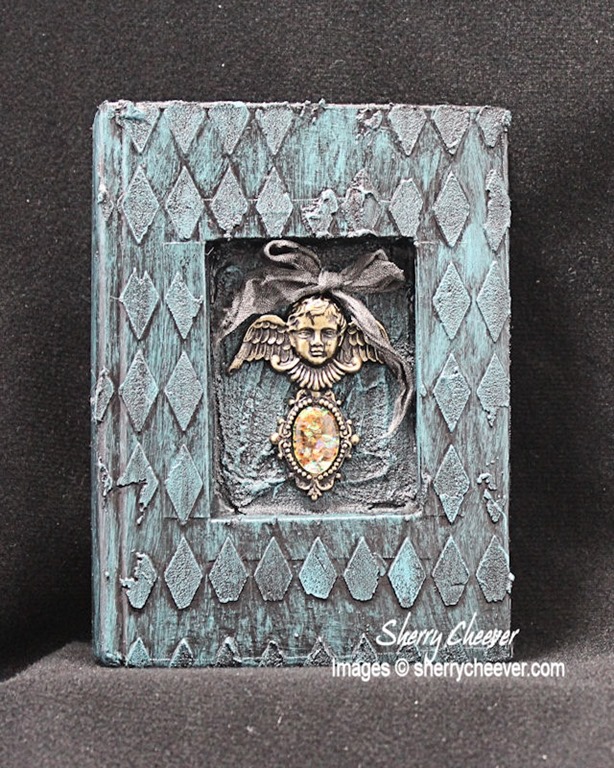
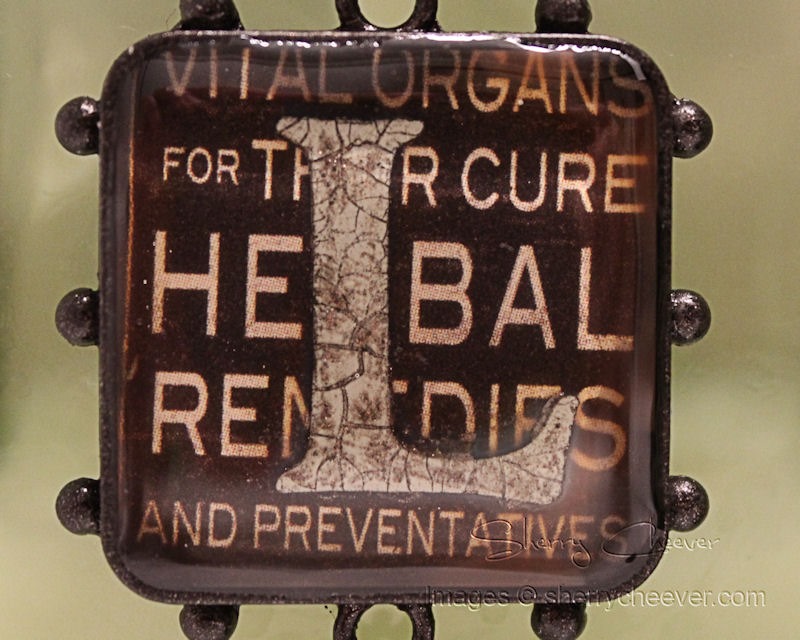
The first project of the day was this metal stand . . .

PrimaStand

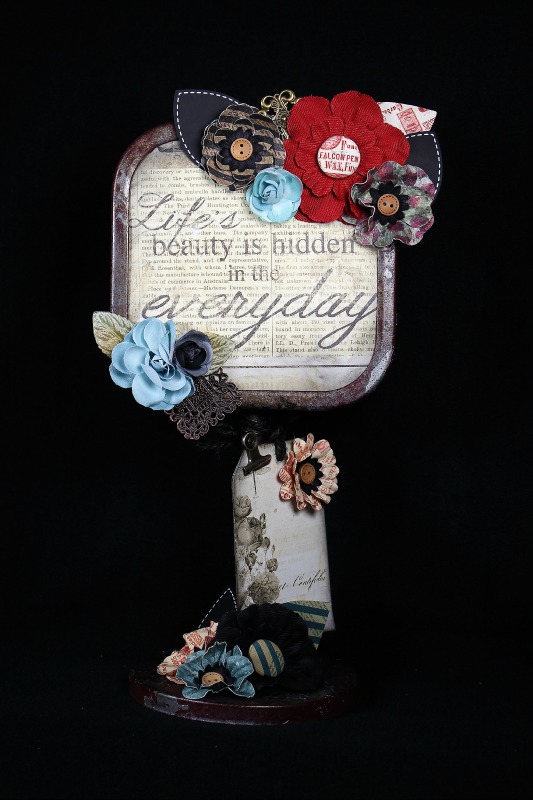
I love the texture on the stand itself, but we also used different sprays to add some more texture and patinas!

primastandbase


primastandtop

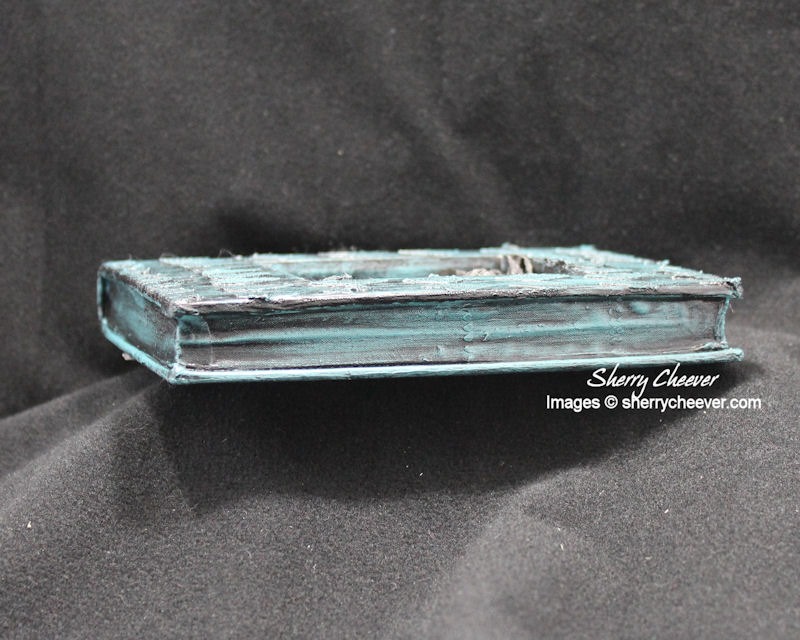
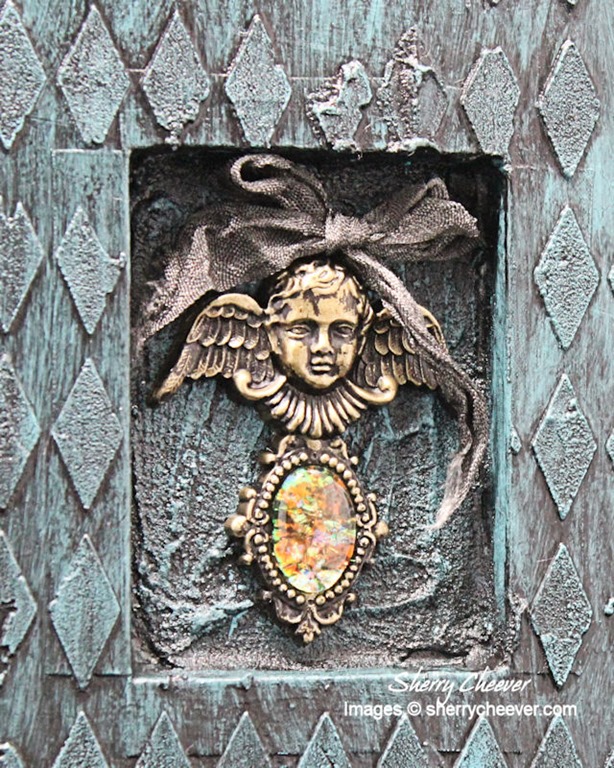
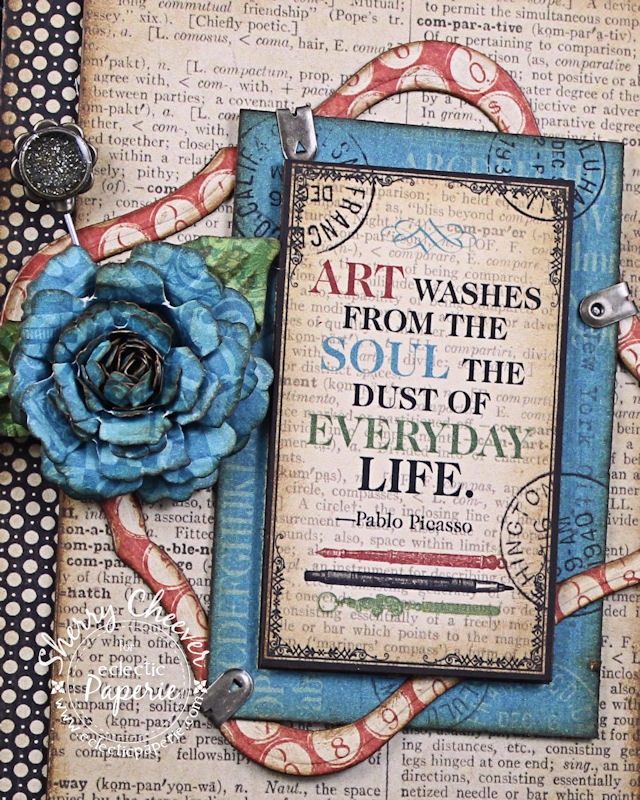
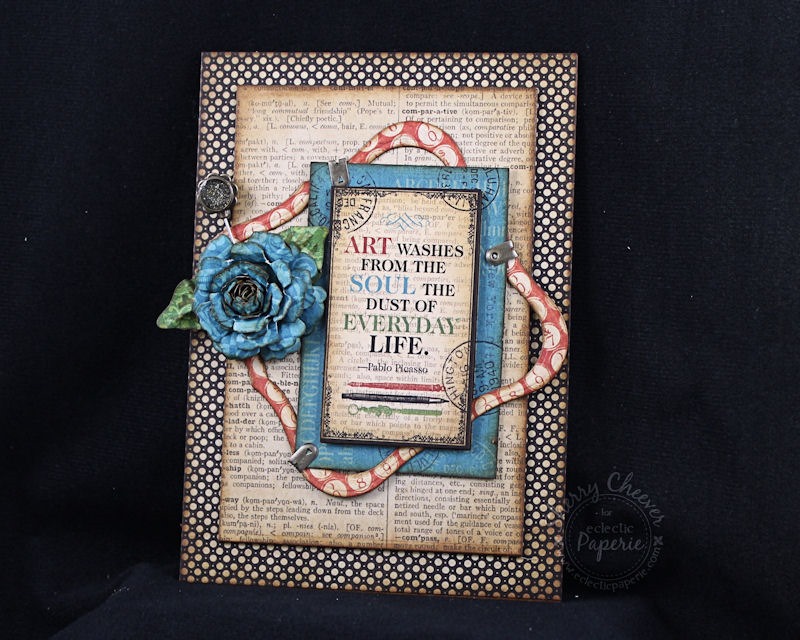
We finished up the day working on this fabulous book . . .

Primabook

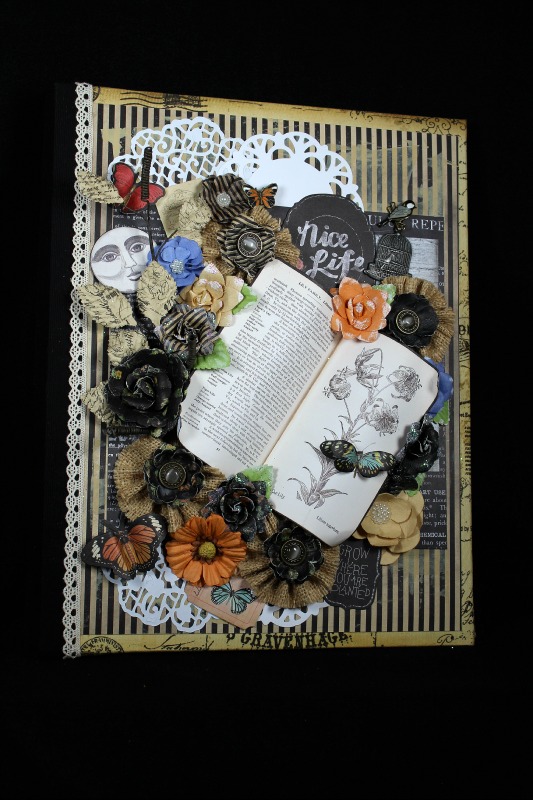
adding embellishments and having a creative field day!

primabookcloseup


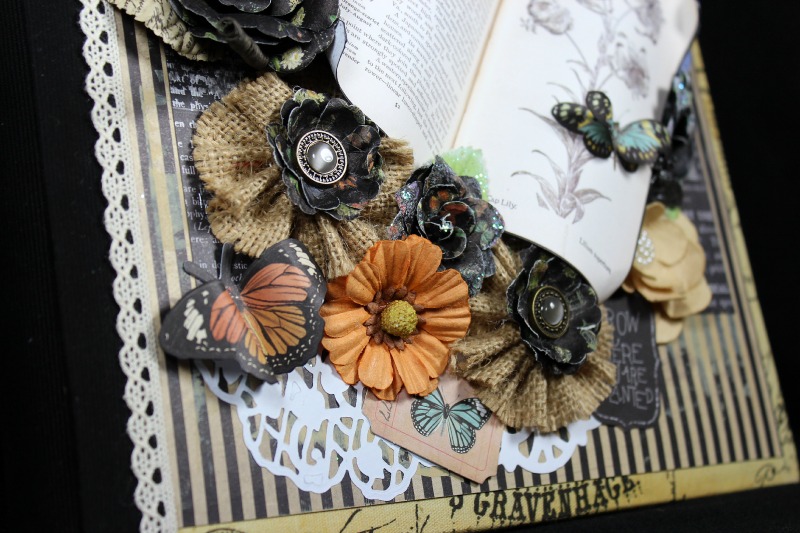
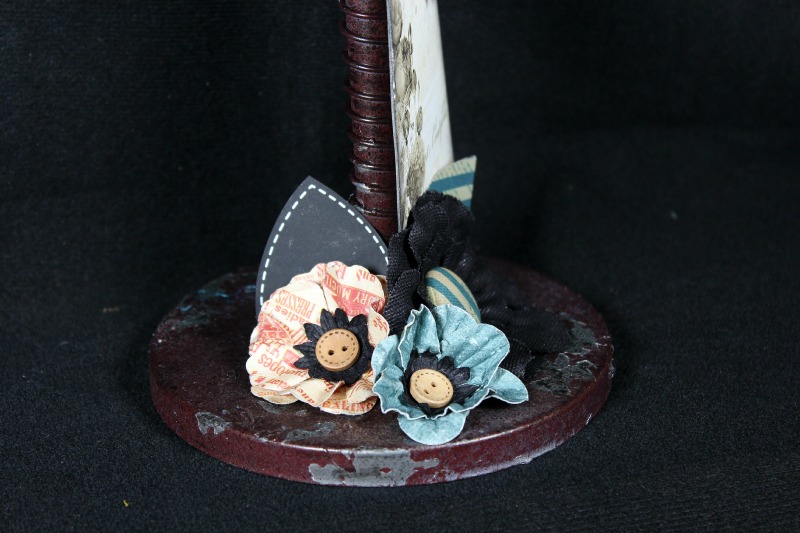
Now I’ve always been one to make my flowers from paper, but there is something to be said about working with the pre-made Prima flowers!  As a matter of fact, I just placed my first order for them and will be using them on a few upcoming projects!

There are lots of changes happening here on the BAD Side, one of them you already are aware of, the closing of eclectic Paperie (don’t forget to take advantage of the sales going on right now), and the biggest of all . . . after a year of heart-to-heart talks with me, myself and I, hours upon hours of soul searching, and a number of discussions with my family  . . . I have decided to step down from the Spellbinders Blog Team.  I’m looking forward to refocusing on my art and new creative journeys!

With all of this said, I hope you’ll come back and visit again!

SHERRY SIGNATURE


Hello everyone!  I hope you’ve all had a good week and Spring is starting to knock at your door.  If you’re like me, you can’t wait for warmer weather and little sunshine!  I’m so looking forward to short weather!!!!

I’m back today with my completed altered book.  It’s only taken me over a week to find the time to finish it . . .

AlteredBook2

When I left you last (this post), it looked like this . . .

AlteredBook1

Using the TCW Mini Harlequin Stencil, white embossing paste was applied to the front (sorry failed to get pictures).  More embossing paste was applied to the middle, moving it out with my fingers.  Once all the embossing paste had dried, the book was painted with Lowe’s Pantone Tropical Oasis satin paint (which is a pretty bright turquoise color).

AlteredBook

DecoArt Americana black glossy paint was mixed with DecoArt Staining Antiquing Medium and brushed over the book, wiping away the excess.

AlteredBookFlat

The center cherub is part of the Spellbinders® A Gilded Life Collection.  The same black/antiquing mixture was applied to the cherub to add a little more detail. ICE Resin® Shattered Inclusions were added to the bezel part and melted UTEE was poured into the mixture.

AlteredBookCloseUP

Seam binding was dyed with Black Soot Distress Ink and a ribbon was then tied to the top of the cherub.

All in all, I’m fairly happy with the way the book turned out.

AlteredBookSide

Don’t forget that this altered book is part of the eclectic Paperie’s ePlay Challenge – Push Your Boundaries! You still have time to participate this month and maybe you’ll be one of the lucky winners!

Thanks for stopping by and joining me!

SHERRY SIGNATURE

Project Supplies:

Good Monday morning!  The first time I saw the Graphic 45 Typography Collection, I knew that it was a must have.  Every time I look at the collection I envision something else that can be done.  My project today is one that I have been wanting to do since the collection came out  . .  for the gypsy in all of us!

DrawOutsideTheLines

My first instinct was to find some old crayons  . . . but then a pencil stub hit me . .  . so I had to go with both.

DrawOutsideTheLinesOval

Please pardon the glare on this one, the ICE Resin® over the crayon was a little difficult to photograph.

DrawOutsideTheLinesSquare

Who can’t resist drawing outside the lines . . .

DrawOutsideTheLinesPencil

Some colorful beads to mimic Crayola colors and one of my crossword pencils.

DrawOutsideTheLines2

I LOVE it and now that I see it on the screen . . . I’ve just thought of another way to create it!

Thanks for stopping by today!

SHERRY SIGNATURE

Project Supplies:

Good Monday morning!  I hope everyone had a great weekend and didn’t get into too much trouble.  I spent Saturday cleaning up the basement after the sump pump failure the week before (yes, we are still trying to get things moved around, stuff we don’t need tossed out, and more of the carpet out of the downstairs room of stash).   Sunday was household chore day  . . . and racing of course!

Last week was a busy week with lots of blog hops, etc., and on Saturday I not only had the Quietfire Design/Dreamweaver Stencil hop, but also had a post go live on the eP Blog.   Typically I give you more info over there, but I saved most of it for here today because most of the project was created with Spellbinders®.

TypographyHanging

The project can either be a wall hanging or with an easel back attached could be set out on a shelf.  I just received the Graphic 45 Typography Collection and couldn’t wait to make something with it.  Actually this is the first of a number of projects I have envisioned.  Love this collection!!

The base is lightweight chipboard (because its easy to die cut with Spellbinders die templates).  Three separate pieces were die cut for the bottom base and then three more for the top layer.  Once die cut, they were glued together to make a sturdier base so the project wouldn’t bend or warp.

TypographyChipboard

The sentiment is from the Typography Collection which was cut out twice, with the top trimmed and placed with foam mounting tape over the full bottom sentiment.

TypographyHanging CloseUP

The flower was die cut/embossed with Bitty Blossoms.  The frame was made with Labels One.  The frame and the sentiment panels were all mounted on chipboard before cutting.  The embellishment is the new Circle Hatpin from the Spellbinders Media Mixage line.  I added some glitter and then poured ICE Resin® into the bezel.

TypographyHanging

That’s all I have today.  Hopefully I’ll be back in the next day or so (depending on studio time this week) with another project.

Thanks for stopping by!

SHERRY SIGNATURE

Project Supplies:

If you’ve been following me on Facebook, you’ve seen pictures of my newly remodeled bathroom.  I haven’t shared them here for no particular reason; except that I didn’t want to bore everyone to death with my elation of finally having a new bathroom.  Today I’m going to share one of the photos because I’ve worked on a bathroom project and I want you to see the area where I have some things sitting.

New Vanity

Okay so this is my new vanity area that shows all the rubbed oil bronze fixtures that I went with.

New medicine cabinet and light

Even the custom-built base for the new light fixture was spray painted with bronze spray paint.  The mirror actually set the tone for the entire bath.  I told my builder that I wanted a farm house feel . . . white and that I loved the look of oil rubbed bronze.  He found the mirror and then everything else came together from there.

Anyhoo, I ended up purchasing some green glass jars and dispensers from Target that had a vintage feel to them but it didn’t take us long to realize that visitors might have a problem with the dispensers sitting on the sink counter.

DispenserLabels

As you can see, the lotion and the soap look identical.  Only Mallory and I knew what was the lotion (the taller) and the soap (smaller).  I told her I would make us some labels and I’ve been looking for different images on the internet that I could use.  While working with ICE Resin® the other night a brain storm hit . . . and YES, it did hurt!  So I made the tags that you see above.

Both are made from Spellbinders® Media Mixáge™ Line silver square bezels that I painted with the same bronze spray paint used on the wood base for the light fixture.    Pretty clever I thought!

Both have a square of Graphic 45 Old Curiosity Shoppe paper die cut with the coordinating Spellbinders square die template (which was sealed with glossy accents) and glued into the bezel.

LotionDispenser

I die cut a capital “L” (lotion) from chipboard that I painted with the wall paint (same color as the walls) and applied some DecoArt Crackle Medium.  Once dry, some Ten Seconds Studio Bronze VerDay Paint was rubbed over the crackle with the excess wiped away.  The “L” was then glued onto the paper in the bezel.

Beads were added to the bottom of the bezel just for some more decoration.  Of course, I learned after I made both sets of beads that the one for the soap needed to be shorter . . . go figure . . . it’s a shorter dispenser.

LotionLabel

I LOVE the vintage distress look of the “L” and the “S” with the crackle and the VerDay rubbed on to show all the crackle.  It’s perfect for my country/farmhouse bath and all the other antiques I’ve added over the last few months.

SoapLabel

The bezel for the soap dispenser was made the same way as the other . . . except that I die cut the letter “S” for soap.

SoapDispenser

As you can see from this photo, I had to remove three of the beads for the soap dispenser . . . but that’s okay . . . it still matches the other.

Both bezels were tied to the dispensers with seam binding that I didn’t care got wet or dirty.  To me it will look all the better when the ribbon shows a little wear and tear.

I’ll devote another post to some of the antiques and other goodies I’ve added very soon.  I still have a few things to finish up before I’m ready for that!  Oh and before I forget, the dispensers sit in the corner of the vanity to fill up all the space!

In the meantime, thanks for stopping by today!

SHERRY SIGNATURE

Project Supplies:

© 2015 Suffusion theme by Sayontan Sinha