Good morning y’all!  Don’t be shocked or anything . . . but I actually worked in the studio yesterday.  I know . . . don’t faint!   We’ve been getting in the holiday spirit around here lately.  The girls have been making wreaths and I’ve been rejoicing that Hadlee is finally taking her first unassisted steps and hopefully will be in full walk mode by Christmas!

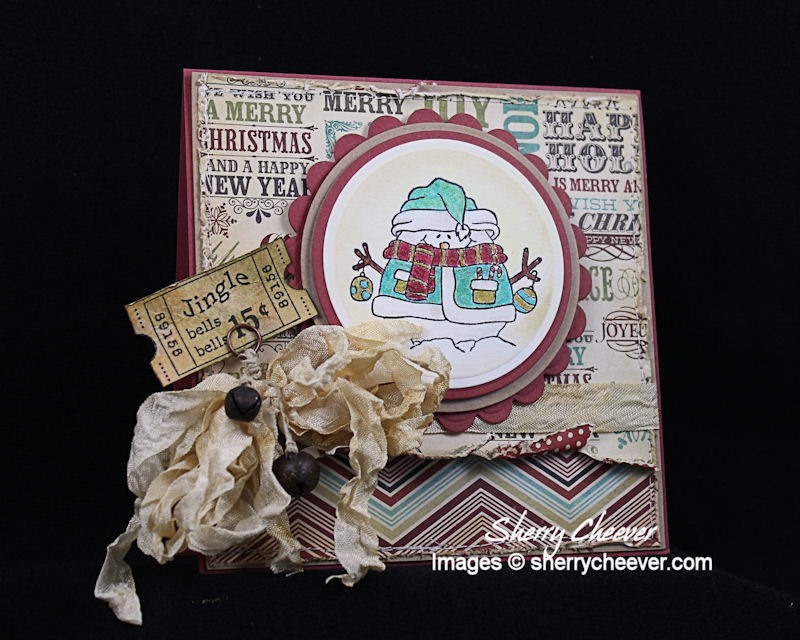
I went on the hunt for all my Christmas stamps yesterday, pulling out my favorites to start the season with.  The first one I pulled out is my favorite little snowman from Unity Stamp Company.

SnowmanCard

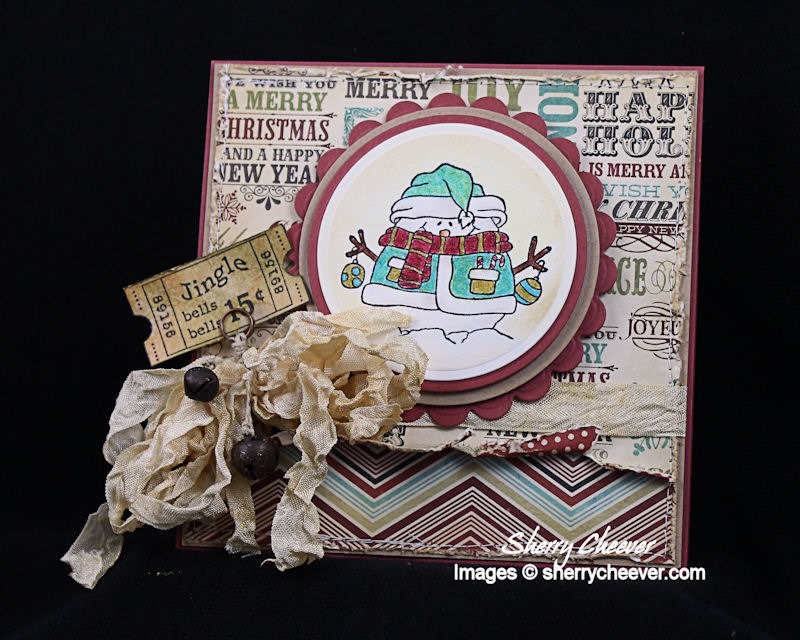
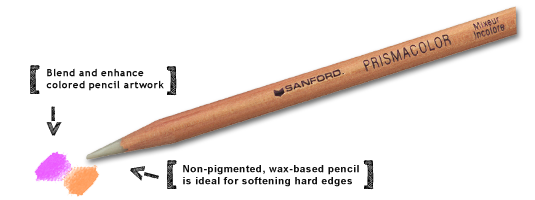
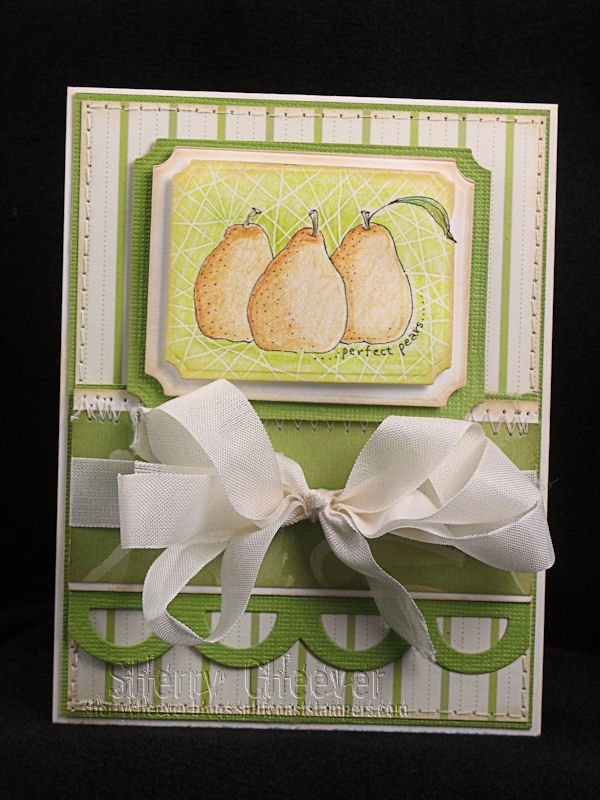
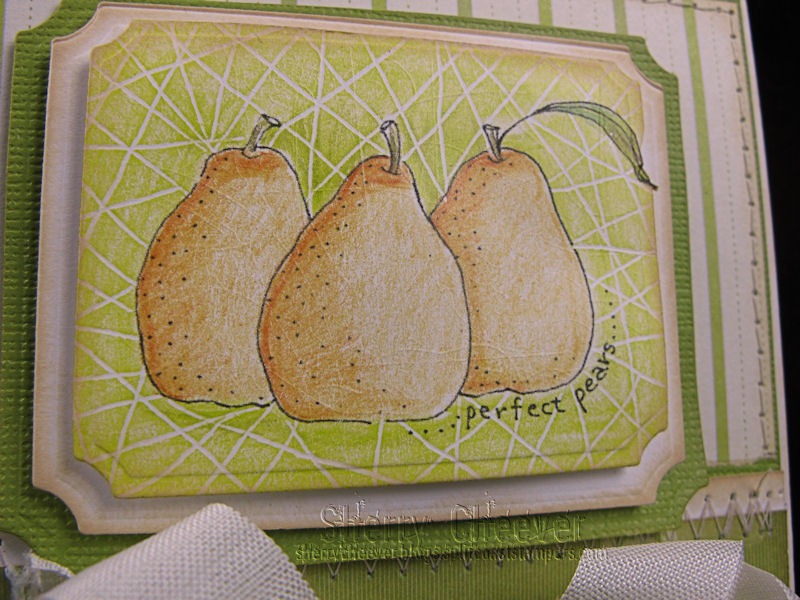
The image was colored with colored pencils and then die cut/embossed with Spellbinders™ Large Circles.  The layers alternate between small and large, ending the large scalloped circles.

The paper is some My Mind’s Eye Lost & Found Christmas Special that I picked up at Michaels.  The edges were distressed, sponged with Antique Linen and sewn to the base kraft cardstock.

SnowmanCloseUp

I’ve had these rusty jungle bells for years and thought they would be a fun embellishment to add along with the ticket stub.  The seam binding was dyed with Antique Linen and the bells are tied to a memo holder with twine.

SnowmanCardAngle

That’s all for my project today.  Just want to remind you that my contest is still up on the Spellbinders Blog from yesterday.  I believe the winner will be announced on Tuesday so you still have time to enter.

Thanks for joining me today!

SHERRY SIGNATURE

Project Supplies:

Smiley from millan.net Happy Thursday!  Yesterday some of you left comments and sent me emails about the blender pencil for the Prismacolor Pencils.  Thank you Alexandra for this great tip:

Someone asked about a blending pencil in the comments, a wee tip, if you don’t mind me saying is, if you don’t have a blending pencil, which is a colourless wax pencil, as long as the coloured pencils you use are waxy, you can use a light coloured pencil and blend over to create another colour a bit like mixing paint i.e. use yellow then blue meeting together, overlapping softly, then going over with yellow again result is where they cross over it creates a third colour, in this case a rich green, or use a white pencil to blend and you’ll get a softer green. You can change the colour and blend easily depending on how much of a particular colour you use.

Alexandra from Scotland

Here’s what the blender looks like:

about-colorless-blender-pencils-0

and the link to the page at the Prismacolor website: Blender Pencil, so you can read more about the pencils.

All this week on the Graphic 45 Blog they have been showing projects created by the Graphic 45 Designers using Fiskars products.  I have a card today . . .

SherryCheeverANABCPrimerCard(FISKARS)

but you’ll need to hop over to the Graphic 45 Blog to get the product information.  You will also want to catch Jack and Cats video . . . it’s fabulous!

For today, that’s all I have!

Thanks for stopping by and remember . . . life is short, embrace the adventures that come you way!

SHERRY SIGNATURE

Can you believe that it’s Smiley from millan.net already?  The days and weeks are flying by.  Heck, it’s already time for school to start again.  Kate goes back to work next week and we move Mallory back to school the following week.  The school term summer has gone by fast.

I’ve been wanting to make cards with the Karen Lockhart images we worked on Monday and today I got the first one done.  The hold up has been that I couldn’t find the right paper to go with the images.  Yesterday I found it . . . some old Making Memories paper, Homespun!

Pears from Class

The image on this card was one that we worked with the stylus on and colored with Prismacolor Pencils.  It also the one I got jammed in my die cutter and couldn’t get out without some effort.  In this close-up you can see all the tiny little lines where it was under too much pressure.  I actually think they add to the image and I love the look.

Closeup of Pears

The card is also a size that I haven’t made in a very, very long time.  Plain and simple just seem to work with this image.  The edges of all the paper was sponged with Antique Linen Distress Ink and then it was all sewn together with a background layer of cardstock.  I even have a white base . . . I know!  So odd for me.  The seam binding is the original color and not even dyed.  No I do not have a fever  . . . well, at least I don’t think so!

The image is die cut/embossed and layered on Spellbinders Labels.  The border is die/cut embossed with the new Spellbinders Classic Scallop Edgeabilities.

I’m heading to the studio to work on some late projects that I need to get done.  Thanks for stopping by and remember . . . . life is short, embrace the adventures that come your way!

SHERRY SIGNATURE

Project Supplies:

Hey y’all!  I don’t know about you, but I’m pretty tired of all this rain.  I was curled up on the bed this afternoon with one pup lying on my pillow and the other under the bed.   Neither of them like thunderstorms!

Yesterday I started a card that I’ve been wanting to do forever.  It’s actually a remake of one I’ve made a couple of times . . . . I guess you could say I cased myself.  How many of you remember this card?

SC96_Pecked_to_Death_by_BadSherry

AND then there was this remake for the SCS Dirty Dozen Gallery . . .

Men_by_BadSherry

For the last few years I’ve been wondering how Ethel would look with all the little peckers.  Well, with the recent release of Spring Inchies by Rubbernecker Stamps I finally had the perfect little birds.  I have to say that I quite like Ethel and her little peckers!

EthelAndHerPeckers May8

I hope everyone has a great weekend.  I have Stamp Club tomorrow and then have to meet with mom to talk about Kate’s graduation party.  Thanks for stopping by!

© 2015 Suffusion theme by Sayontan Sinha