
Good Wednesday morning! Geeze there were a lot of great comments on yesterday’s post. I hope some of you leaving comments are going to play along with your own Zentangles and link them up! I’m way too excited about seeing what you are doing with your tangling.
During my morning blog browsing on Monday, I was quite drawn in by the Simon Says Stamp and Show Challenge for the week . . . Layered! I was also very inspired by one the projects posted by the team . . . the frame by Terry. I kept looking at it, the depth of the frame and was wondering what she had used to make it. The more I looked at it, the more inspired I became . . .
SO yesterday I ran down to the studio and pulled out some printers chipboard and my Square Nestabilities®. My final project ended up being this frame.

While I was working I decided to take pictures to show you how I went from single sheets of chipboard to the completed frame.
My first instinct was to make my frame from the ground up, so I pulled out my Square Nestabilities. The first layer is two pieces of chipboard die cut with the larger die you see below. The shape below is for the middle section, which was die cut only once. Sadly I didn’t get a picture of it, but the top section was die cut with the same largest square and then two steps down still in the Grand Square family.

Below is what all three layers looked like after die cutting, a little gold paint added to the edges, and before paper.

My vision was to have the layers deep so that there would be some dimension to the frame. However, I didn’t want open sides that you could see through so I knew I needed to build up the back of the second layer. When I started die cutting more layer to add, I was having problems getting everything lined up correctly and NOT thinking straight, I decided to start building up the back with strips of the chipboard. Sadly I ended up trimming away the excess and if I HAD thought, I could have still layered the die cut versions and then trimmed that excess away. It would have been more timely and less cutting. LESSON LEARNED and something I want you to remember . . .
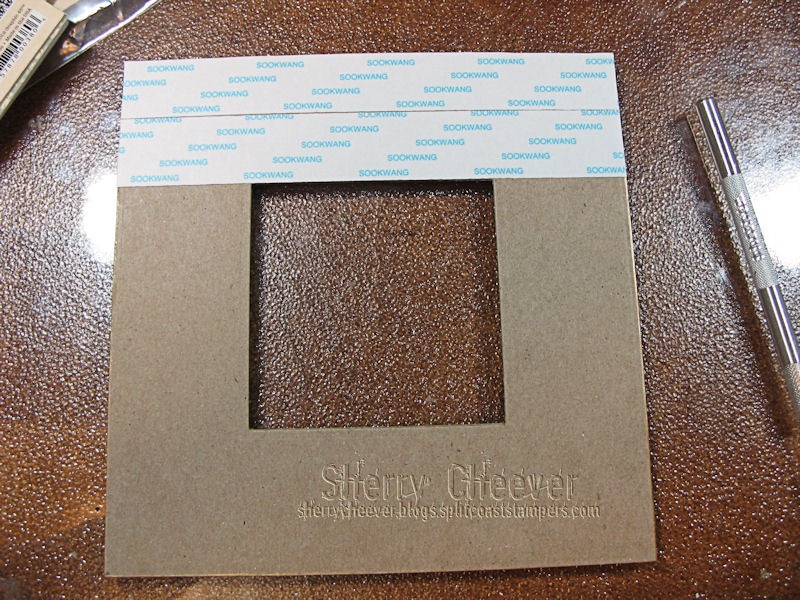
Because I was working with chipboard, I used the Sookwang Scor-Tape to stick all the layers together. You can see by the lines in the chipboard where I was building up the bottom layers. I think there are 6 in all and I would alternate the cuts to make the piece stronger.

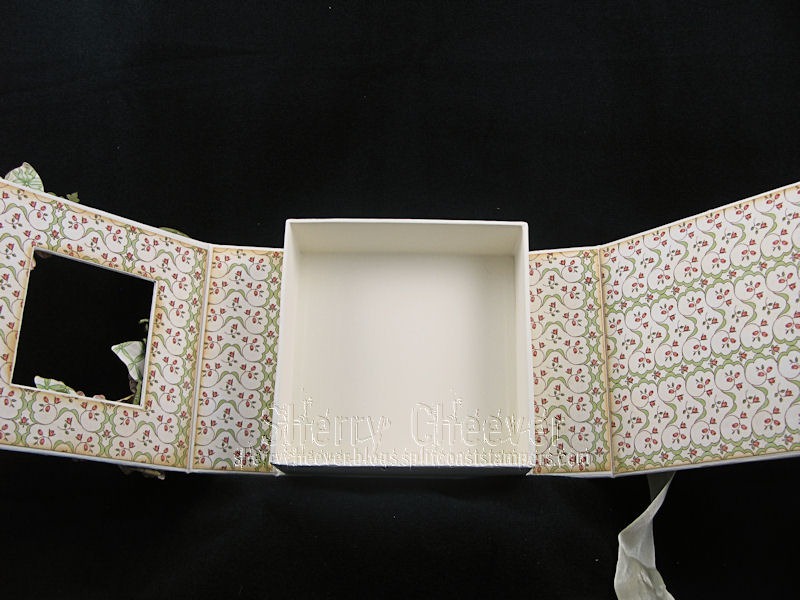
This is the front before I added all the tape and the Graphic 45 papers. I would use the mat knife for trimming on the glass surface . . . went way fast and super easy!
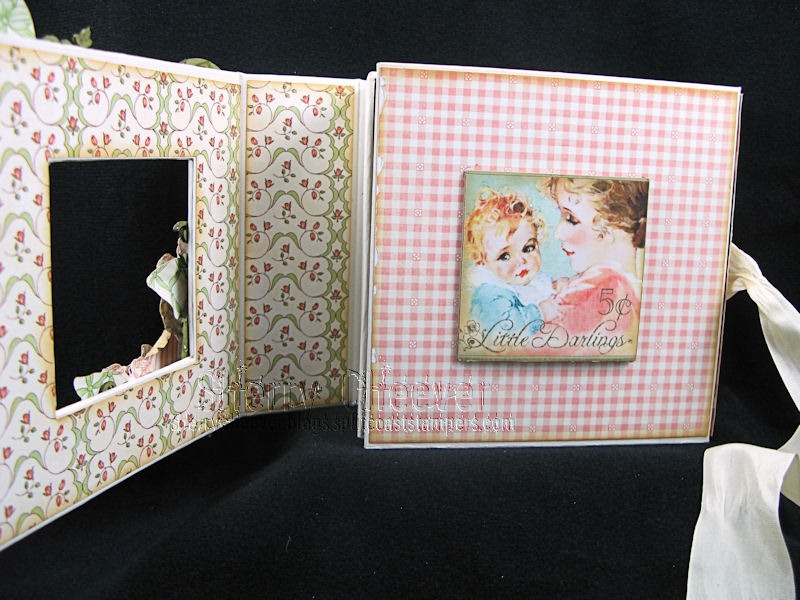
Here you can see all the layers with paper attached before they had all been assembled.

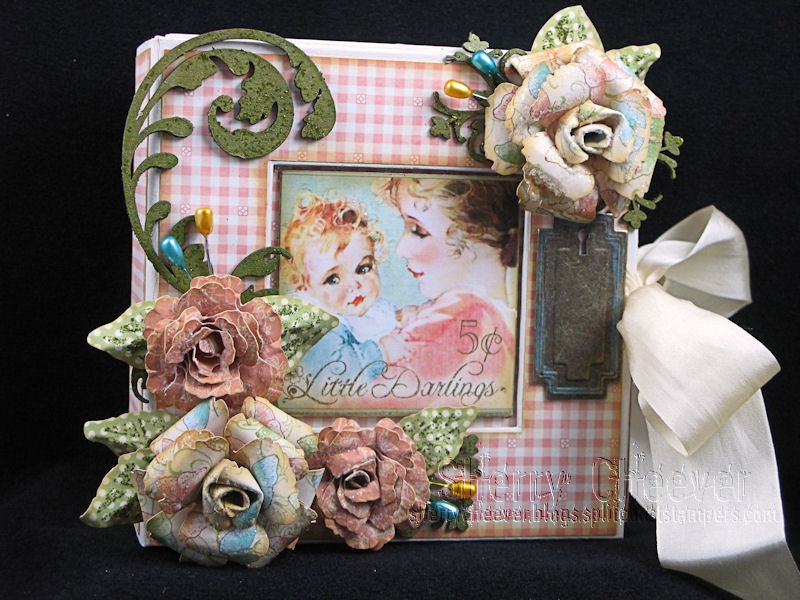
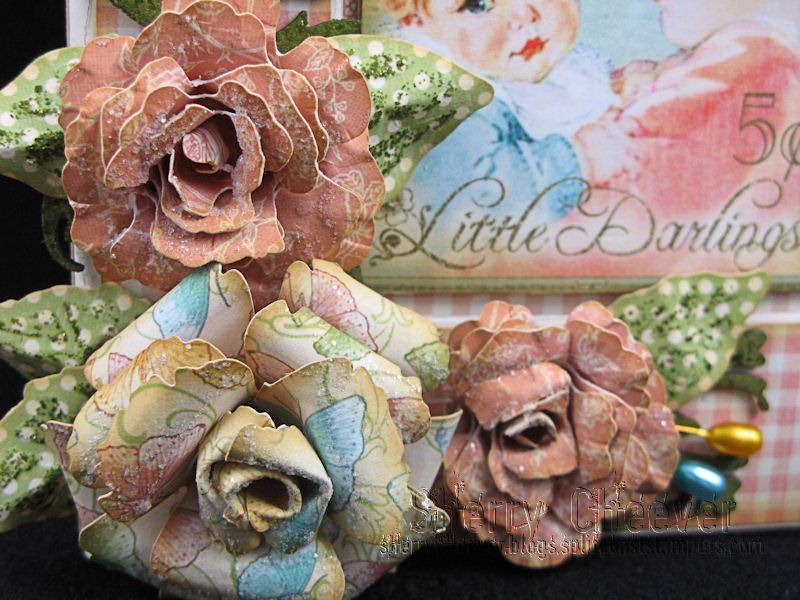
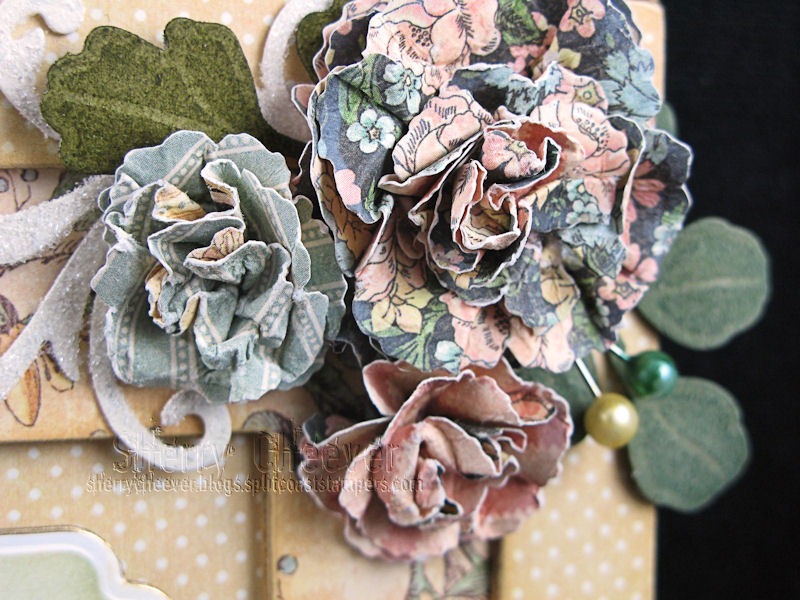
Thought it would be fun if I showed you the scrunchy new flowers I’ve been making. They were die cut with the new Spellbinders™ die template S4-370 Blossom Five. The edges were sponged with Mix’d Media Inx Jasmine, misted with water and then squeezed and scrunched to form the shape. I heat set them to not only dry them, but to also help keep the shape.

These are the flowers on the bottom left. The embellishments are white corsage pins that were colored with Alcohol Inks.

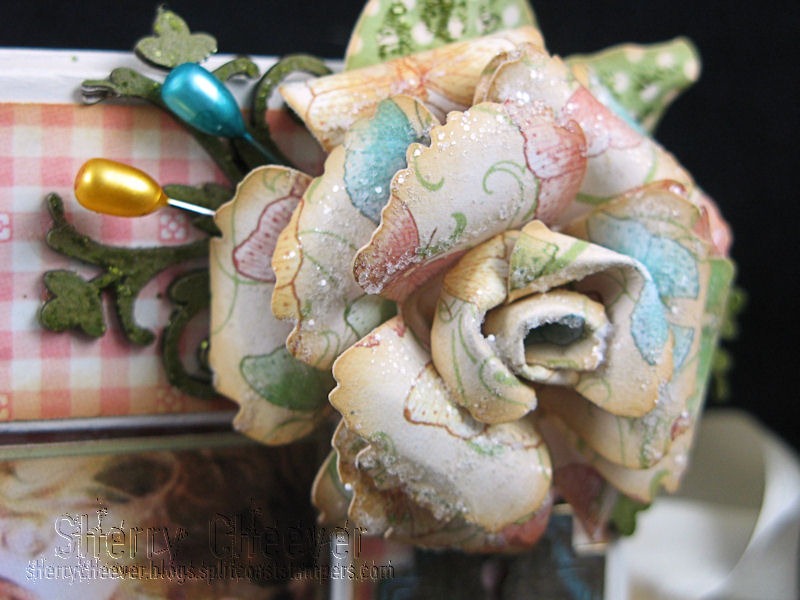
Flowers on the top right.

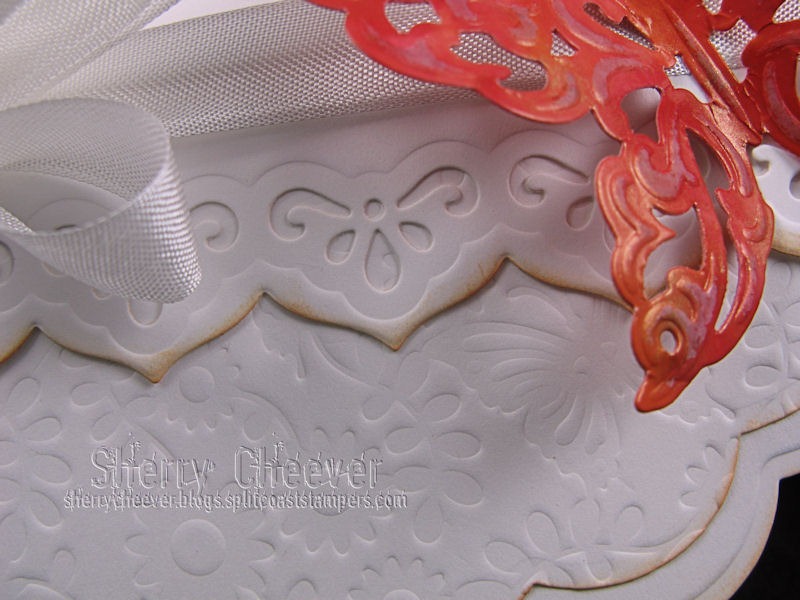
This is a close-up of the a flourish die cut from chipboard with the new Spellbinders release S5-118 Venetian Accents. The flourishes were painted with Antique White acrylic paint, covered with Glossy Accents and then sprinkled with Vintage Glass Glitter Diamond Dust Fine.

The sentiment, Art Soul from Hampton Art, was stamped in Coffee Archival on Neenah Classic Crest Solar White with Labels Twelve, stenciled with Antique Linen and Bundled Sage Distress Inks. The sentiment was then mounted on a piece of chipboard also die cut with Labels Twelve then raised with dimensional foam squares.

At this angle you can see all the dimension and layers.

That’s all for today! Thanks for stopping by.

Project Supplies:
|
|
|
|
|
|
|
|
|
|
|
|
|
|
|
|
|
|
|
|
|
|
|
|
|
|
|
|
|
|
|
|
|
|


