Good Monday morning!  Thanks goodness that we’ve finally had a little rain and the temperatures have cooled.  Hopefully I’ll be able to get out and walk the dogs this week and get some much needed exercise.  It’s also going to be a very busy week with doctor appointments for most everyone in the family.  Mallory’s is coming up Tuesday and maybe, just maybe, they’ll be able to tell us why she still has this cough . . . I’m not holding my breath on this one though . . .

Anyhoo, moving on from family medical issues . . .

I’ve had a couple of LaBlanche stamps for some time now and not once have I ever done anything with them.  I’ve had an idea running through my head for a couple of weeks and decided it was time to do it . . .

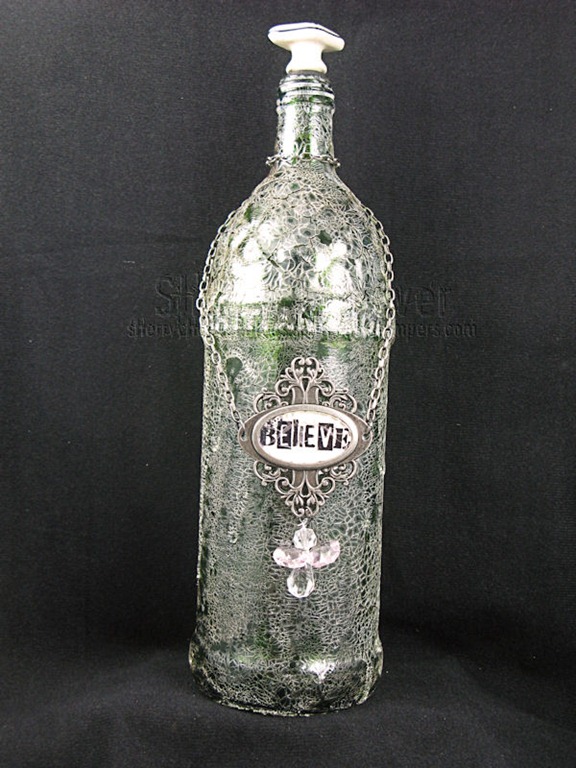
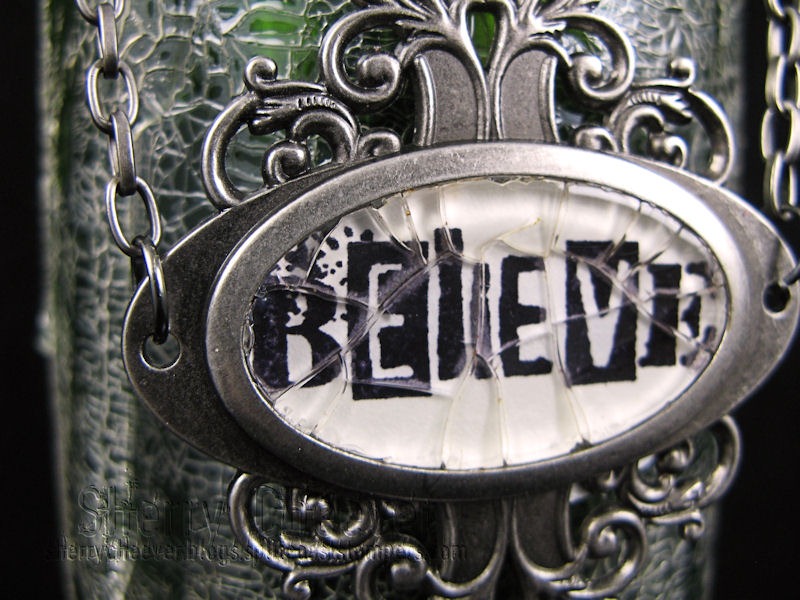
One of my favorite techniques from a few years ago was Cracked Glass.  I loved making card with this technique and over time, I’ve just gotten out of the habit of doing some of my well loved techniques.  I decided that yesterday was the day and I paired the technique with this image from LaBlanche Stamps.

LeBlancheCloseUpCrackedGlass

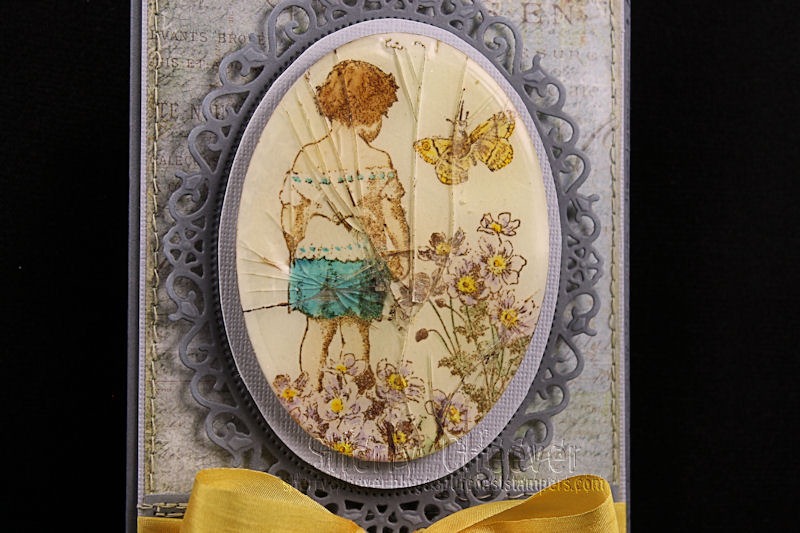
Let’s start with the image.  It was stamped on Arches Hot Press Watercolor Paper in Archival Coffee and then water colored with Tombow Markers.  Even though it is very difficult to see, once the image was die cut/embossed with Spellbinders Classic Ovals it was very lightly stenciled with Antique Linen Distress Ink.    The panel was then inked with Distress Embossing Ink and probably covered in oh . . .  5 or 6 layers of Ultra-Thick Embossing Enamel (UTEE).    To make the cracking easier, I placed the embossed panel in the freezer until it started to curl.  Once the panel was straightened, it formed cracks.  Don’t you just love how the image cracked right in the butt   . . . trust me, not intentional!  Sadly, all the layers of UTEE make the image pale compared to how it looked before . . . there is actually blue water colored in the background . . . it disappeared to somewhere.  The cracks were enhanced by rubbing Gathered Twigs Distress Ink over them, with the excess being wiped away.

If you are unfamiliar with this technique, you can find a tutorial here under the Resources on Splitcoaststampers.   Maybe someday I’ll quit being lazy and break out the video camera and remake some tutorials of my favorite techniques for you.

LeBlancheCard

Because the flowers in the image were water colored with a pale lavender, I picked Prima Garden Collection paper to use at the background.   I tried a couple different colors of ribbon too, but finally decided that this Buttery Gold May Arts Silk was perfect and brought out the butterfly and the flower centers.

Oh and the card is also a different height for me . . . 4.5 x 7”.  Haven’t made one of these for a very long time!

Well, that’s all for me right now.  Thanks for stopping by and remember . . . life is short, embrace the adventures that come your way today!

SHERRY SIGNATURE

Project Supplies:

Happy Thursday!  I’ve been to the gym, got a haircut, had the car washed and then an oil change . . . AND . . .  finished my project for the challenge over at the Everything Wendy Vecchi Yahoo Group.

It’s been a long time since I’ve had the time to participate in a challenge over there, and they are already up to No. 40.  This challenge is to use the Cracked Glass technique and at lease one Studio 490 stamp.

Now this project has been a work in progress for some time.  It took the challenge to make me finish it up and get going.

The entire project started with an old bottle of Noni Juice.  I still have a couple of them around (mainly to fill up my wine rack) and thought that one of them would make a great cracked bottle.  I dumped the contents down the drain . . . instead of drinking it . . . and rinsed the bottle well, removing all the labels, etc.

Crackle Bottle

The bottle was first covered with Ranger Glue n’ Seal (matte finish) and left to dry for a day or so.  After that, I literally poured Rock Candy Distress Crackle Paint along the top of the bottle, letting it drip down the sides.  I did brush some of it around to make sure all parts of the bottle were covered.

Crackle Bottle CloseUpCracks

The one Studio 490 stamp I used is the word “Believe” from It’s Face Art.    It was stamped in Archival Jet Black Ink on Neenah paper.  I added some Glossy Accents to the back of the bookplate, and stuck it down to the paper around Believe.  The Neenah paper was trimmed and then the center of the bookplate was filled with Cracked Accents.  I love the larger cracks that were made!

Crackle Bottle CloseUPBelieve

When you walk around CHA, you are always picking up little things here and there.  I don’t remember which one, but at some booth I picked up a little lavender bag and inside the bag was a crystal angel on fishing line.  I added a jump ring at the bottom of the bookplate and tied the angel to the jump ring.

Crackle Bottle Angel

To finish the bottle off, I wanted to add something to the top.  My first plan a few weeks ago was to make some flowers and use the bottle as a vase.  However, I didn’t have the right stuff in my stash to do what I wanted . . . SO . . . to the rescue was a clearance drawer pull from Hobby Lobby.

Crackle Bottle Top

To make it work with the bottle, I sanded down one end of small wooden spool (so it would fit inside the neck of the bottle), painted it black and inserted the screw for the drawer pull into the center hole of the spool.  A little E-6000 adhesive was added to the spool to hold it in place long the top.

I know the minute my sister sees this . . . because I used the word Believe . . . she’s going to be yelling dibs!  We do that . . . yell dibs if there is something we want that someone else in the family (our mom mainly) has and we eventually want for ourselves.

I suppose that’s all I have for now.  It’s time to get my clothes ready for graduation and start packing!

Thanks for stopping by and remember  . . . life is short, enjoy the adventures that come your way today!

SHERRY SIGNATURE

Project Supplies:

© 2015 Suffusion theme by Sayontan Sinha