Welcome to Day 4 of the Quietfire Design Die-ing for Spring Blog Hop! I hope you’ve had an opportunity to visit the earlier designers on this hop (if not, I’ve listed them below so you can go back and pick them up). In case you missed it, Quietfire Design now has their own line of dies . . . and needless to say, I’m extremely excited!
 ![]() Here is our Hop Schedule and the dates each designer did or will be posting. To visit the other blogs, check click on their name.
Here is our Hop Schedule and the dates each designer did or will be posting. To visit the other blogs, check click on their name.
- March 30 – Kathy Jo and Yogi
- March 31 – Wanda
- April 1 – Diana and Teresa
- April 2 – Sherry (YOU ARE HERE) and Suzanne
- April 3 – Yvonne and Robyn
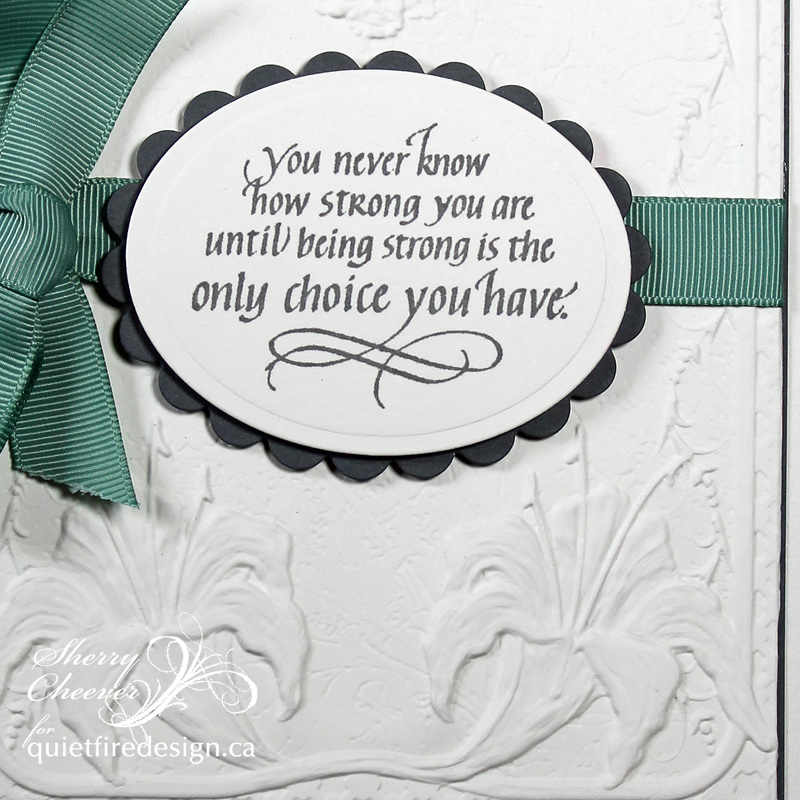
I have two projects to share with you today; but before I do that, I want to show you a trick I used for both of these cards using Ken Oliver Crafts Stick-It. Before die cutting, I placed a piece of Stick-it on the back of the paper to be die cut so that the intricate cut would adhere to the card front without a glue/adhesive mess. For the “Believe” card, the Stick-It was applied to both front and back before die cutting.

To cut so that the Stick-It is on the back of the cut, place the die face down on the side without the Stick-It.

The most marvelous thing, is that the paper falls right out of the die and you can take a pointed edge to poke the paper out by using the tiny holes in the die. The die cut simply falls right out!

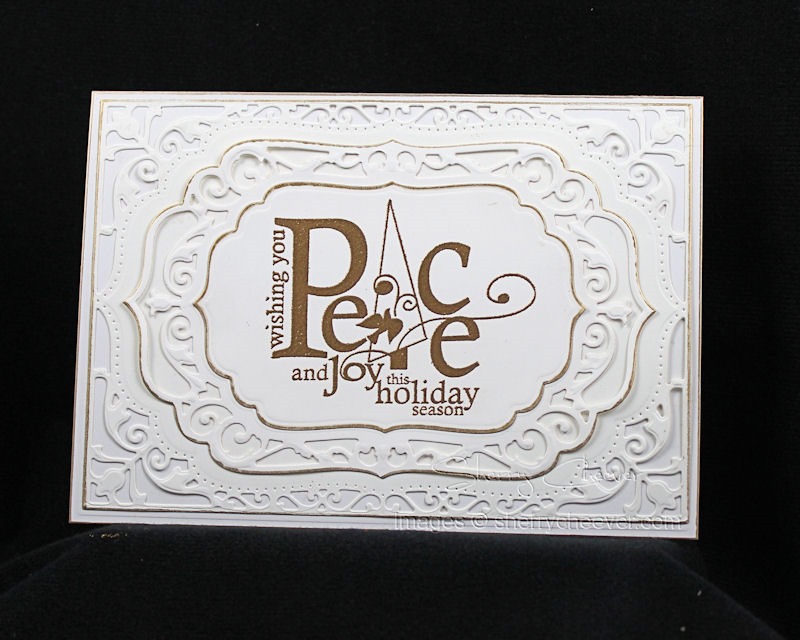
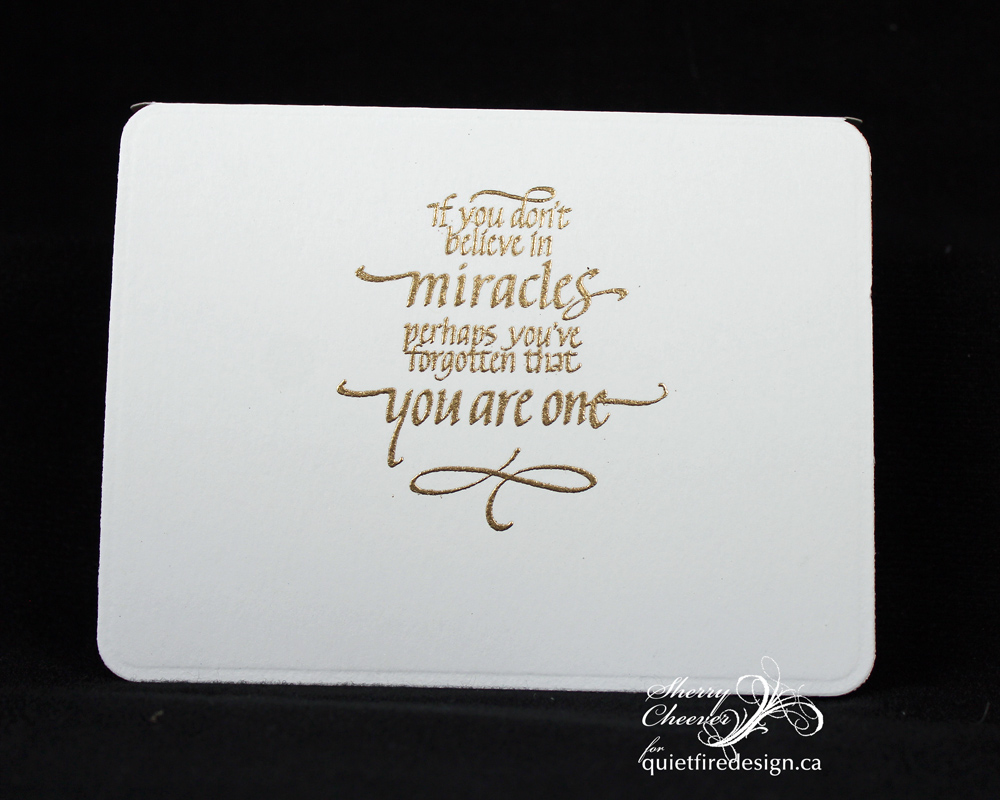
Now for my projects! The first is a card using the new Metal Cutting Die, Believe, and the stamp set, If you Don’t Believe in Miracles.

The background was made using watercolor paper and Color Bursts, which were mixed with water to create a watercolor pallet. The watercolor paper was misted with water and splatters of Color Burst were applied to the damp paper with a large very wet paintbrush. Canned air was used to move the color around the paper and when almost dry, paper towel was rolled across the top to pick up some of the color. The paper towel left a great pattern in the background and gave me a lighter more spring-like coloring that I was going for. Using a gold leafing pen, splatters of gold leaving were spritzed across the background.
This was the die cut that I applied Stick-It to both the front and back. Once the “Believe” was adhered to the card front (by removing the back protective layer of the Stick-It), a mixed leafing flake was applied to the front. You can see all the great texture and colors in the first photograph of this post.
The sentiment was stamped on the inside of the card and embossed in gold to match the front.
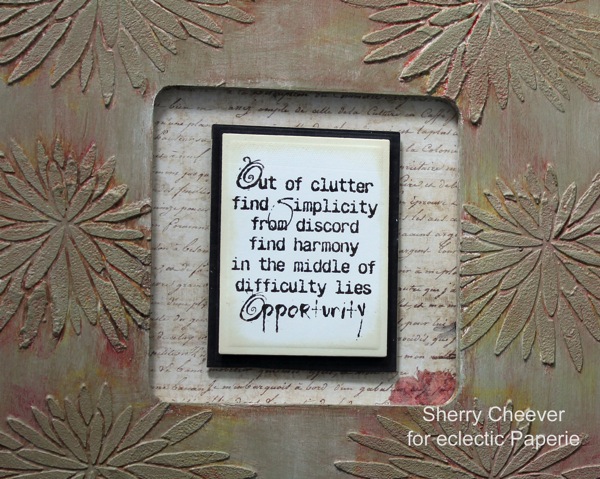
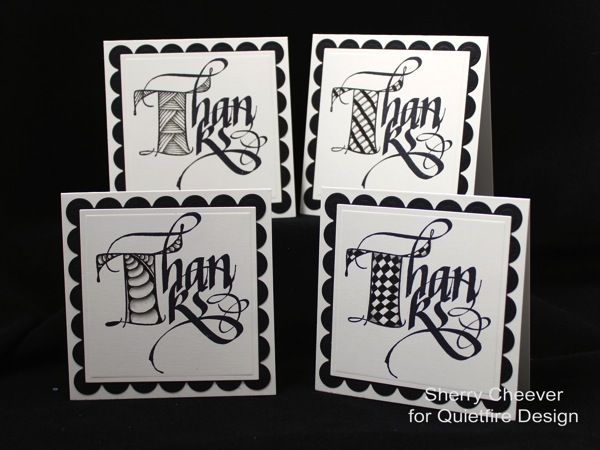
For my second card, I used a piece of the same background paper but this time I used more Color Burst misting spray over the previous background to make the colors bolder. In my stash I found this old stamp of the bras . . . and stamped them randomly over the background. A border was die cut from gray card stock, and I used the same gray to die cut Thanks, using the new Metal Cutting Die, Thanks.

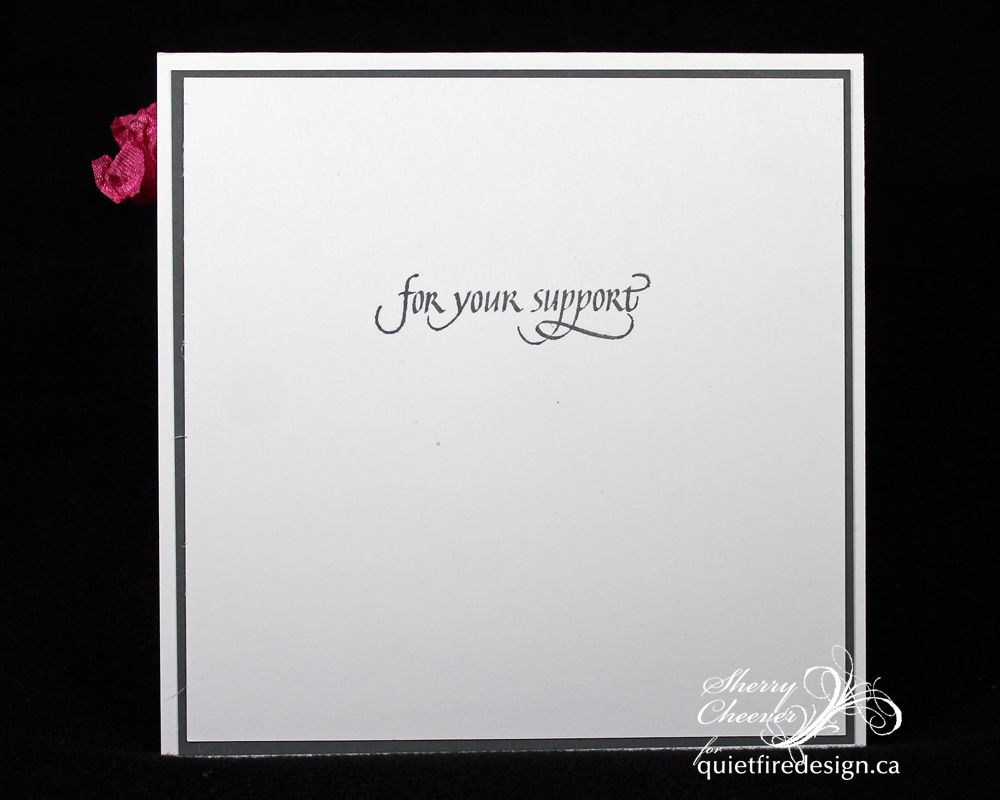
The sentiment on the inside of the card, “for your support,” from the new stamp set Thanks Cuddlers was stamped in gray to match the outside of the card.
Thank for joining me, and if you haven’t done so already, go back and leave comments on all the designers Die-ing for Spring blog posts, there will be a winner drawn from each blog!

Project Supplies: