Happy Tuesday!  I can’t believe it’s been so long since I’ve posted anything here.  Yes, I can!  I’ve been decorating, crafting with Kate, and simply being lazy.  Oh!  I’ve also been working on projects that I can’t show you yet . . . if you know what I mean.

I have a couple of things today to let you know about.  First, Graphic 45 is having a Holiday Gift Tag Challenge.  It’s the December challenge and you have until December 15th to take part.  Click on the link, Holiday Gift Tag Challenge, and you can read all about it.

The next item . . . one of my shadowboxes is being showcased on the Graphic 45 Blog today.   Please hop over there and check out the other projects . . . which are absolutely fabulous and so darn creative!

ShadowBoxFrameFULL

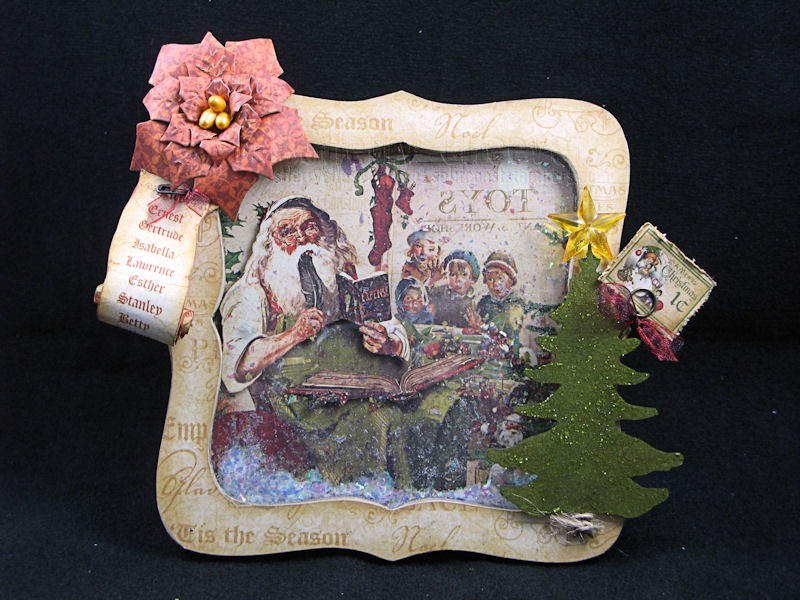
The frame is from Darcie’s and is the medium shadowbox.  A scene from Graphic 45 Christmas Emporium Collection, Christmas Emporium, was die cut with Spellbinders™ Grand Labels One then placed on the bottom layer.

ShadowBoxFrameLAYERED SANTA

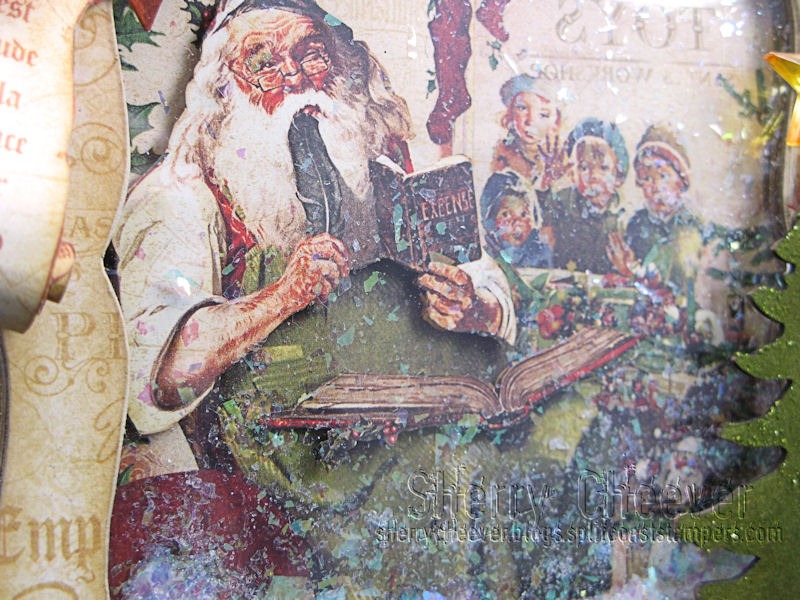
To add dimension, the book and Santa’s upper body were cut out separately and mounted over the bottom layer with 3D Foam Squares.  After building up the frame, iridescent snow flake sprinkles were added before adding the Plexiglas.  The top layer of the frame was covered with Happy Holidays from the collection and then added to finish the frame.

ShadowBoxFramePOINSETTIA

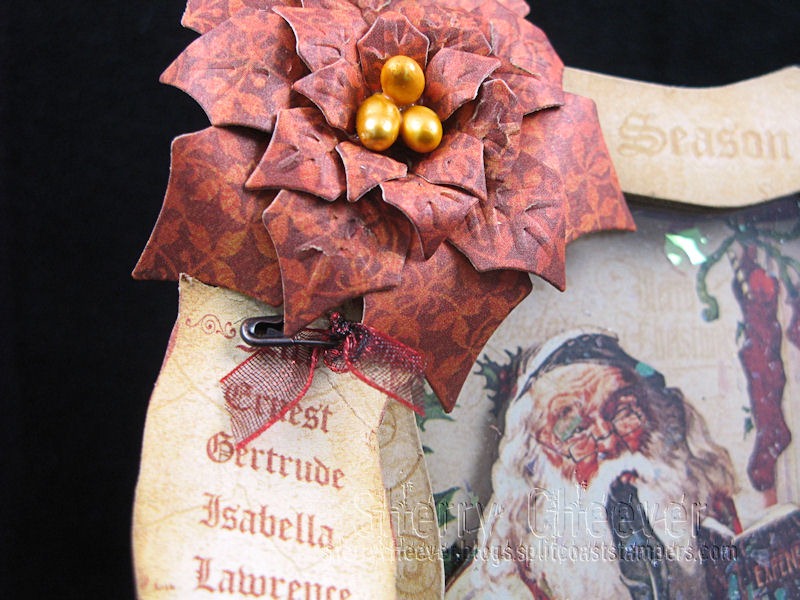
The poinsettia was die cut/embossed from Under the Mistletoe with Spellbinders Layered Poinsettia.  The middle was made with small pearl beads covered with Lemonade Alcohol Ink.

ShadowBoxFrameTREE

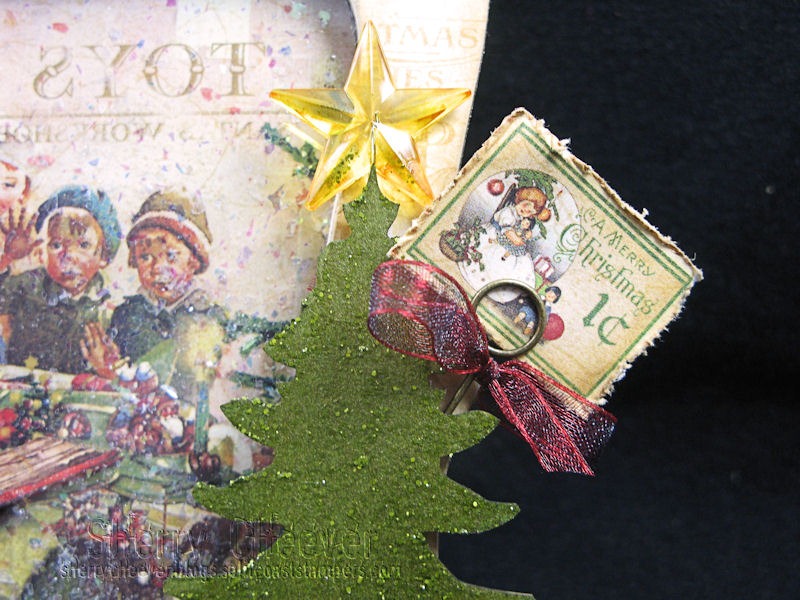
The tree is from Want2Scrap that was covered with Peeled Paint Distress Stain then covered with Peeled Paint Distress Stickles.  The stamp is from Special Delivery that was distressed then sponged with Antique Linen.  The star at the top of the tree began as clear, but was covered in Lemonade Alcohol Ink.

I guess that’s all for today.  Thanks for stopping by and remember . . . life is short, embrace the adventures of the day!

SHERRY SIGNATURE

Project Supplies:

Good Monday morning!  I hope your weekend was a good one.  I had some play time in the studio and then some quality butt time watching the final races in NASCAR.  I’m sad that this was the last racing weekend, but I only have a few months until Daytona!  I think I can handle it.

The last time my darling daughter, Mallory, was home it was major crafty time for us.  There was one project that she left for me to finish on my own . . . or should I say . . . there was one project that I refused to do at that time because of time restraints with other pending projects.  I don’t think she was that upset that we didn’t work on it then  either, because she knew I would make the project when I had time.

The story of the project is . . . I send some of my projects with Mallory back to school.  One of her roomies, Megan, loves my vintage flair (which I found out that last trip home when Mallory was looking for things to take back to Megan), so Mallory offered ME, her momma, to make a recipe box for Megan.  Mallory’s approach . . . Mom I told Megan that I would work on this while I’m home this week . . . knowing full well that I would end up doing it.  Sly little fox she is!  Now don’t get me wrong because it sounds like I didn’t want to make this project at all . . . I find Mallory’s ways of manipulating hilarious.  In my heart I’m totally flattered that Megan likes what I do and I wanted to take my time on her project so it would be worthy.

What she sent was a blank chipboard recipe box and a pad of Prima paper that she really loves.  You can see these in the Project Supply list at the bottom of my post.  My problem was the paper was 6×6 and the box was much wider . . . I ended up using some extra paper I had here that would match her paper (to a point).  The box was covered in my paper, sanded at all the edges, and then sponged with Antique Linen Distress Stain.

MeganRecipeBox

and then from the top looking down . . .

MeganRecipeBox2

I added a keyhole to the front just for the fun of it, but left off all other metal embellishments (i.e., feet, knob) so the box could sit flat and be opened easily.

The flowers were die cut with Spellbinders™ floral die templates (details in Project Supplies) from the Prima paper that Megan sent.  The leaves were die cut from GrungePaper and the flourishes are from Want2Scrap.

MeganRecipeBoxTop

Even though it’s hard to tell in the photo, all the edges of each petal of each flower were sponged with Antique Linen Distress Ink.  The leaves were covered with Peeled Paint Distress Stain, then the edges were highlighted with Crushed Olive Distress Ink.  The center of the red flower above is a corsage pin that was covered with Lake Mist Alcohol Ink.

MeganRecipeBoxFront

The chipboard flourished were painted with Peeled Paint Distress Stain, then wen dry covered again with Peeled Paint Distress Stickles.   I must stay that sitting across the room and looking at this side of the box, the flower appear to be part of the paper . . .  it’s so cool!   To finish off the flowers, turquoise and brown leaf Trinket Pins were added.

I hope Megan likes what I’ve done and I can’t wait for Mallory to take it to her after the Thanksgiving break.

Thanks for stopping by and remember . . .  life is short, embrace the adventures that come your way today!

SHERRY SIGNATURE

Project Supplies:


© 2015 Suffusion theme by Sayontan Sinha