
Good morning! Today is the last post I’ve made on the Flourishes Newsletter as the June Flourishes Limelight Designer. Today I covered the Faux Bleach Technique on the Flourishes Newsletter.
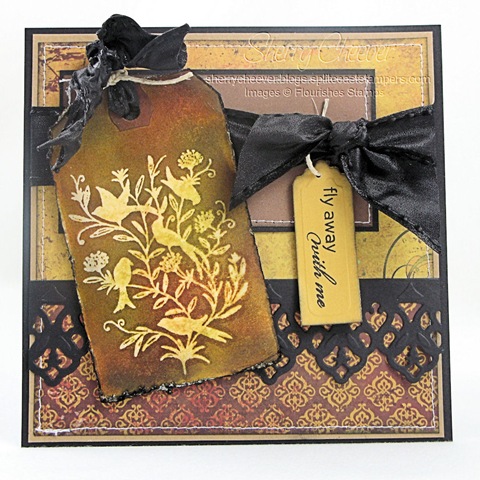
For this week’s post, I worked with both the Home Tweet Home and Birds in Vines sets. My first card uses Home Tweet Home.

The image was colored with Tombow Markers and I used the new Spellbinders S4-218 Lattice Borderabilities for the border along the bottom.
- Stamps: Home Tweet Home and Many Sentiment from Flourishes Stamps
- Paper: Prism Spring Willow Dark and Butter Cream; Neenah Classic Crest Solar White; BasicGrey Boxer
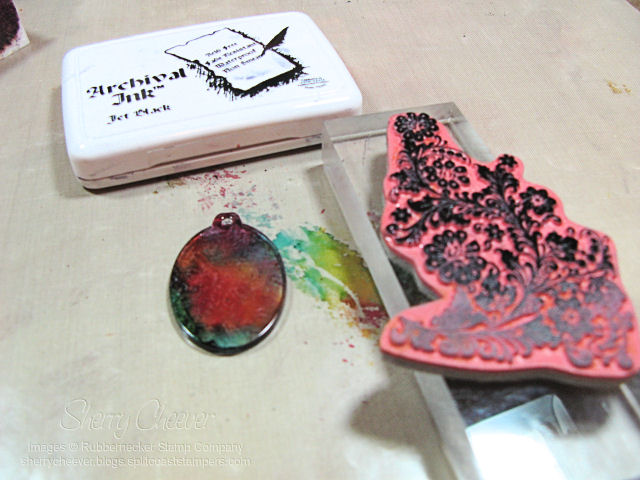
- Ink: Ranger Archival Jet Black and Antique Linen Distress
- Accessories: Spellbinders S4-218 Lattice Borderabilities, S5-006 Curved Rectangles Mega Nestabilities, and S4-139 Petite Scalloped Ovals; Tombow Markers; Tsukineko Sponge Dauber; Venture Foam Tape; Ribbon; Brads; Button; Ranger Matte Accents
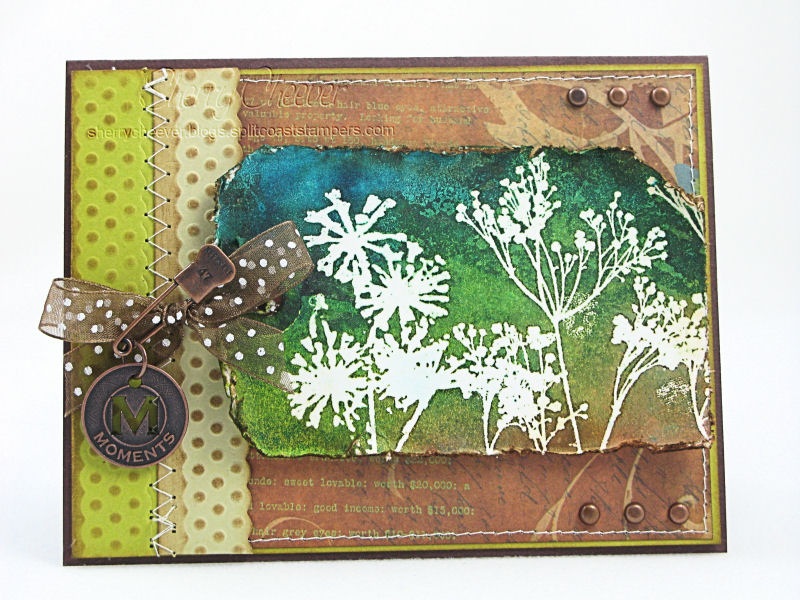
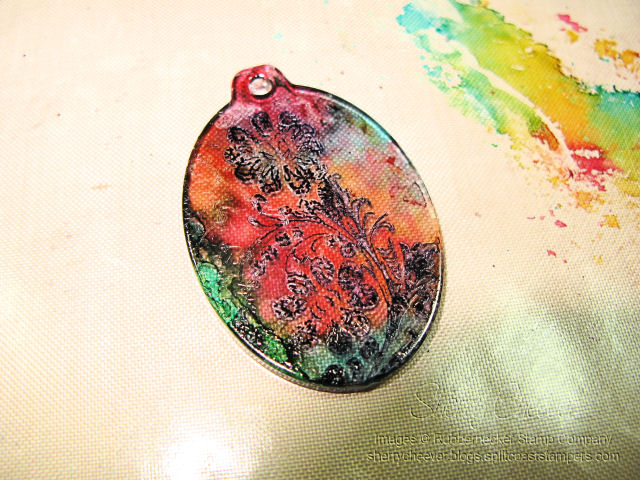
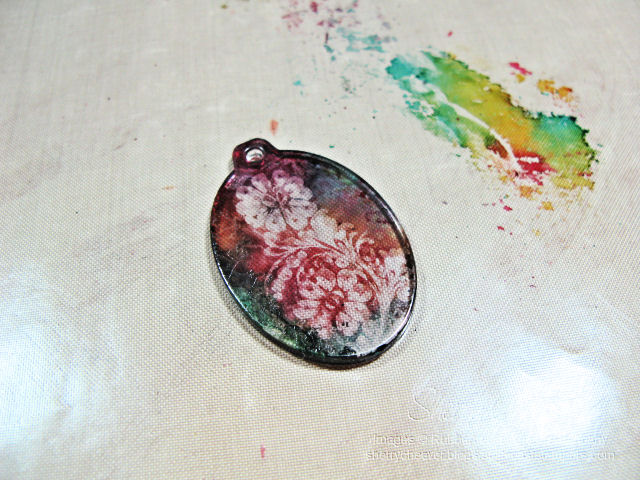
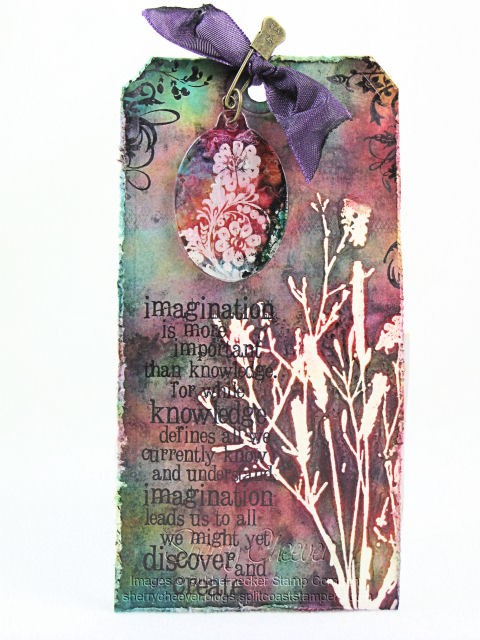
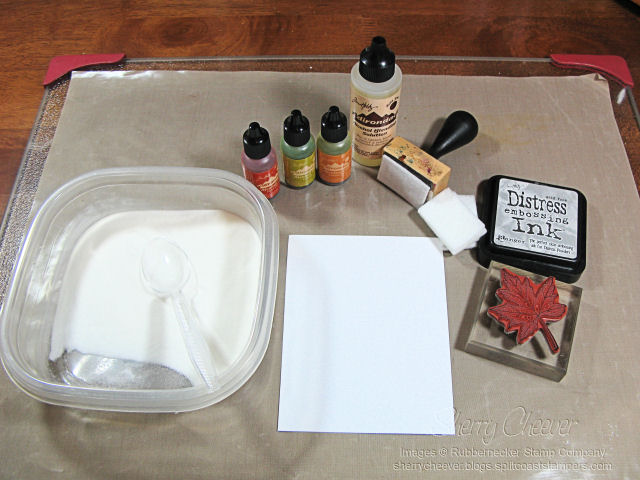
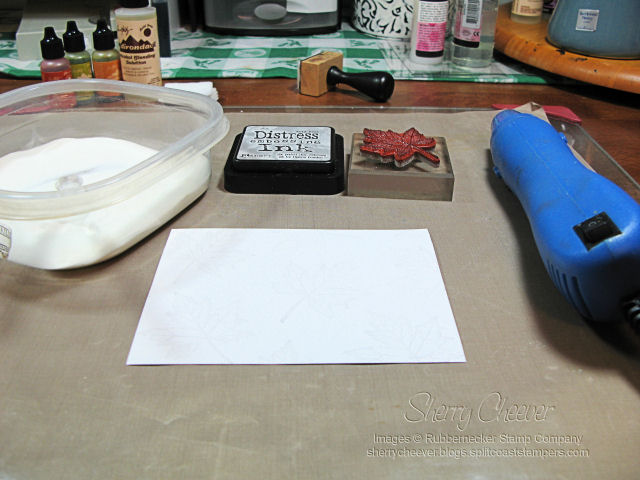
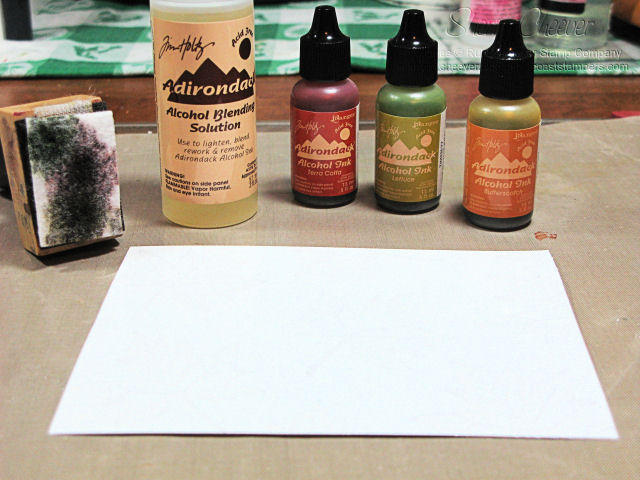
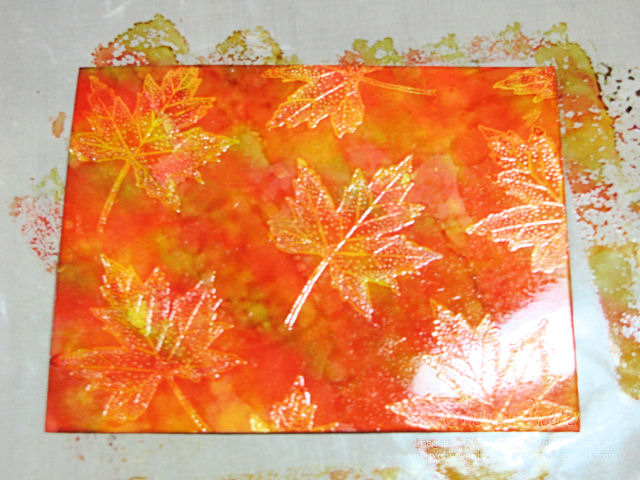
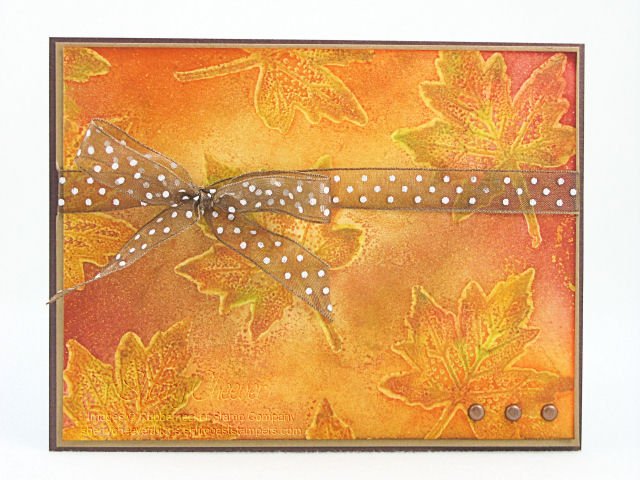
To show examples of the Faux Bleach Technique, I used Birds in Vines and airbrushed over the embossed image with Copic Markers.

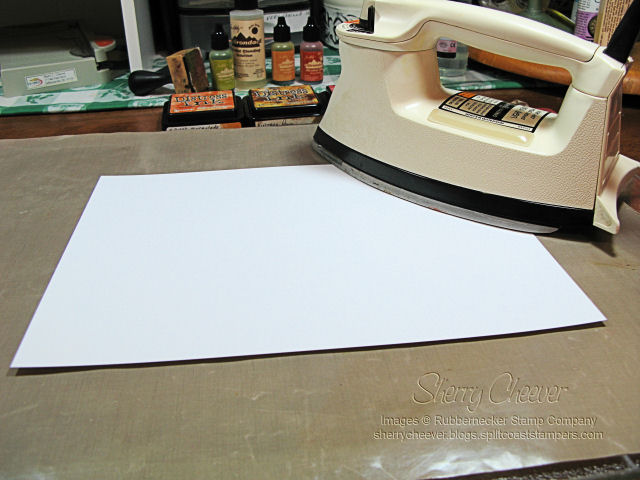
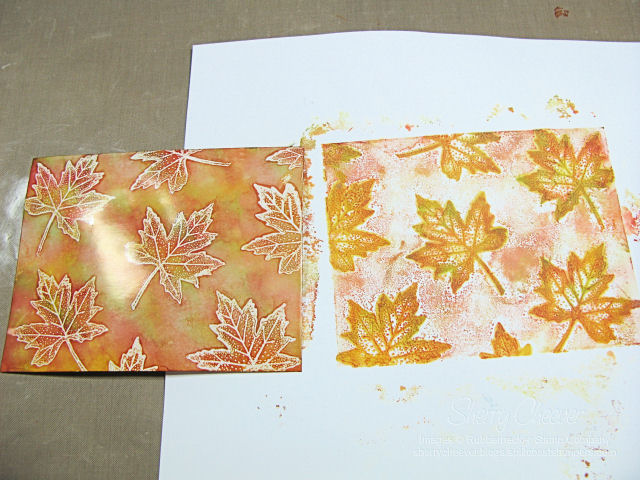
and the embossing ironed off as a second background:
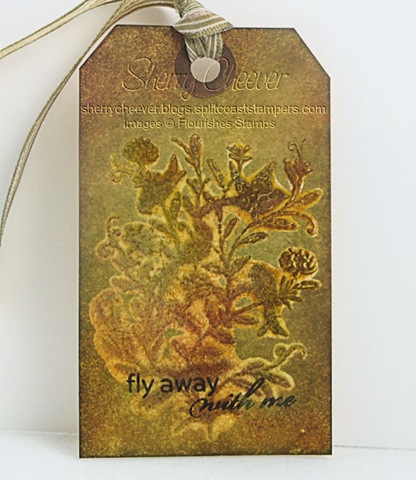
- Stamps: Birds in Vines from Flourishes Stamps
- Paper: Prism Tawny Medium and Black; 7 Gypsies Market; Manila Shipping Tags
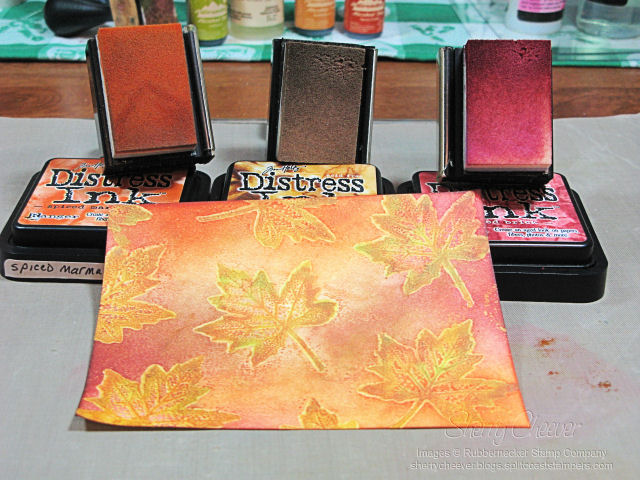
- Ink: Ranger Distress Embossing, Spiced Marmalade, Aged Mahogany, Vintage Photo, Peeled Paint, Black Soot, and Archival Jet Black
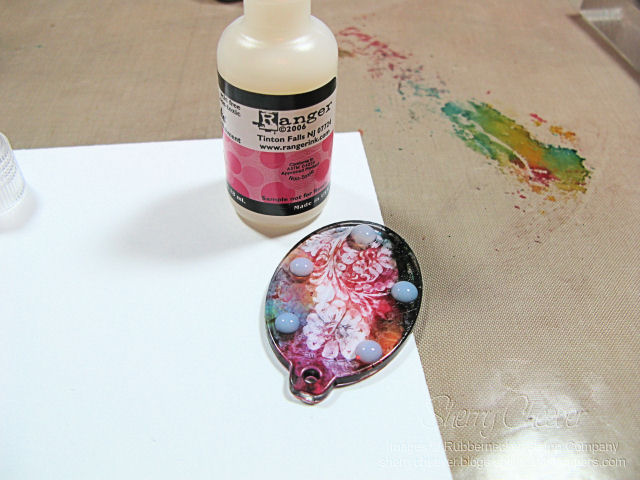
- Accessories: Copic Markers and Airbrush System; May Arts Ribbon; Tsukineko Sponge Dauber; Ranger Matte Accents, Clear Super Fine Detail Embossing Powder, Ink Blending Tool; Spellbinders Grand 12” Classic Lace Borderabilities and S3-031 Scalloped Tag; Clover Craft Iron; Tim Holtz Tonic Scissors for distressing; Sewing Machine
I hope you enjoy the rest of your weekend, and thanks for stopping by!


