SCheever210Banner

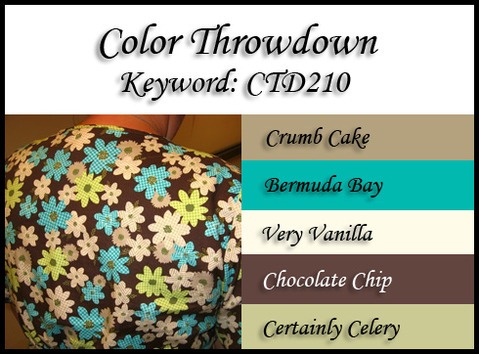
Wow this past week has flown by and here I am, already into my third week of The Color Throwdown for the month.   This week’s colors are some of my favorite . . .

CTD210 swatch

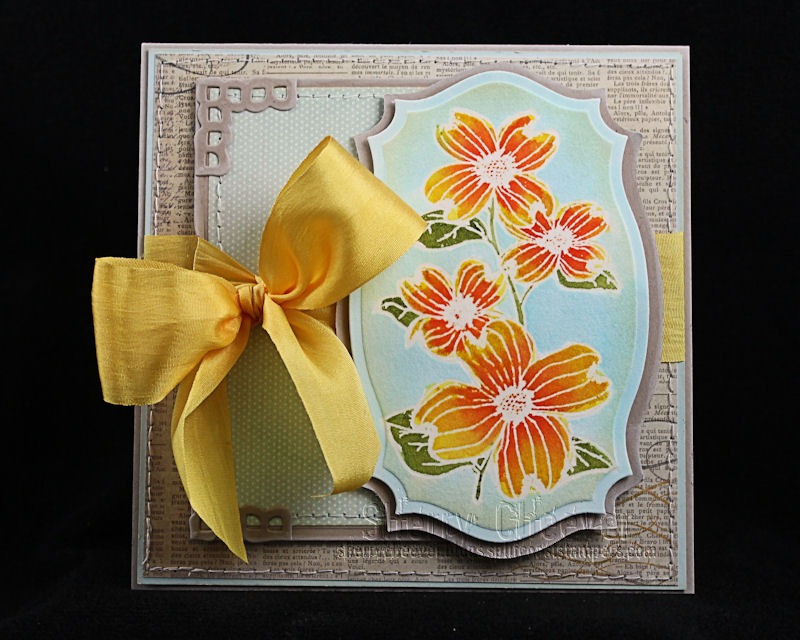
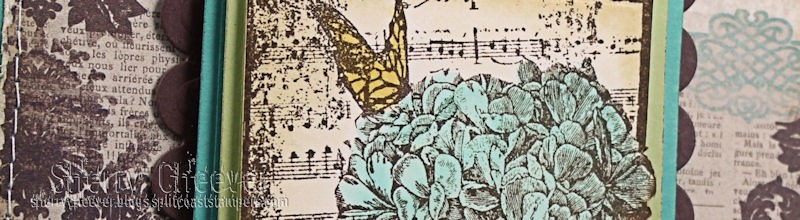
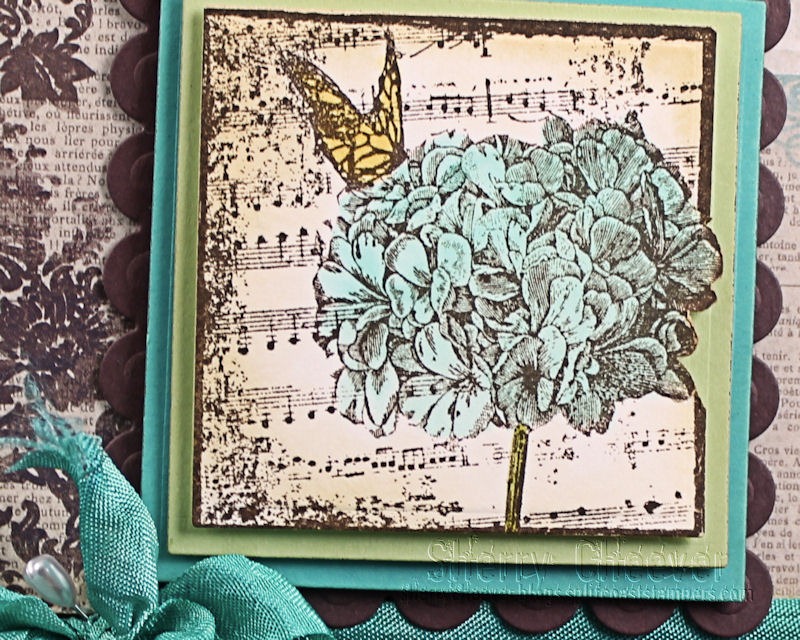
Here’s my project for the week, using an image from Hampton Art, Hydrangea Collage.  It was stamped in Archival Coffee on hot press watercolor paper and water colored with a light wash of Bermuda Bay Ink.

SCheever210

The butterfly was water colored with Wild Honey, the stem in Shabby Shutters and a light wash of Antique Linen was applied to the background.   Based on the square around the image, I knew I wanted to die cut around some of the petals.

SCheever210Image

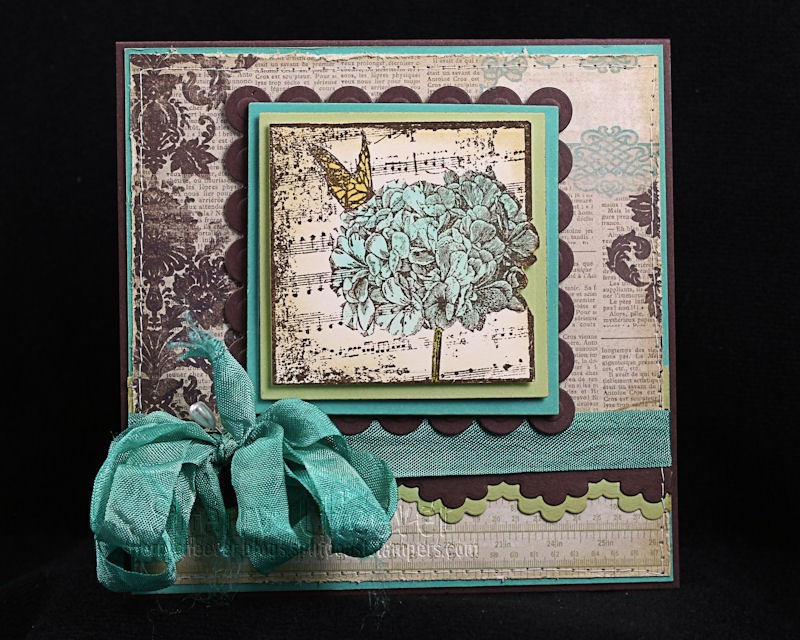
I trimmed in around the petals out to the edge of the border, and inserted the paper in the Spellbinders™ Square Die with the trimmed area on the outside of the die.  The edges of the image panel were then sponged with Antique Linen, hitting the shaded areas a little darker than the rest.  The panels behind the image are Certainly Celery, Bermuda Bay and Chocolate Chip.

Heck I even died my seam binding Bermuda Bay to match the ink and paper.

Don’t forget to visit the Color Throwdown Blog and the other Designers:

That’s all for me today . . . I’m off to finish up a Halloween project for Quietfire (which you’ll get to see tomorrow)!

Thanks for stopping by!

SHERRY SIGNATURE

Project Supplies:


Good Monday morning!  I hope y’all had a great weekend and stayed out of trouble.  I know I did!  On Saturday I drove with Mom and Aunt Linda, down to the country for my Great-Aunt’s 80th Birthday party.  On Sunday Mallory and I hopped in the car, drove up to get Katie, and then we wandered around Art in Speed Park for a couple of hours.  Good times!

I have a fairly simple card to show you today.  Now before you even begin to say this can’t be simple . . . truly it was!

The image, from Wplus9 Design Studio, was embossed with clear embossing powder and then water colored with Distress Ink Refills . . . Faux Bleach/Batik Technique.  The ink refills are still my favorite medium to watercolor with . . .

wPlus9FloraWatercolorFauxBatik

The image was then die cut/embossed with Spellbinders™ Labels Twenty-Five.  For the kraft layer behind the image, and because I didn’t want an extra amount of paper edging, I traced the same die template onto the kraft cardstock and trimmed it out with scissors.  The edges were sponged with Jasmine Mix’d Media Inx.

The layered panel behind the image was die cut/embossed with the new Card Marker A2 Matting Basics die templates.  The corners were die cut/embossed with the corner die template from Lace Doily Accents.

See I told you, it really is a pretty simple card!  The image took me longer to watercolor than it did to make the card.

That’s all I’ve got for you today.  Hopefully I’ll have a tangle for you tomorrow . . . we’ll have to see how the rest of my day unfolds.  In the meantime, thanks for stopping by and remember  . . . life is short, make the most of the adventures that come your way today!

SHERRY SIGNATURE

Project Supplies:

Wow I can’t believe this week is flying by and it’s already Thursday!  This morning was the first time I’ve been able to hit the studio over the last few days  . . . but I need to spend some good quality time down there the rest of today and tomorrow.  Saturday is my day to post on the eP Blog and I haven’t even started my project yet. Smiley from millan.net

While watching the Olympics I water colored some images that I stamped off on some scrap paper and could bring upstairs to work on.  I used one of those for a card today . . . Lockhart Stamp Company Petunias on the Gate, that I picked up at one of my trips to Papertrix.

LockhartGardenGate

This is one of those cards that I had an extremely difficult time find just the right ribbon.  The first I had was blue scrunched up seam binding . . . too much for the lattice dies.  I then went with an orange that matched the flowers in the image . . . not right after the photographs.  So I finally ended up adding a white satin.  I’m still not sure I’m satisfied . . . but this one worked the best.

That’s all I have for now.  Thanks for stopping by and remember . . . life is short, enjoy the adventures of your day!

SHERRY SIGNATURE

Project Supplies:

Smiley from millan.net Good morning!  I probably wouldn’t have this post for you until later today or even tomorrow, but for some ungodly reason, I woke up . . . wide awake . . . at 4:30 this morning.  I’m sure that sometime this afternoon this is where I’ll be . . . Smiley from millan.net . . . but until then

I think I’ll show you an A2 card I made the other day with a new Penny Black stamp I picked up recently.  I also used the new Spellbinders™ Nestabilities® Card Creator die templates . . . which seem to be the only way I can bring myself to make this size card anymore!  I can’t believe that this is the only size card I used to make and now I automatically cut my cardstock at 5.5” square.  Anyhoo, I needed a little thank you card and though this would fit the bill!

PennyBlackCard

The base of the card was made with the Matting Basics A and B, but the top panel of the card was made with the new Fancy Ribbon Threader.  The seam binding was dyed with Dusty Concord Distress Ink.

PennyBlackCardCLOSEUP

The image is only a portion of the stamp, which I die cut/embossed with Labels Twelve.  First, the image was stamped in Distress Embossing Ink, embossed with clear embossing powder, then water colored with Tombow Markers.  After the watercolor had dried, the embossing was ironed away leaving a Faux Bleach/Batik look.

I guess that’s all I have for now . . . unless you want to come help with laundry today . . .

SHERRY SIGNATURE

Project Supplies:

© 2015 Suffusion theme by Sayontan Sinha