
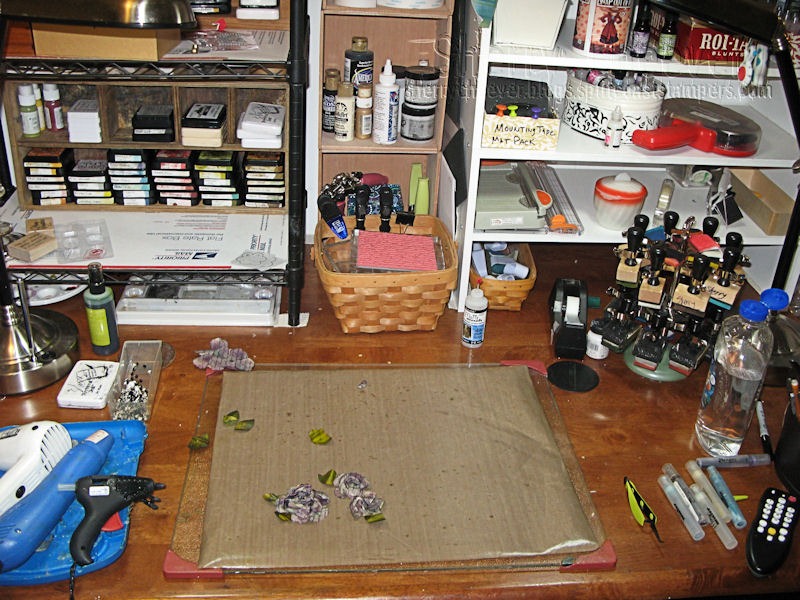
have been on my work desk for five days now! What’s on your work desk? It’s What’s on Your Workdesk Wednesday ya know!
I hate to admit this, but since I made my last post and told you I was working on some more brown paper flowers . . . .they have stayed in the exact same spot on my desk as I last left them.
I really had all intents and purposes of making one more project before I left for CHA, but alas . . . shopping, laundry, ironing, packing, blah blah blah, has taken precedence over the project. I’ve been going non-stop for two days and hopefully after I drop all the pups off this morning for their grooming, that’s the last errand I will need to run.
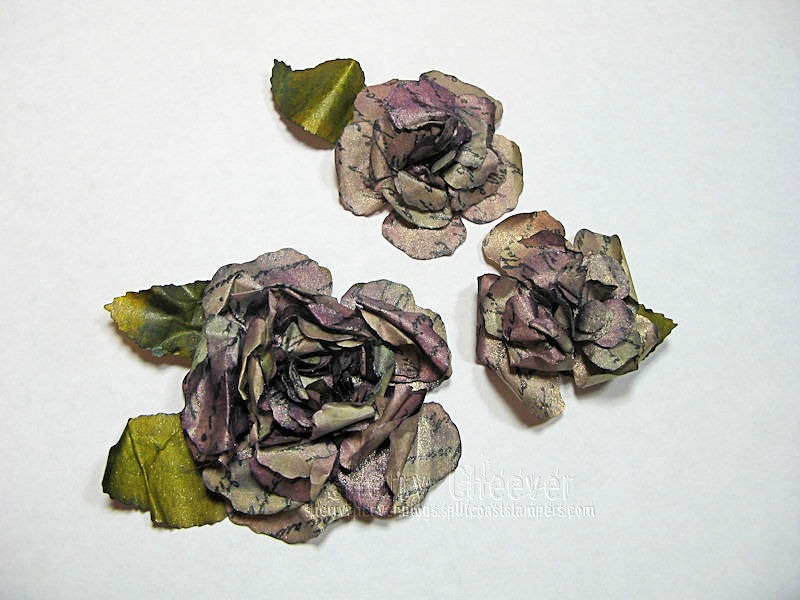
So I’ve got to tell ya that I absolutely love these flowers! This time around I used the soon to be released Spellbinders™ S5-050 Rose Creations die templates. These were designed by Donna Salazar and were previewed here on her blog during the “To DIE For” Blog Frenzy.

This time I die cut four sets of the dies using brown paper wrap. Before I did any misting or anything else, I stamped the script background from Studio 490 Live and Make Art in Archival Jet Black Ink on all the different layers. I worked with archival ink not simply because it’s my favorite black ink, but its also permanent and waterproof . . . I was going to be doing a lot of misting.
You can hardly tell that these started out as brown . . . I misted them all first with a combination of Broken China, Gold Perfect Pearls and water (Distressed Pearlized/Shimmer Mist). I then went back over with Dusty Concord, Gold Perfect Pears and water. I believe these mists probably had more water than normal because I used what I had in the mini mister (maybe half full) and filled the mini mister with water before I started.
I wanted to make two different sized flowers, so the largest flower (lower left in the photo) has been assembled two layers of each size of die template. I like the fullness of this flower and especially after it was all misted, dried and fluffed. After they were dry assembled, I misted the entire flower with water and Gold Perfect Pearls (you can see the shimmer on some of the smaller flowers) and scrunched the layers with my fingers as drying them.
Now the smaller flowers are made with using only one layer of die cut material and I didn’t use the largest die cut. You can see those two laying off to the side in the first desk photo. I like the difference in these sizes of flowers and know they will be perfect on a project. It’s just getting the time to get it done . . . sometime after CHA I’m sure! I guess I should also tell you that the leaves were misted with Peeled Paint Distress Shimmer Mist.
So that’s all I have today. I leave Thursday for CHA, classes on Friday and then on Friday I’ll finally be able to show you my last two Spellbinders™ CHA projects. I haven’t been able to show you yet because I used some dies that were not revealed during the Blog Frenzy. I’m really excited about one of these projects and can’t wait to share it with you. So Friday it is! On Saturday I should have lots of fun photos and stories to share with you!
Thanks for stopping by today and remember . . . life is short, embrace the adventures that come your way!

Product used:


